Saturday, September 30, 2023

Trucking Along Bundle and More!!!!

 THE TRUCKING ALONG BUNDLE IS BACK!!!


That's right!  This adorable Punch is back in stock and that means you can now bundle it with the Trucking Along Stamp Set for a discount!  Woo Hoo!  But hurry, it's very popular and supplies run out quickly!  You can see it PLUS a new Hannukah set in my Online Store HERE

Remember to use the HOST CODE if your order is under $150.  If your order is $150 or over be sure to take advantage of the Host Rewards offered by Stampin' Up!

Wednesday, September 13, 2023

Create Your Own Designer Series Paper


Supplies:
 

Stamps: 
Autumn Leaves (162179)
Pick of the Patch (162196)

Ink: 
Copper Clay (161647)
Old Olive (147090)
Wild Wheat (161651)

Cardstock:
Copper Clay (161721) – Two pieces; one piece cut to 8 ½” x 5 ½” and one piece cut to 3 ¾” x 2 ½”
Very Vanilla (101650) – Three pieces; Two pieces cut to 5 ¼” x 4” and one piece cut to 2 ¾” x 1 ½”

Accessories:
Adhesive of choice, Stampin’ Dimensionals (104430), Bone folder (102300), Brushed Metallic Adhesive-Backed Dots (156506)

Technique:
Create your own Designer Series Paper

Directions:
 
1.     Use Copper Clay ink to stamp a large Maple leaf from the Autumn Leaves stamp set in each corner of one of the pieces of 5 ¼” x 4” Very Vanilla Cardstock (this will be referred to as the card front in the rest of these directions) and into opposite corners of the remaining piece of 5 ¼” x 4” Very Vanilla Cardstock (this will be referred to as the inside of the card in the rest of these directions).


2.     Use Old Olive Ink to stamp a large Oak leaf from the Autumn Leaves stamp set in between the Maple leaves on the card front piece and on either side of the Maple leaf on the inside card piece.


3.     Use Wild Wheat to stamp the small dots from the Pick of the Patch stamp set* to fill in the spaces between the leaves.  Repeat for the inside of the card.


4.     Use Copper Clay ink to stamp the “Autumn teaches us…..” sentiment from the Autumn Leaves stamp set onto the 2 ¾” x 1 ½” piece of Very Vanilla (see photo for placement). Apply one large and two small copper dots from the Brushed Metallic Adhesive-Backed Dots to the right side of the sentiment.


5.     Use a bone folder to “rough up” the edges of all three pieces of the Very Vanilla cardstock and the 3 ¾” x 2 ½” piece of Copper Clay Cardstock. 


6.     Adhere the card front piece to the front of the card and the inside card piece to the inside of the card.


7.     Use Stampin’ Dimensionals to adhere the 2 ¾” x 1 ½” piece of Very Vanilla cardstock containing the sentiment to the 3 ¾” x 2 ½” piece of Copper Clay cardstock (see photo for placement)
 
If you need further instructions, please be sure to watch my Facebook Live from 9/13/2023 HERE

Tuesday, September 5, 2023

What's New with SU Newsletter 9-5-23


SO MUCH NEW FOR SEPTEMBER!!!!

NEW MINI CATALOG!


Our new September-December Catalog goes live tomorrow! There are so many new beautiful things to see! You should have already received a catalog in the mail from me. If you have not, please let me know and I will get one in the mail to you!


NEW PAPER IN ONLINE EXCLUSIVES!


Surprise, surprise! We’re offering a special release of five beautiful new Designer Series Paper options! These papers include fabulous holiday prints, gorgeous seasonal styles, and some spectacular timeless designs. 

These products are available while supplies last, so be sure to spread the good news—you don’t want to miss out! 

 You can find these papers and more in the Online Exclusives in my store HERE


NEW KIT ADDED!


This kit includes: 

·        Enough supplies to create 9 cards—3 each of 3 designs

·        9 coordinating envelopes

·        Christmas Everywhere photopolymer stamp set

·        One Lost Lagoon Ink Spot

·        Printed card bases, printed die-cut labels and images with red glitter, adhesive, and a clear block

·        Finished card size: 5-1/2" x 4-1/4" (14 x 10.8 cm)

·        Coordinating colors: Granny Apple Green, Lost Lagoon, Pecan Pie, Pretty Peacock, Real Red


New to Crafting an need a place to start? Want some quick and easy cards? This is it! Kits are an easy and economical way to try crafting. Each Kit includes everything you need to complete the projects (Ink,beautiful cardstock that is preprinted in most cases, a stamp set and an acrylic block to mount it on as well as adhesives and any embellishments needed. (Please note: Some kits do not require any stamping so they will not include a stamp set or acrylic block) And during the Kits Sale, they’re an even better deal! 

You can order through my Online Store HERE to see all the kits.

Just Click Menu, Select Shop Products then select Kits Collection

The kits are broken into two categories; Card Kits and Craft Kits. Be sure to check out both categories!!!!


Our kits are available in English and French so be sure to select the correct language!
 
 
Be sure to use the Host Code if your order is under $150 (if your order is over $150 be sure to take advantage of the Host rewards offered by Stampin' Up!)


Registration Opens Tomorrow for World Card Making Day

On 6 September, you can register for our virtual World Card Making Day event! Registration and the event are FREE! We can’t wait for you to join us and make lasting memories. Mark your calendar now for 7 October for this fantastic, craft-along party!

I will be having a World Card Making Day Event at my house. Watch for more details!!!!

SEPTEMBER'S PAPER PUMPKIN KIT!


The With Love & Gratitude Paper Pumpkin Kit offers the perfect way to give thanks to the special people in your life. The kit design is an elegant representation of the blessings of autumn and the gratitude that comes along with the season. The combination of graceful pumpkin designs and elegant colors, plus specialty gold foil embellishments make this kit a stand-out offering with Shelli written all over it!

Subscribe by 10 September to get your kit full of iconic autumn images, love, and gratitude!

CUSTOM, MATCHING BOX!

What’s better than a box full of crafts you can use to express your love and gratitude? How about the kit packaged in a custom, matching box that’s just as beautiful? The With Love & Gratitude comes with a custom box you can use to store all kinds of things: your finished treat packages and cards, crafting supplies, or you can fill it individual notes with all the reasons you have to be grateful—write each one down and fill up the box, then pull out a note of inspiration whenever you it!

 ADD-ON JOURNAL WITH GOLD-FOIL STICKERS 

Why save gratitude for special days when you can savor it every day by writing it down in an inspiring journal? The Thoughts of Thanks Journal is an add-on option featuring the same colors and elegant designs as the With Love & Gratitude Paper Pumpkin Kit. It also comes with two specialty gold foil sticker sheets to accent the journal pages and help remind us of all the reasons to be grateful. If you’re excited about this beautiful add-on journal, don’t wait to get yours! It’s only available while supplies last.

 PLEASE NOTE: Paper Pumpkin is a monthly subscription kit. You can sign up for one month or buy a subscription in three months, six months or twelve months. You can also pause your subscription if you wish.


UPCOMING CLASSES

Friday, September 8th 10:00 am - 1:00pm (anyone who wants is welcome to go to lunch afterwards!)
 
Sunday, September 10th 2:00pm - 5:00 pm (light refreshments served)
 
Friday, September 22nd 10:00 am - 1:00pm (anyone who wants is welcome to go to lunch afterwards!)
 
Sunday, September 24th 2:00pm - 5:00 pm (light refreshments served)


Stencil Under Stamps Technique

 STENCILS UNDER STAMPS

(Thank you to Alisa Tilsner for this technique)


Supplies:
 
Stamps: 
Artistically Inked (154542)
Ink: 
Mossy Meadow (147111)
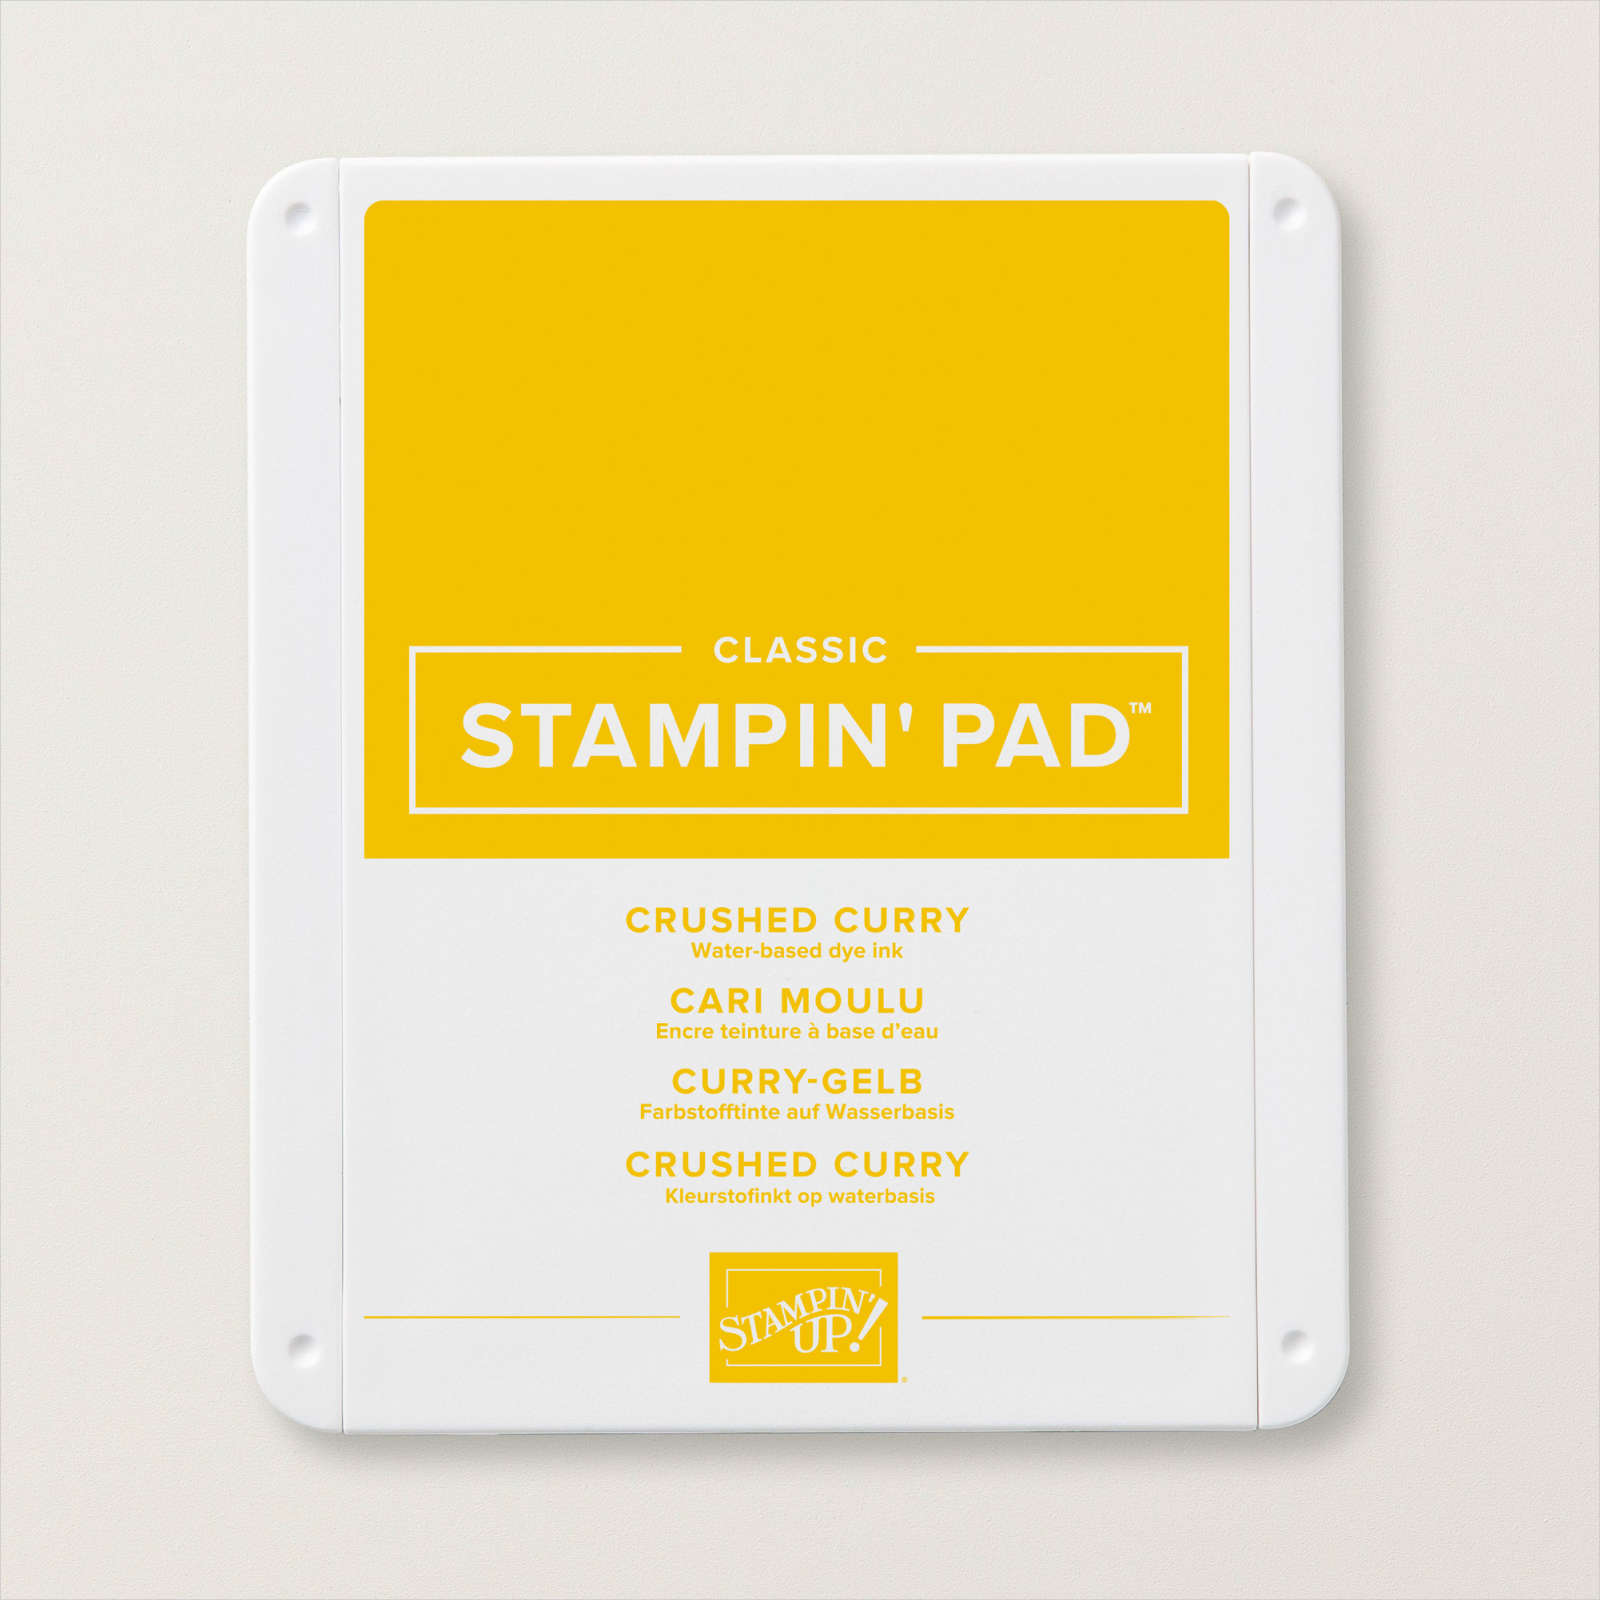
Crushed Curry (147087)
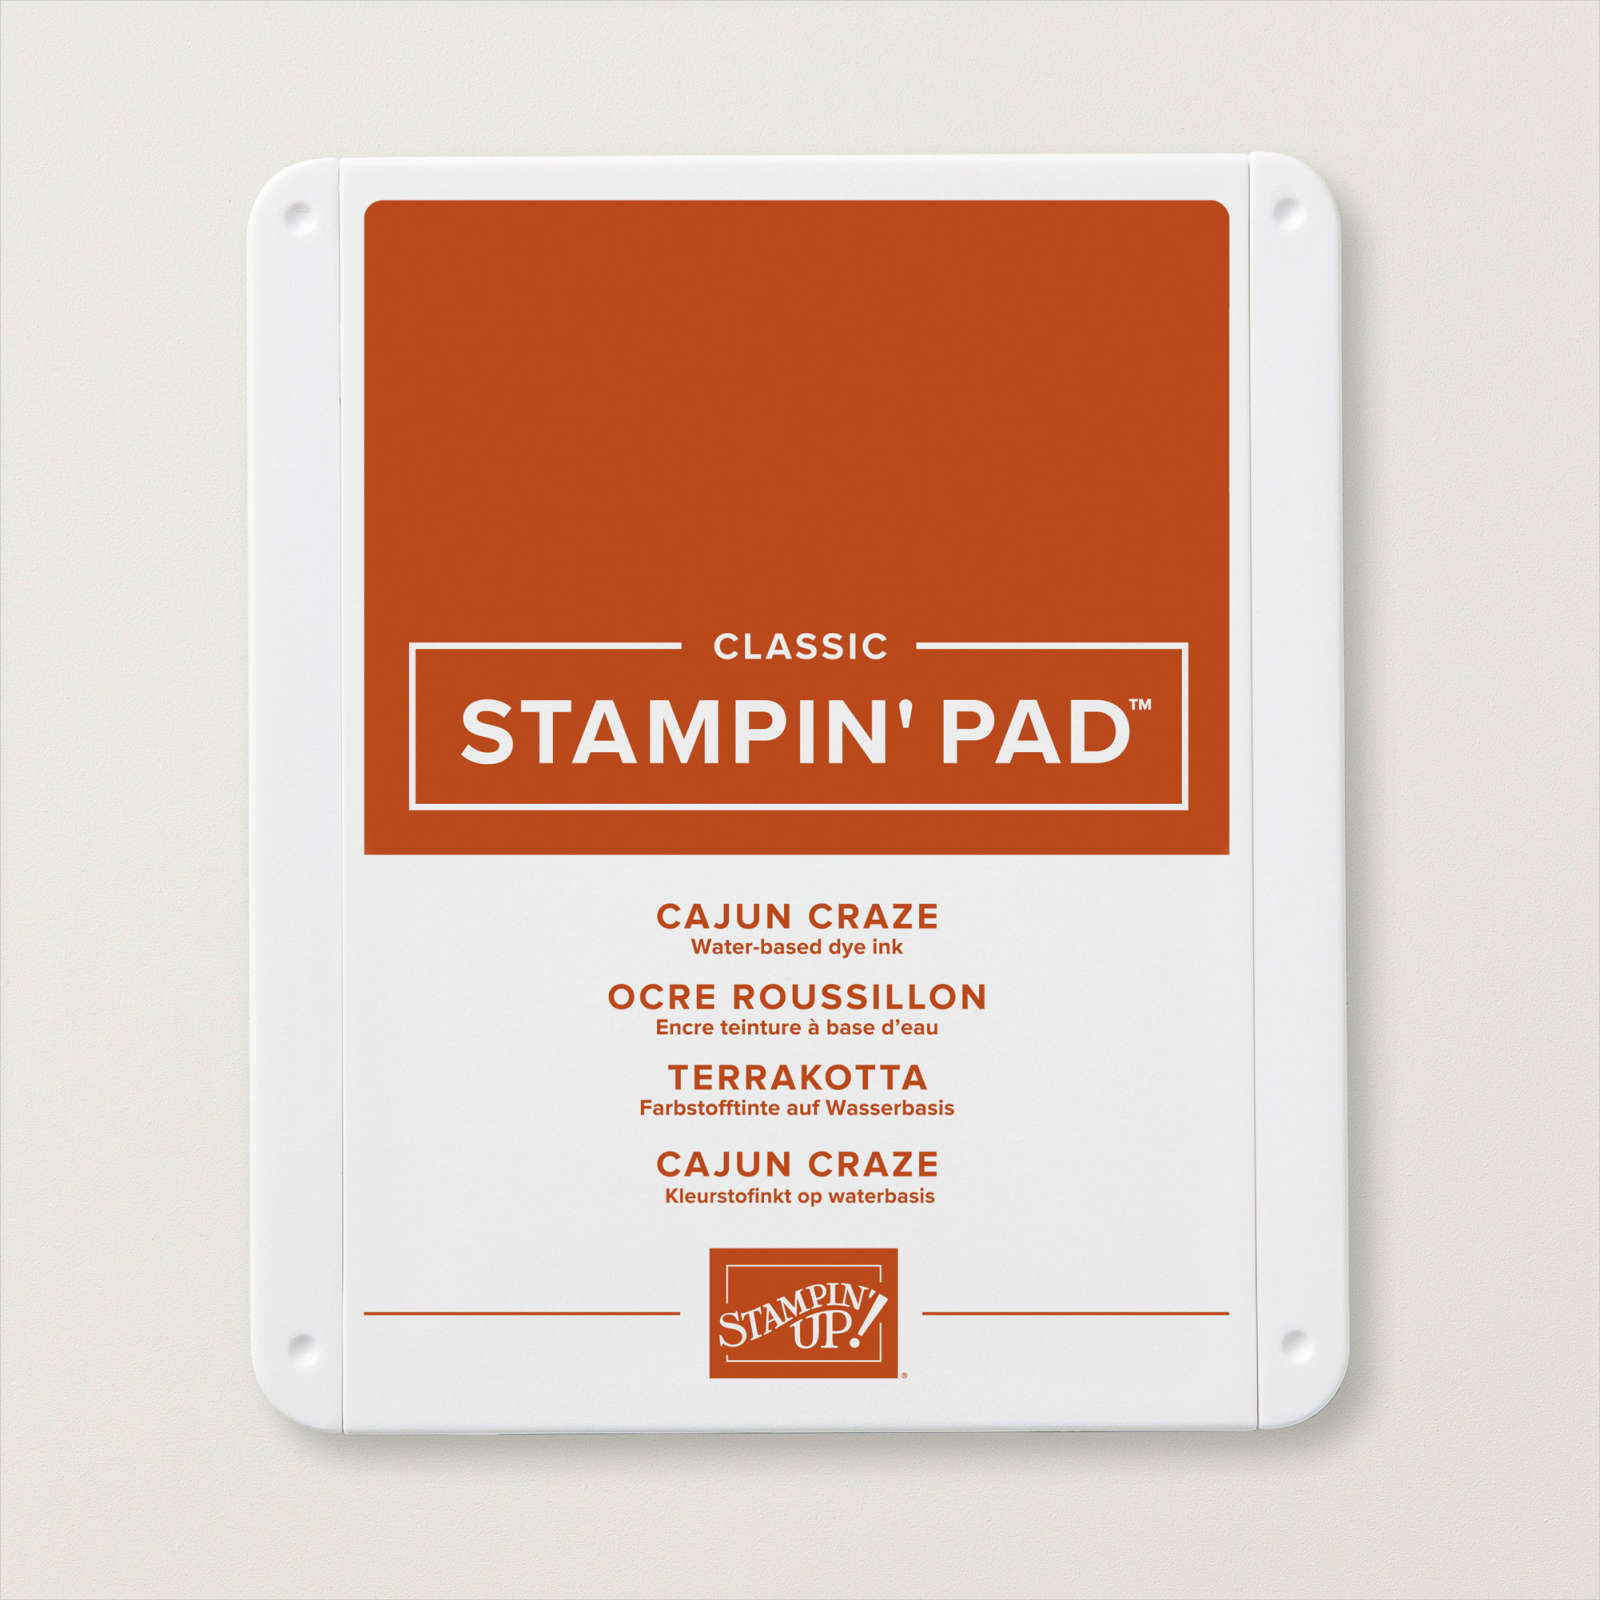
Cajun Craze (147085)
Old Olive (147090)
Cardstock:
Mossy Meadow (133676) – Three pieces; one piece cut to 4 ¼” x 11”, one piece cut to 4” x 4” (for die cut), and one piece cut to 1 3/8” x 7/8”
Basic White (159276) – Three pieces; one piece cut to 4” x 4”, one piece cut to 1 ¼” x ¾” and one piece cut to 5 ¼” x 4”
Accessories:
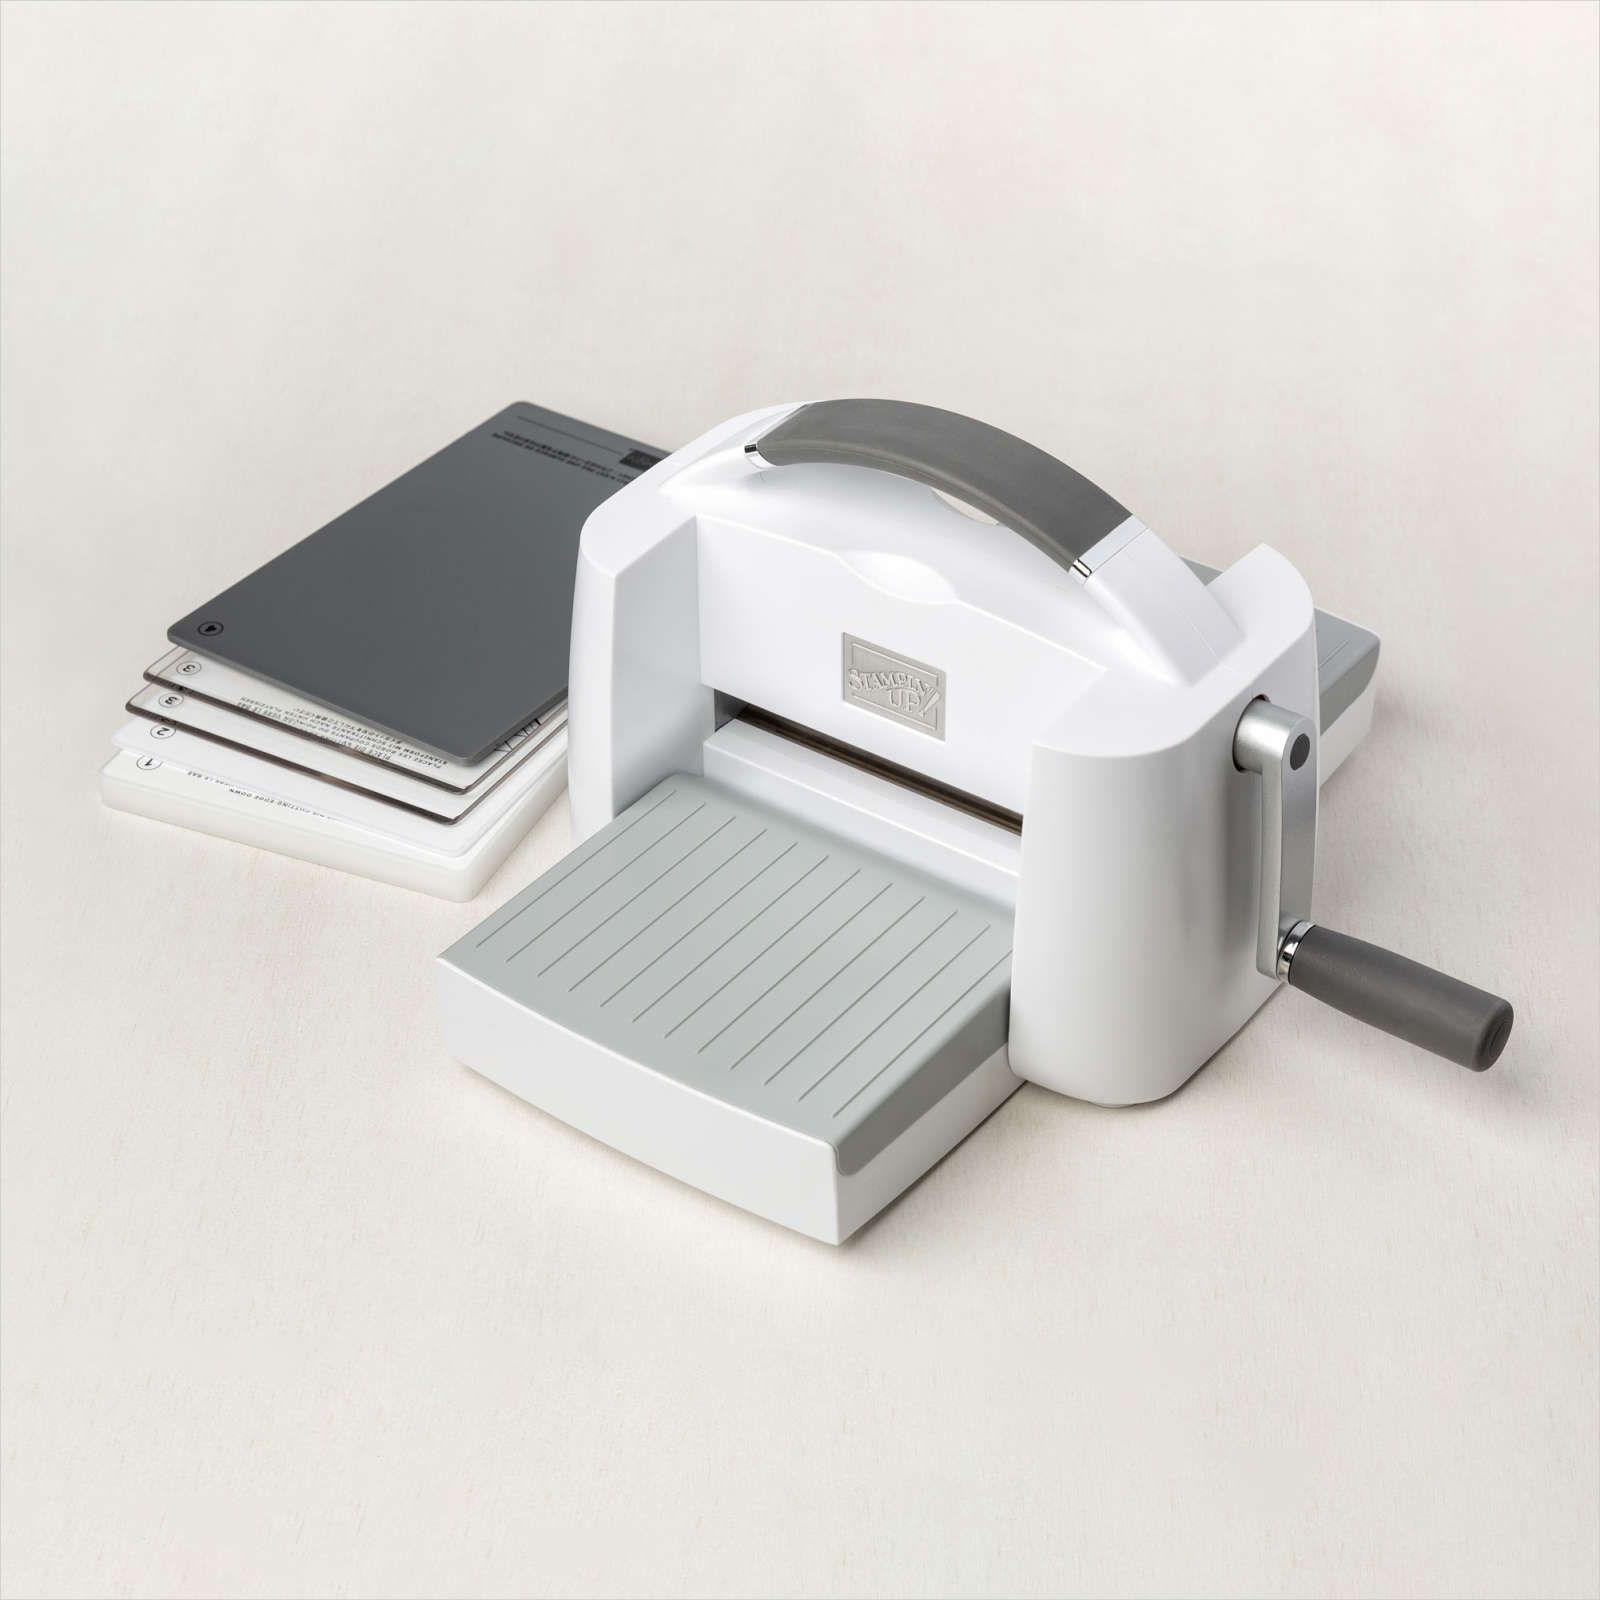
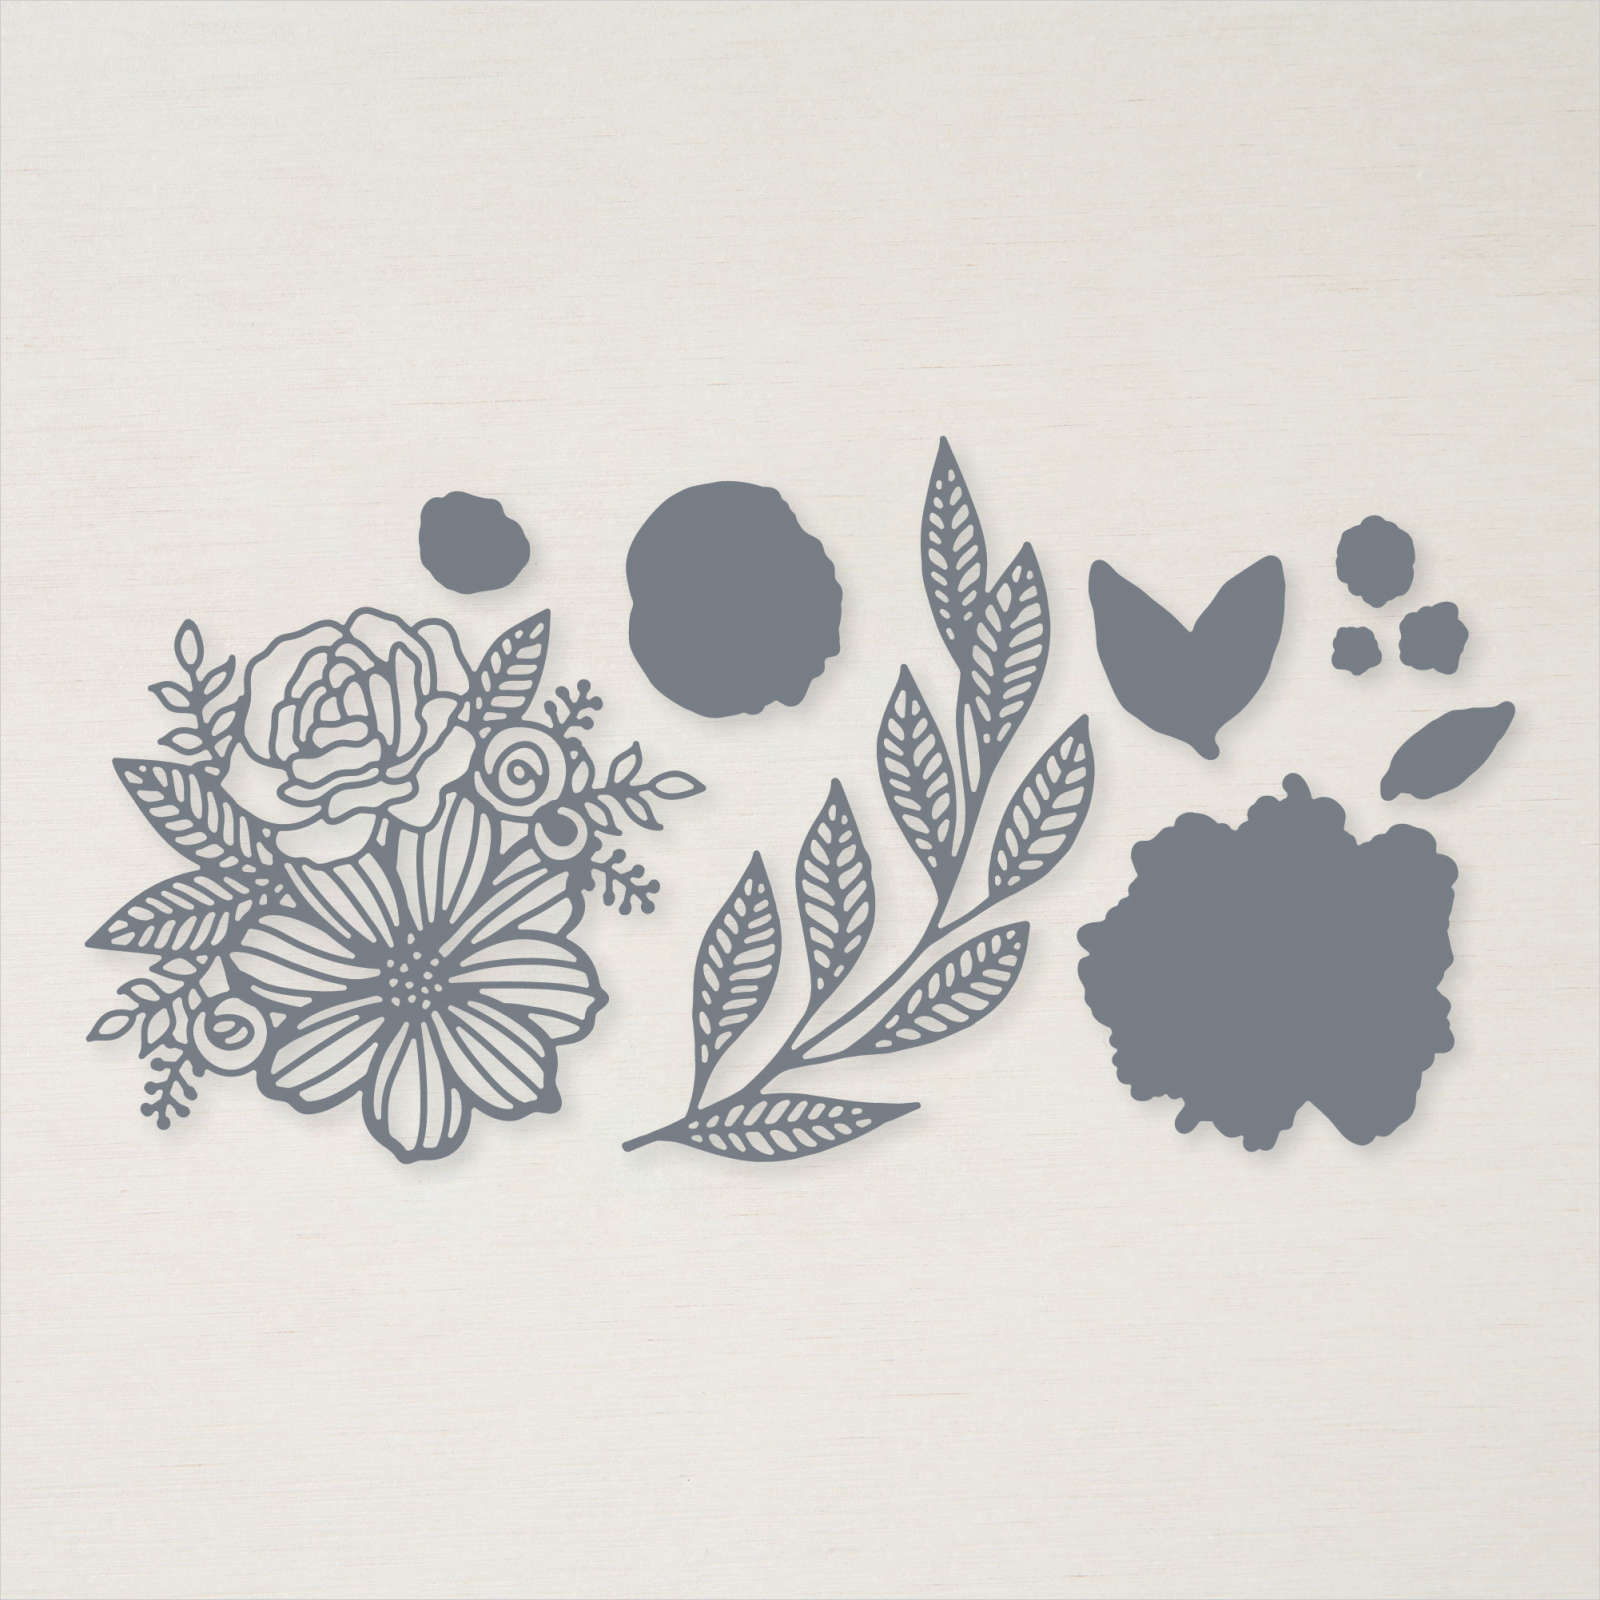
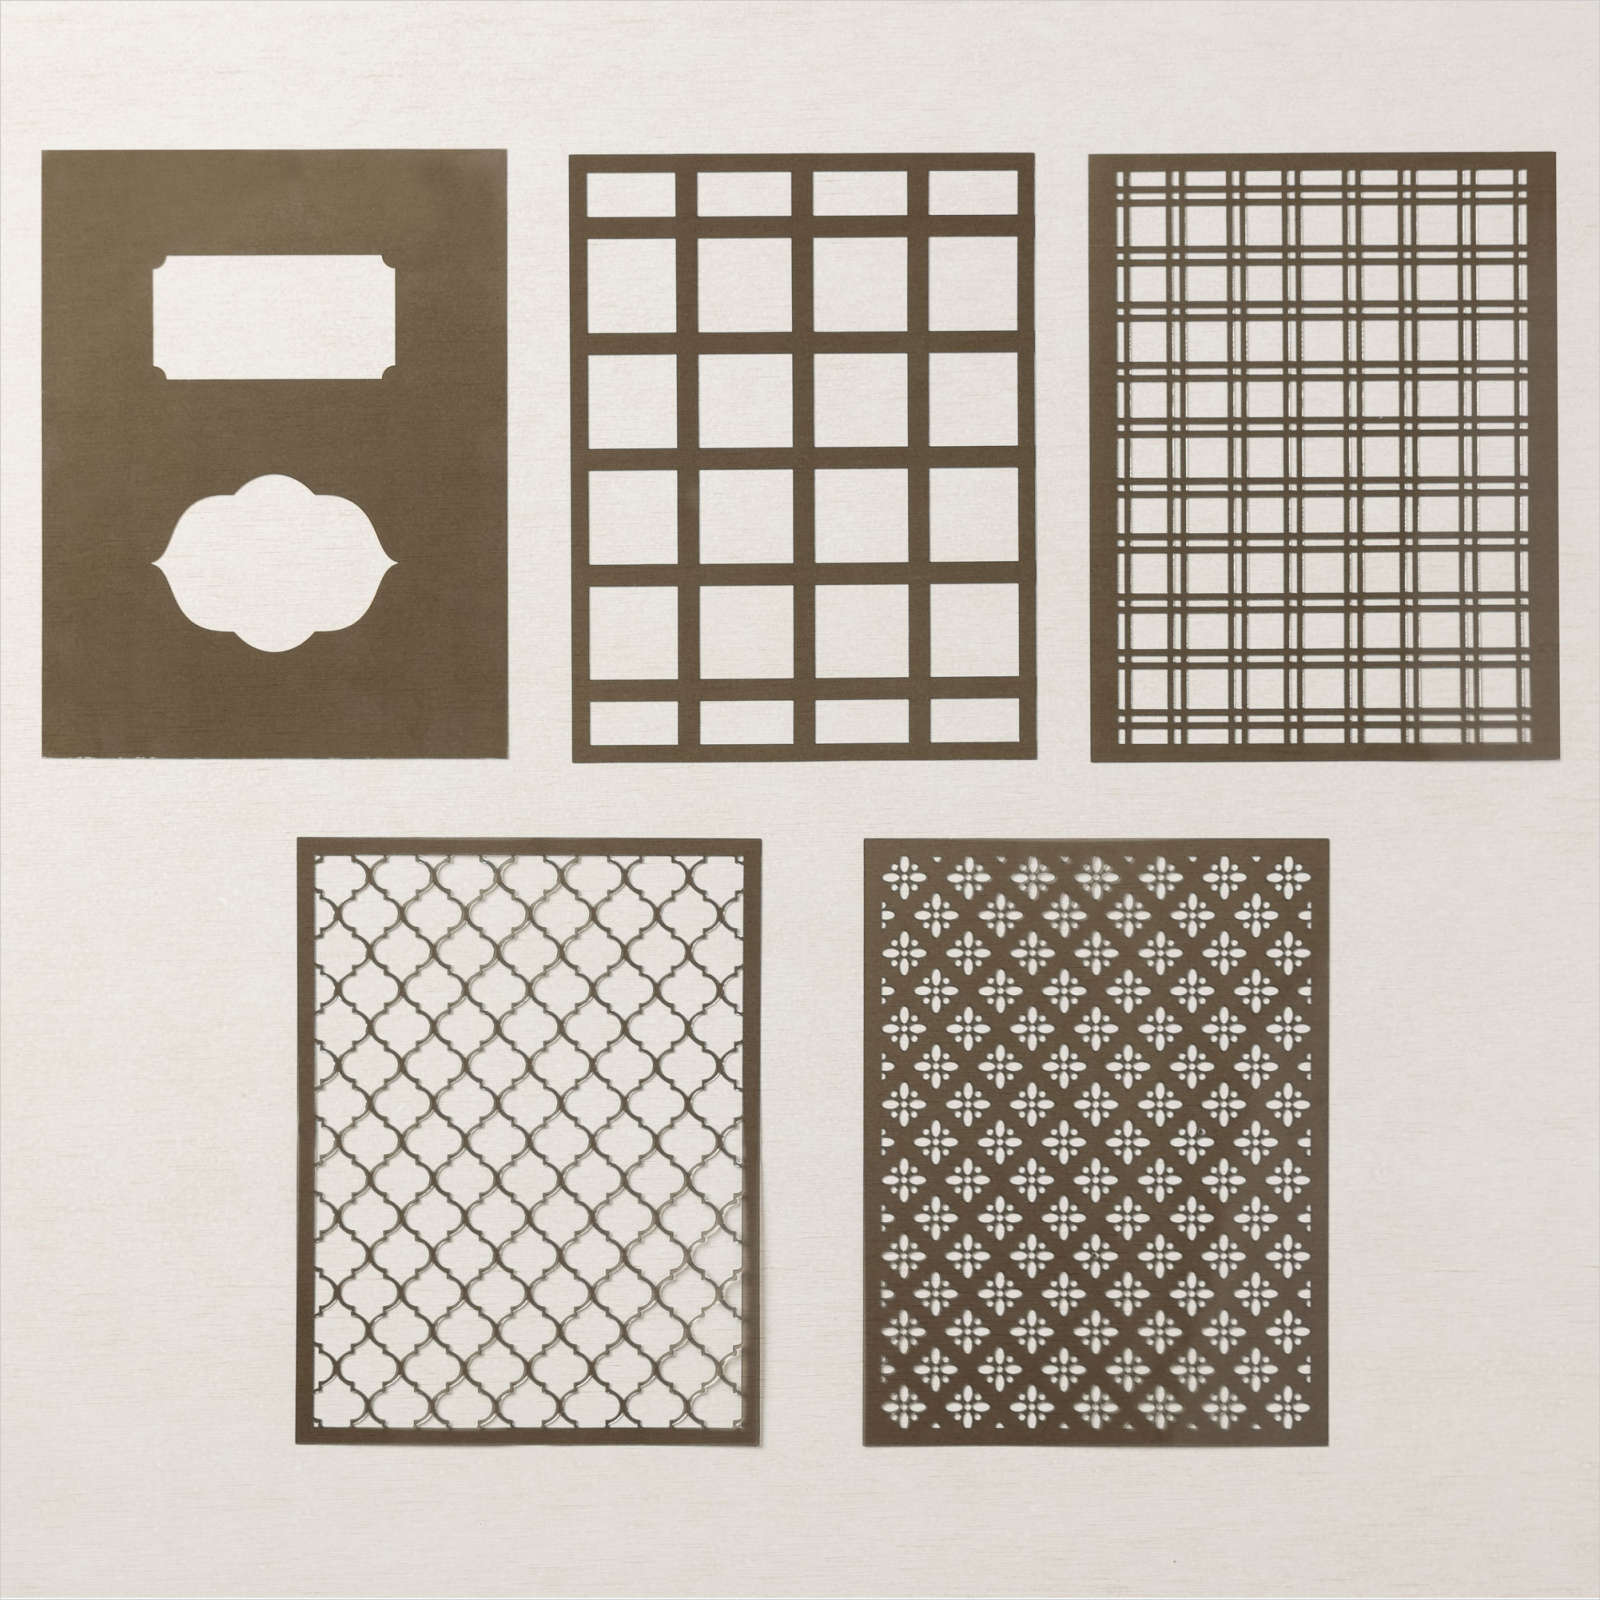
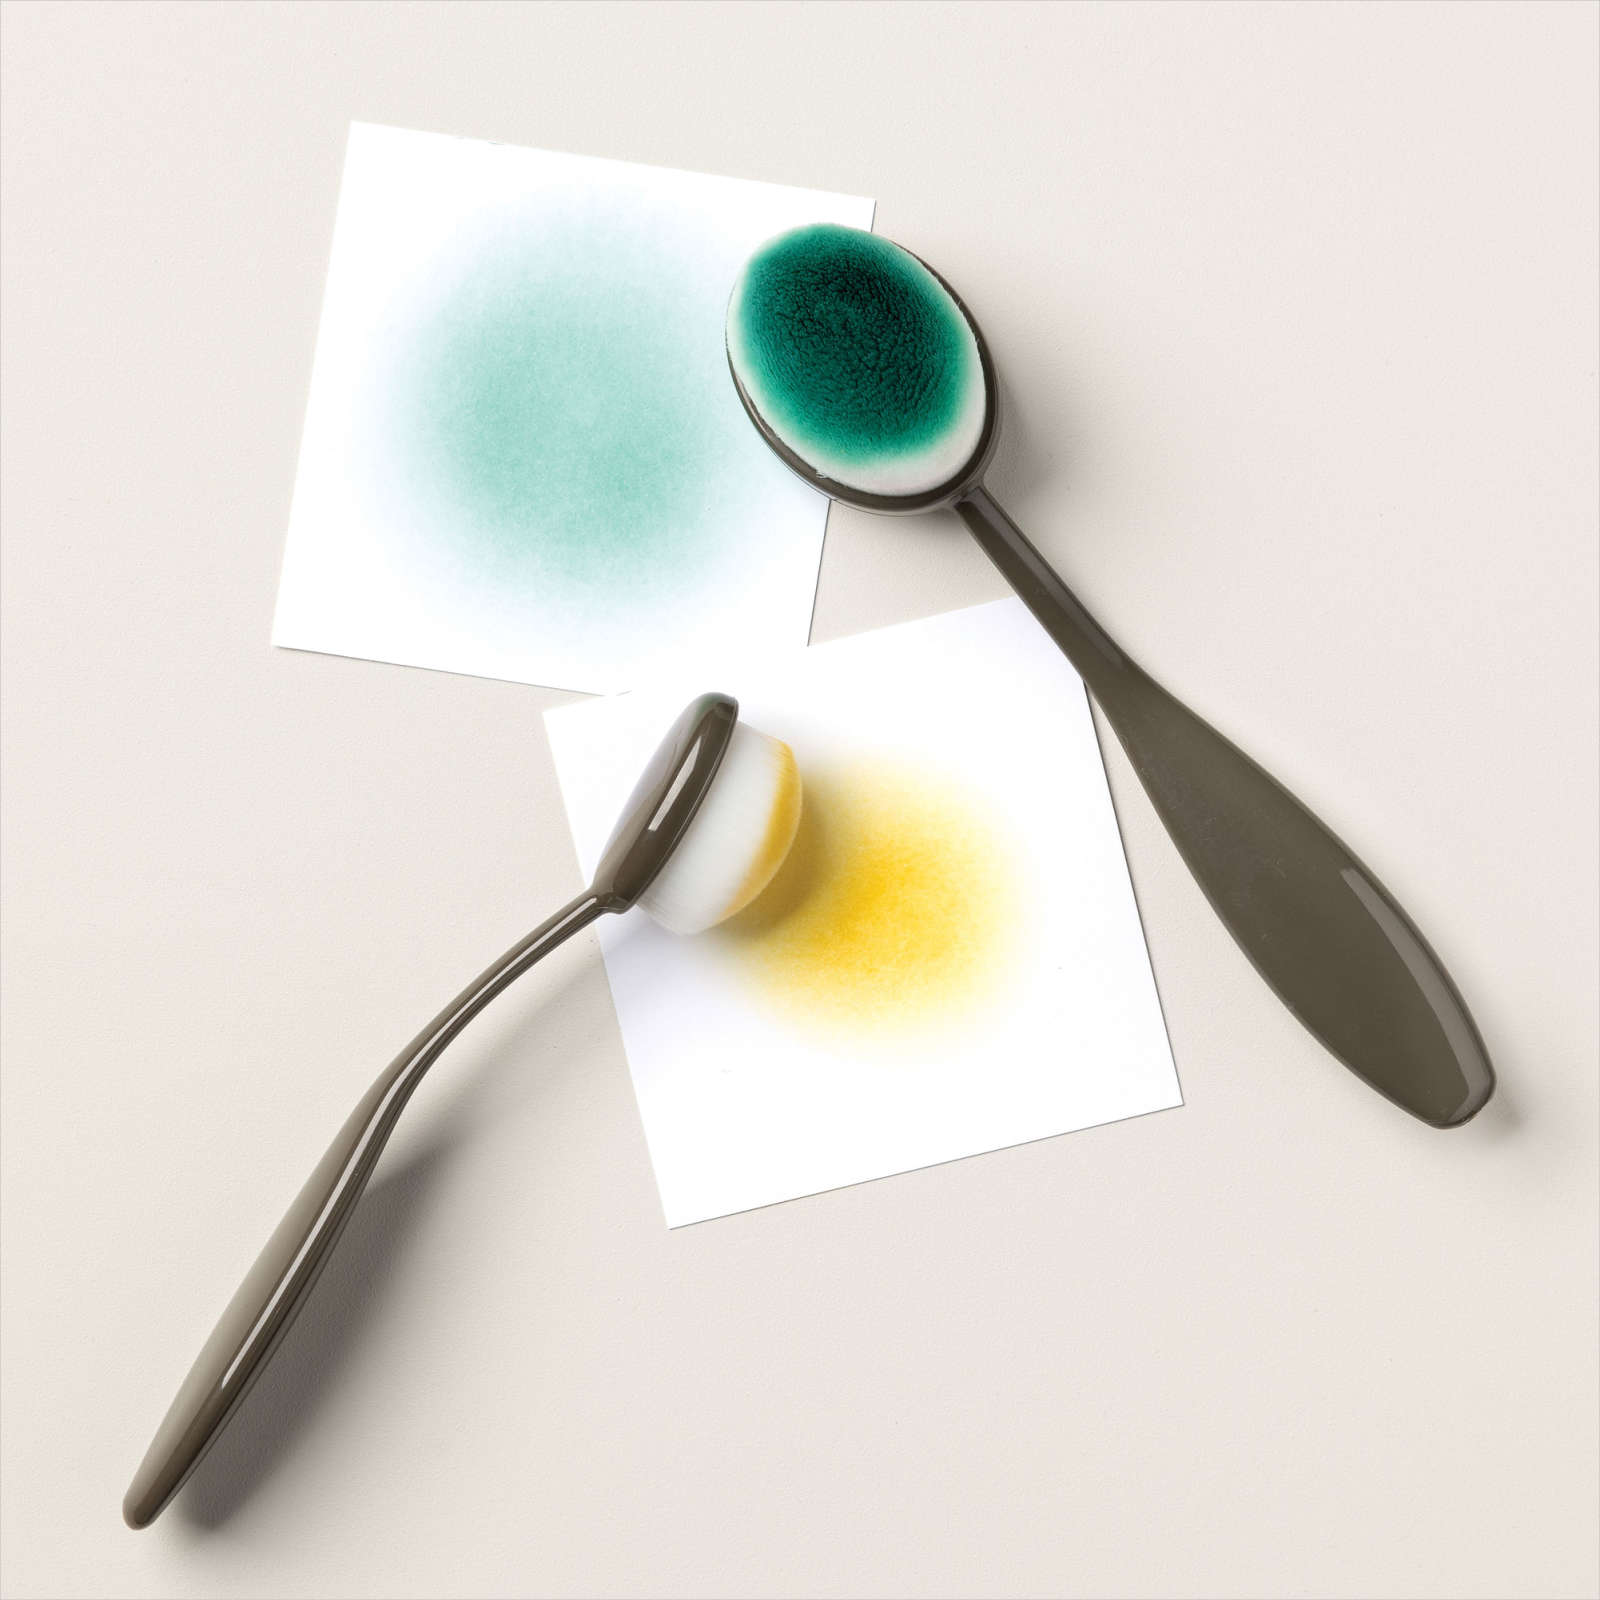
Adhesive of choice, Stampin’ Cut and Emboss Machine (149653), Artistic Dies (155371),  Artistic Mix Decorative Masks (159178)*, Blending Brushes (153611)
Technique:
Stencils under Dies – as demonstrated by Alisa Tilsner, Australia
 
*If you do not have the Artistic Mix Decorative Masks, any mask or stencil will work.
 
For a complete How To please see my Facebook Live dated 9/1/2023 HERE where I demonstrate this technique