These
cards were featured on my Facebook Live from December 13th and were created
using the Peaceful Nativity Bundle
found on page 17, the For Unto Us
stamp set found on page 35, and the Tree
Angle set found on page 22 of the August-December 2020 Mini Catalog. Also used were the Stitched Triangles Dies from page 179 of the Annual Catalog
Nativity Card
Supplies:
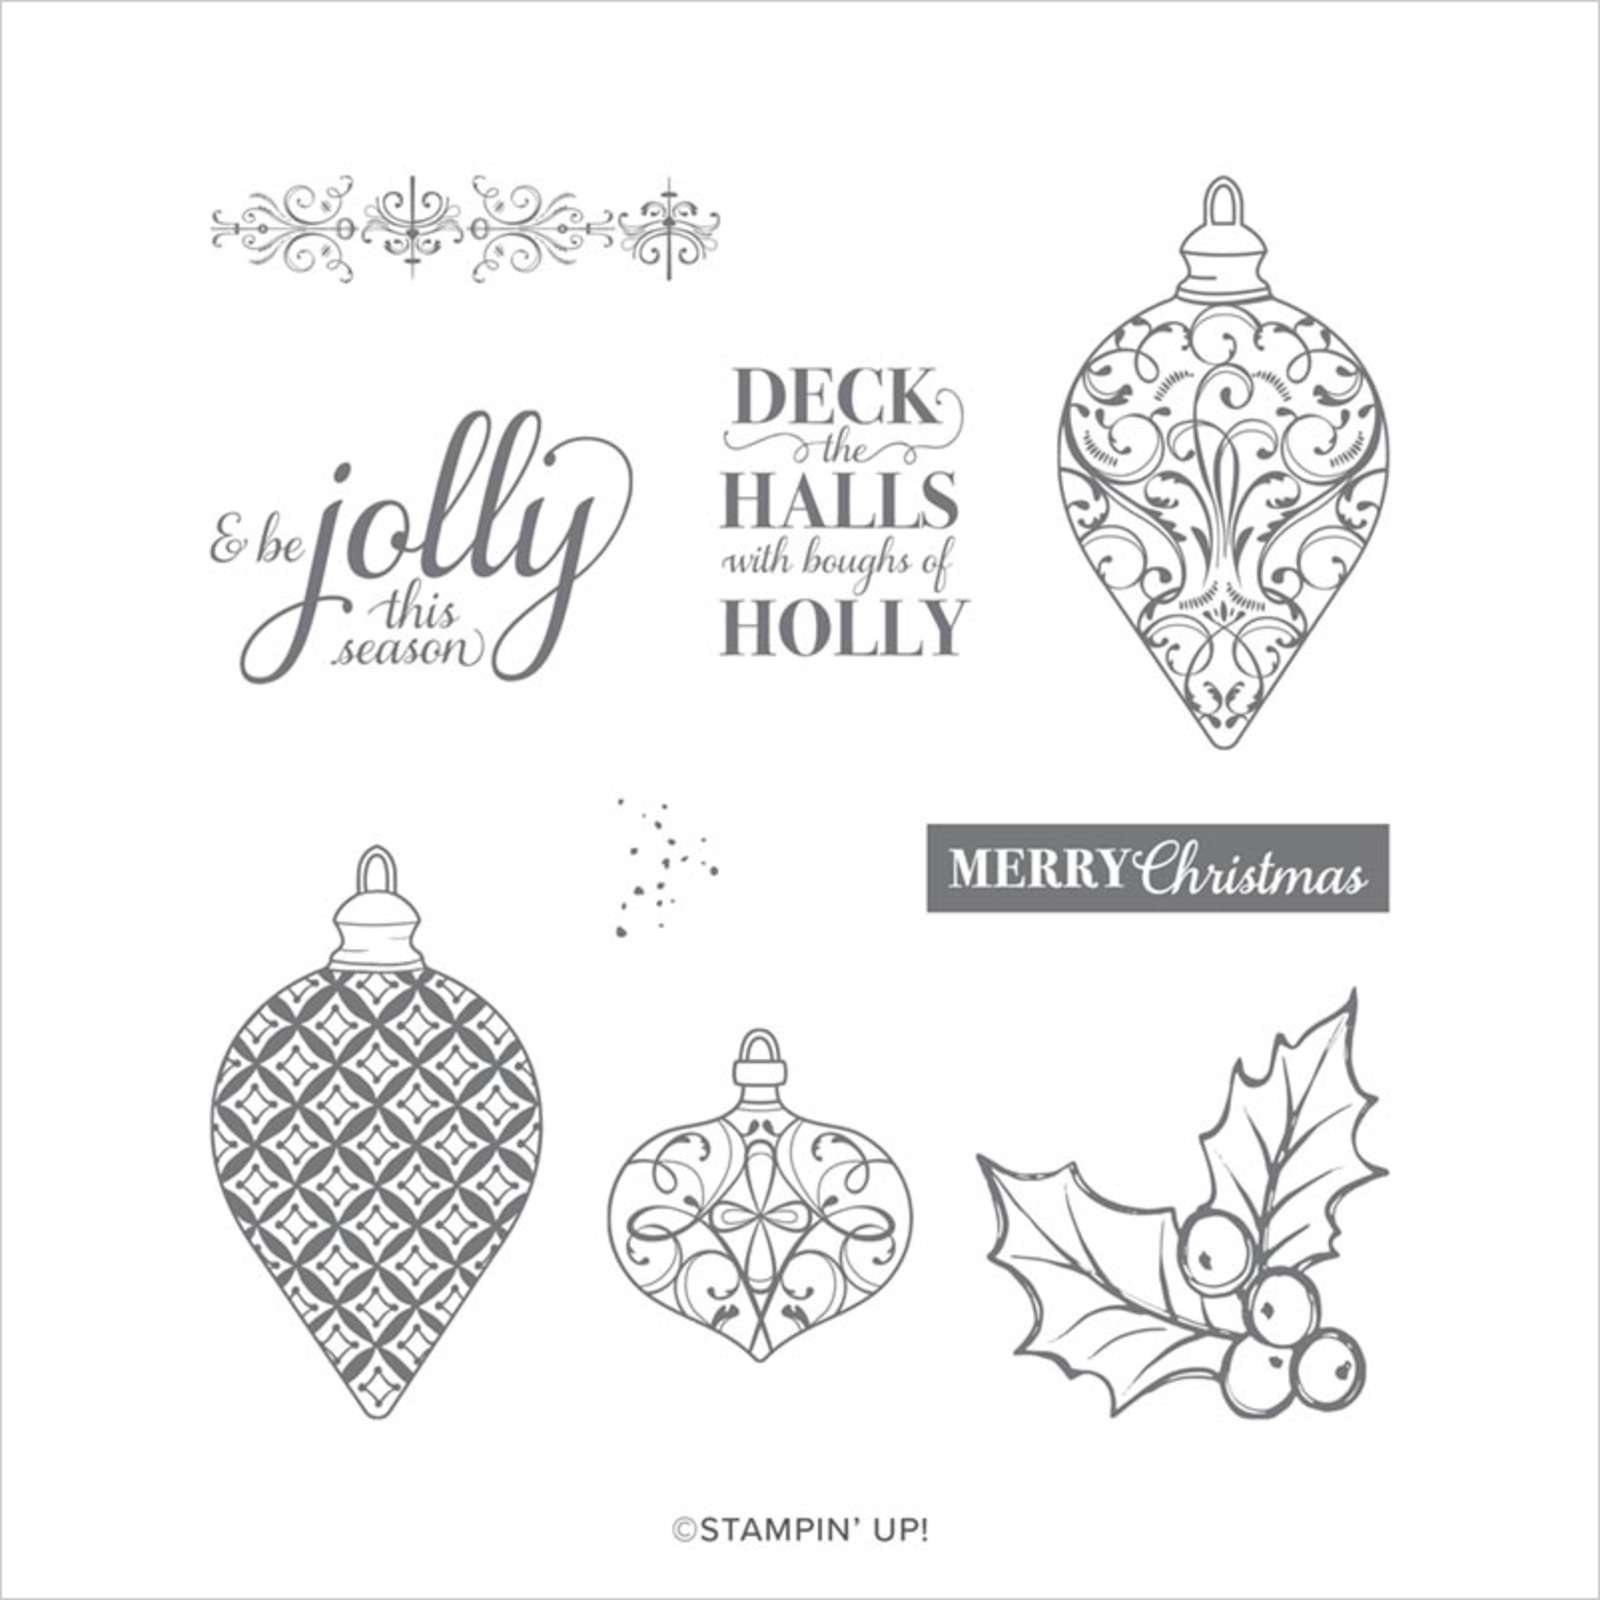
Stamps: Peaceful Nativity, For
Unto Us
Inks: Night of Navy, Early
Espresso and Memento Tuxedo Black
Stampin’ Blends: Ivory, Light Cinnamon Cider,
Dark Soft Suede, Light and Dark Crumb Cake, Light and Dark Balmy Blue, Dark
Smoky Slate, Light So Saffron and Dark Night of Navy
Stampin’ Write Marker: Bumblebee
Cardstock: Night of Navy – three pieces; one piece cut to
4 1/4” x 5 ½” and one cut to 3 ¼” x 5”
Whisper
White – three pieces; one piece cut to 1” x 5 1/4”, one cut to 2 ½’ x 4” and
one piece cut to 3” x 5”
Crumb
Cake – one piece cut to 3” x 4”
Smoky
Slate – one piece cut to 2” x 2 ½”
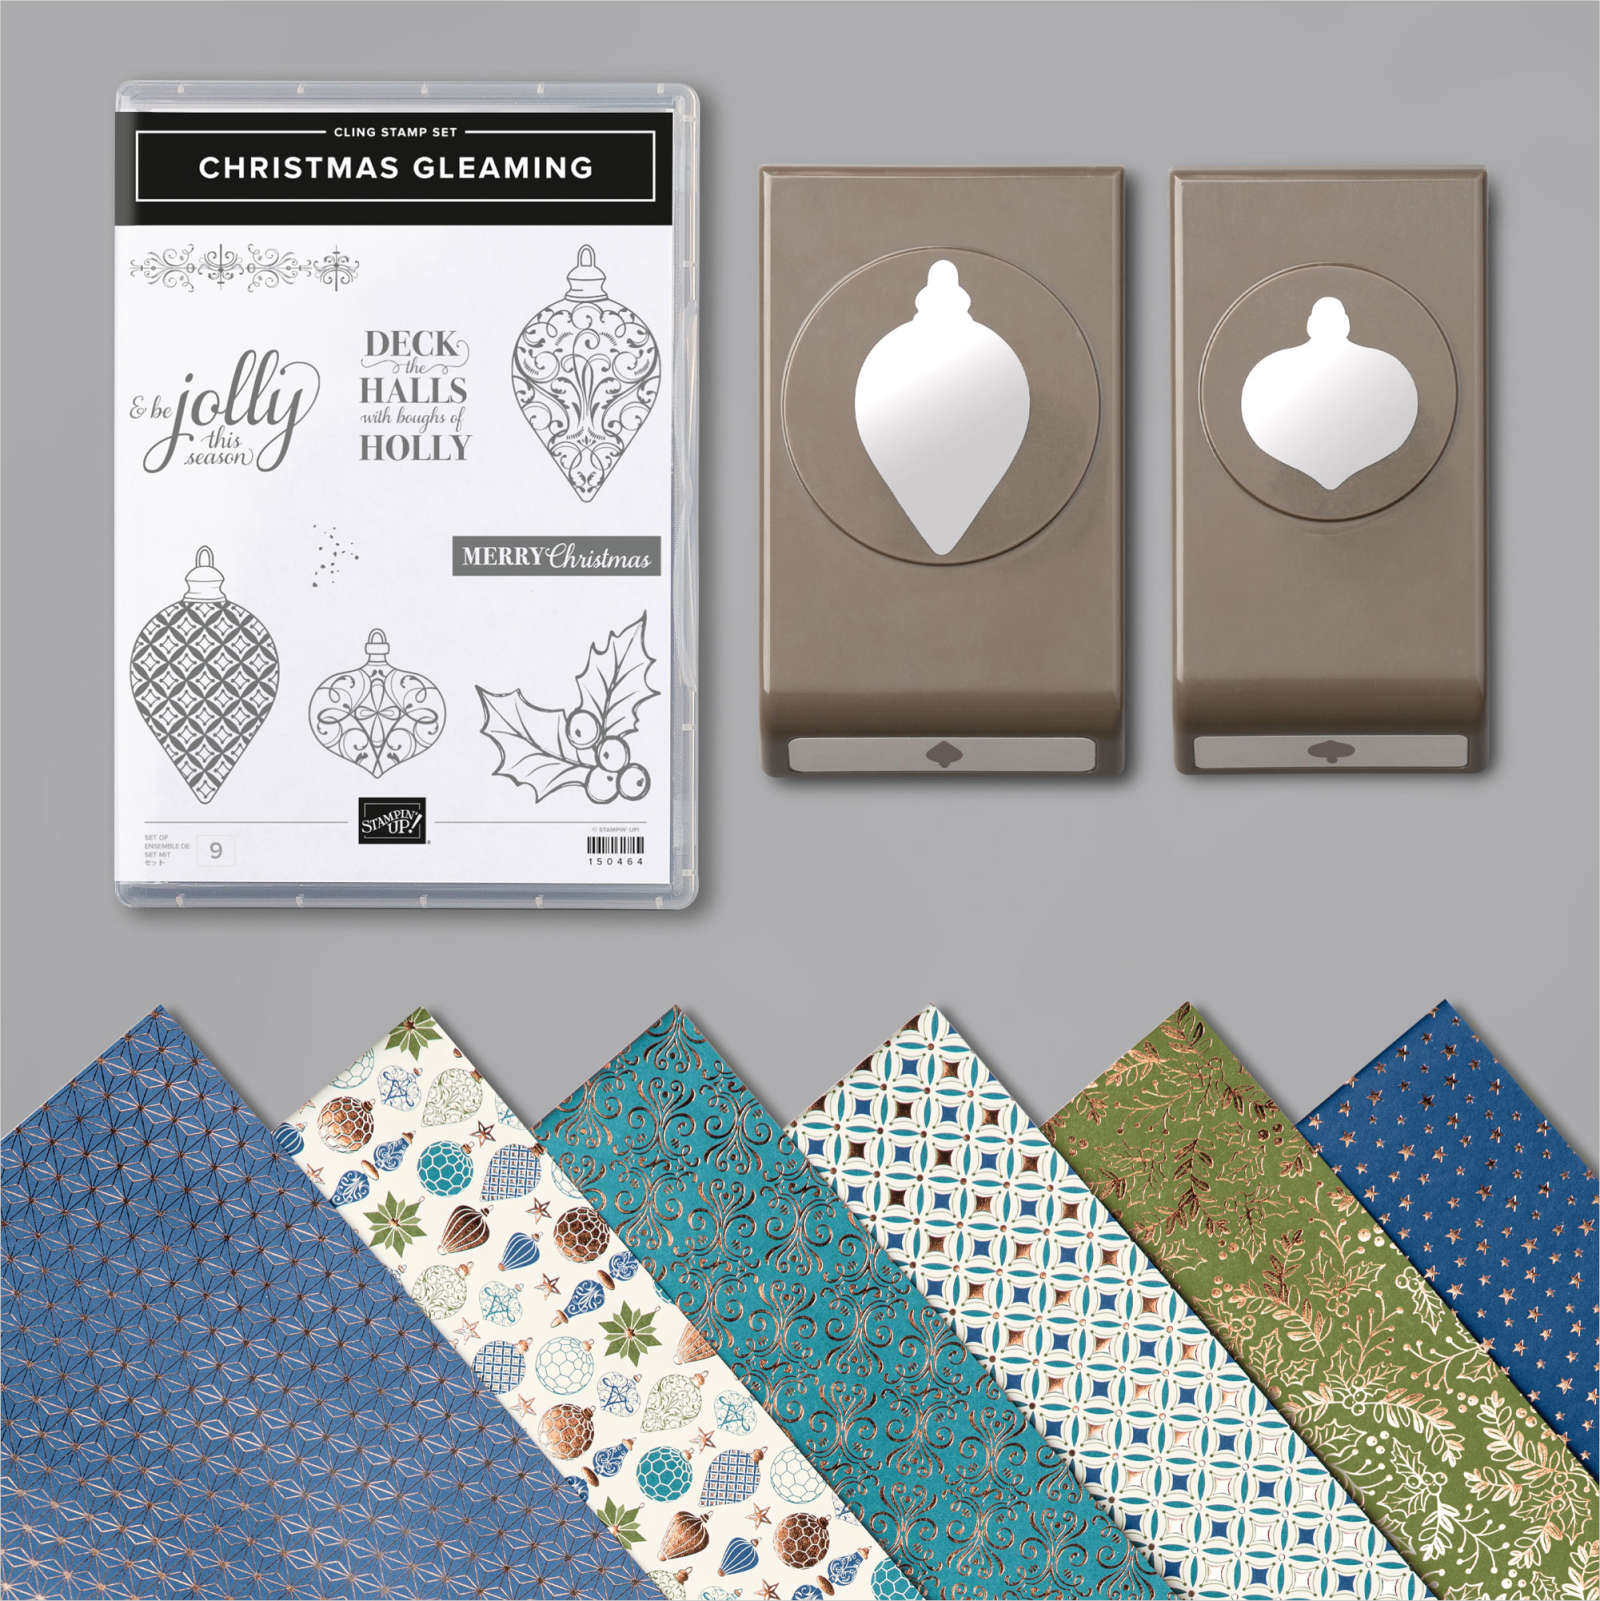
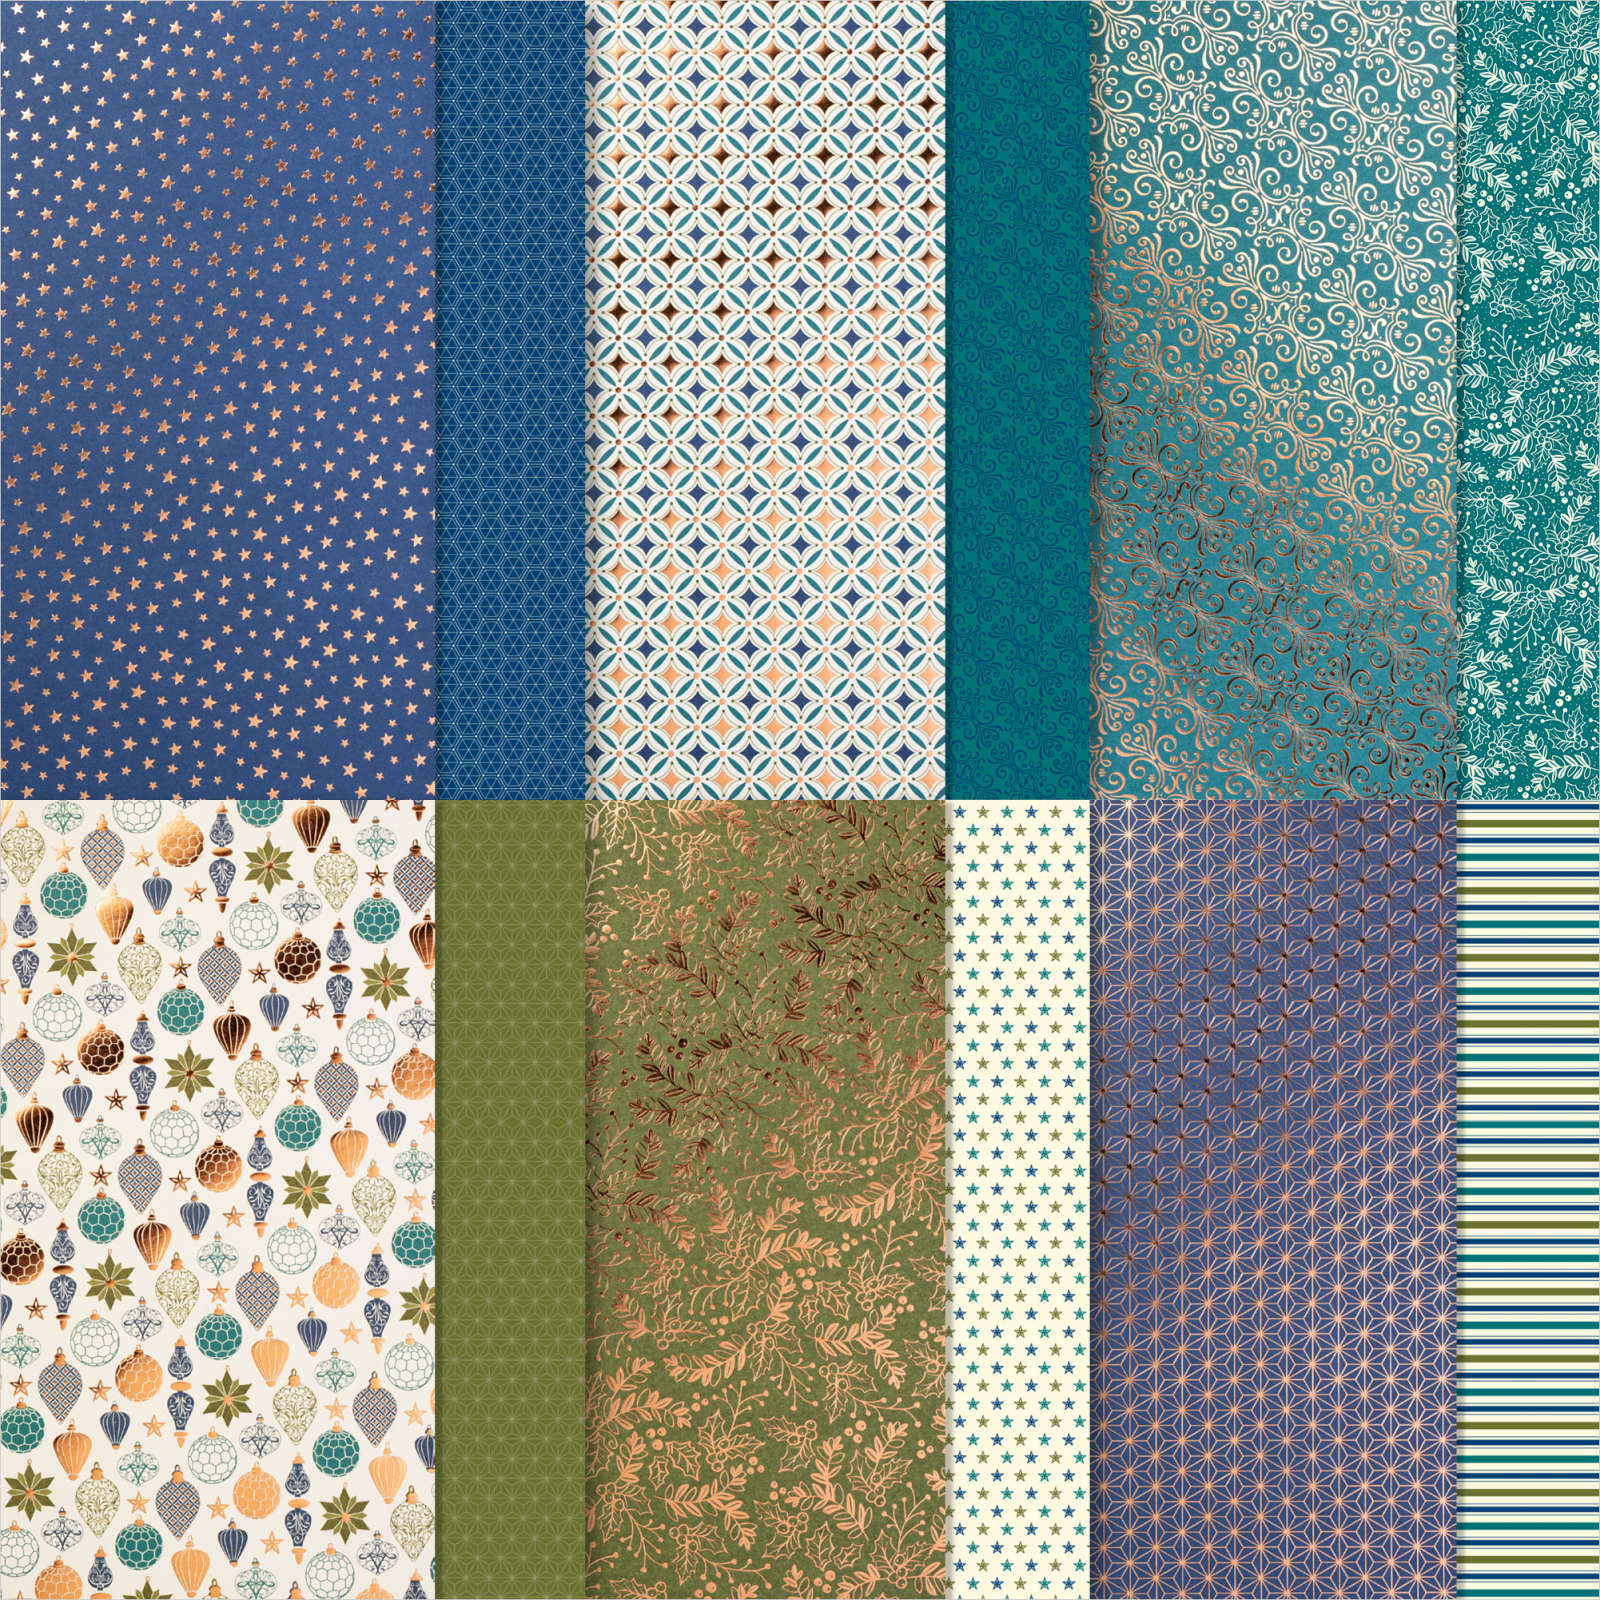
Designer Series Paper
(DSP): Brightly
Gleaming (see photo for pattern used) – three pieces, one piece cut to 4” x 5 ¼”,
one cut to 2 ½” x 4” and one cut to 1 ¼: x 6 ½”
Accessories: Adhesive of choice, Tear n’ Tape or Tombow
adhesive, Nativity dies, Stampin’ Trimmer and Blender Pen
Directions:
Adhere
the 4” x 5 ¼” piece of DSP to the 4 ¼” x 5 ½” piece of Night of Navy
Cardstock. Score this piece at 2 ¾”
creating a fold down the middle. Score the 3 ¼” x 5” piece of Night of Navy
cardstock along the 5” side at ½”, 2 ½” and 4 ½”. (Tip, if you are creating a different card
and want to stamp directly on this panel, make the 2 ½” score AFTER you have
stamped your image). Use the Early
Espresso ink to stamp the stable image onto the Crumb Cake cardstock. Use the blender pen to blend the Early
Espresso ink so the top of the stable and the wooden pieces have a blended
color. Cut out the image using the coordinating die from the Nativity Dies. Use Memento ink to stamp the Mary, Joseph and
Baby images and the sheep image onto the 3” x 5” piece of Whisper White cardstock. Color the Mary, Joseph and Baby image as
follows: Ivory blends for their hands
and faces, Light Cinnamon Cider Blends for their hair, Light and Dark Crumb
Cake Blends for Joseph’s robe and the base of the manger, Light and Dark Balmy
Blue Blends for Mary’s robe (leave the head piece white) and Bumblebee Stampin’
Write Marker for the hay in the manger.
There will be a white edge left by the die cut around the edge. I chose to color mine around the outside of
the image so it would blend in with the Night of Navy background. Before cutting, I colored around the outside
of the image with the Dark Night of Navy Blends and I used Light So Saffron
around the Baby to give him a glow. Color
the Sheep using Ivory Blends for it’s face and Dark Smoky Slate Blends for its
hooves. Cut both pieces out using the
coordinating dies from the Nativity Dies.
Use Memento ink to stamp the Donkey image onto the 2” x 2 ½” piece of
Smoky Slate cardstock. Color the hooves
with the Dark Smoky Slate Blends. Cut
out using the coordinating die from the Nativity Dies. Adhere the Stable piece and the Mary, Joseph
and Baby images to the 3 ¼” x 5” piece of Night of Navy Cardstock using the
center score line as a guide to center the pieces. Place Tear ‘n Tape onto the ½” scored ends to
the 3 ¼” x 5” Night of Navy piece and adhere to the card base (see photo for
placement) aligning the center score lines.
Use Night of Navy to stamp the sentiment onto the 1” x 5 ¼” piece of
Whisper White cardstock. Cut the ends of this piece to resemble a banner. Set
aside. Score the 1 ¼” x 6 ½” piece of DSP at ½” from each end. Adhere the
sentiment piece to the DSP. Use Tombow
adhesive to attach the Sheep image and the Donkey image onto the Banner/DSP
piece. (see photo for placement) Use Tear ‘n Tape or Tombow to adhere this
piece to the card base, wrapping the ½” sections to the back. On the back of the card base, adhere the 2 ½”
x 4” piece of Whisper White cardstock on the left hand side and the 2 ½” x 4”
piece of DSP to the right side.
Joy and Cheer Card
Supplies:
Stamps: Tree Angle
Inks: Misty Moonlight and Old Olive, Early Espresso
Stampin’ Blends: Dark Mossy Meadow
Cardstock: Whisper White – three pieces; one cut to 8 ½”
x 5 ½” and scored at 4 ¼”, one piece cut to 4” x 5 ¼” and one piece cut to ¾” x
3 ½”
Designer Series Paper
(DSP): Trimming the Town – two
pieces; one piece cut to 4” x 5 ¼” and one piece cut to 1 ½” x 5 ½” (see photo
for pattern used)
Accessories: Adhesive of choice, Stampin’ Dimensionals, Clear
Envelope, regular tape, Stiched Triangle dies, Banners Pick a Punch, Mini Glue
Dots or Tombow, Tear ‘n Tape, Stampin’ Dimensionals and Snowflake Sequins
Directions:
Use
Old Olive ink to stamp the trees (see photo for images used) and Early Espresso
to stamp two trunks onto the 4” x 5 ¼” piece of Whisper White Cardstock. Use the coordinating Stitched Triangle dies
to cut out the trees. Cut the tree
trunks by hand leaving some white at the top of each trunk to allow it to be
attached to the tree with a Mini Glue Dot or Tombow adhesive. Use Misty Moonlight ink to stamp the
sentiment onto the ¾”x 3 ½” piece of Whisper White cardstock toward the right
side of the piece. Use the Banners Pick
a Punch to make a banner end on the piece.
Set this piece and the trees aside.
Slide the 4” x 5 ¼” piece of DSP into the clear envelope. Place some Snowflake Sequins into the
envelope as well. Wrap the excess of the
clear envelope to the back of this piece and secure with regular tape. Wrap the 1 ½” x 5 ½” piece of DSP around this
piece (see photo for placement) and secure the the back with either regular
tape or adhesive, adhere the smaller of the two trees close to the right edge
of the card front aligning the trunk of the tree with the bottom of the strip
of DSP. Use Stampin’ Dimensionals to
attach the larger tree also aligning the trunk of the tree with the bottom of
the strip of DSP. Use Stampin’ Dimensionals to adhere the sentiment to this
piece trimming the left side of the sentiment piece even with the left side of
the card front. . Line the back edges of the card front with
Tear ‘n Tape placing as close to the edges as possible. Remove the liner from the tape and adhere to
the card base.
All of these sets have limitless
possibilities for Holiday cards!
Remember,
if you would like to purchase any of the supplies to make these cards, just
click the “Shop Now” button above to be taken to my Online Store. Be sure to use the Host Code (also listed
above) if your order is under $150 (if your order is over $150 be sure to take
advantage of the Host Rewards offered by Stampin’ Up!)
See
you next Sunday (December 20th) at 2pm on my Facebook Live!


