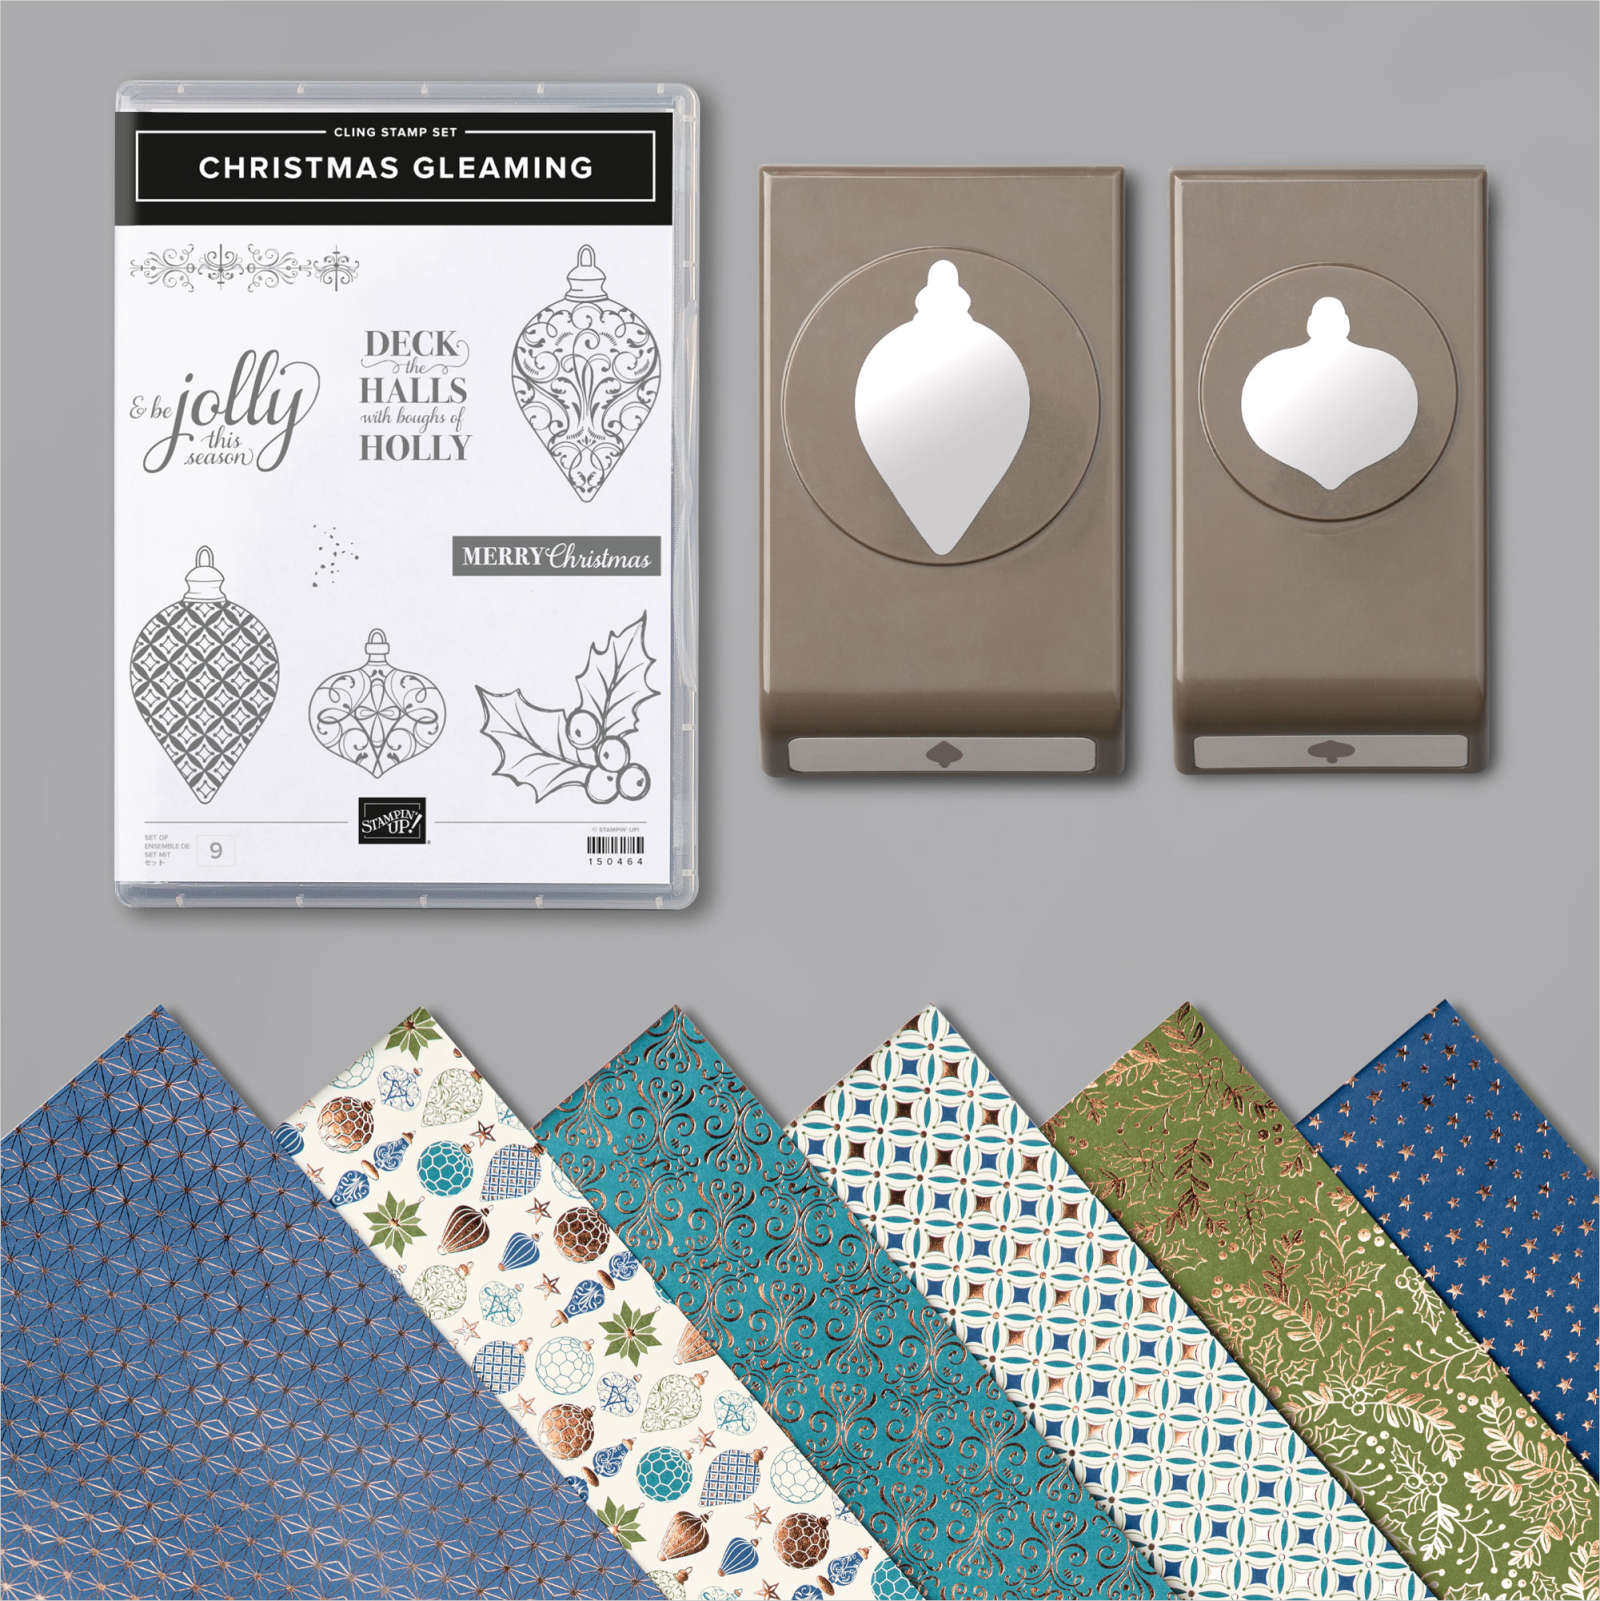
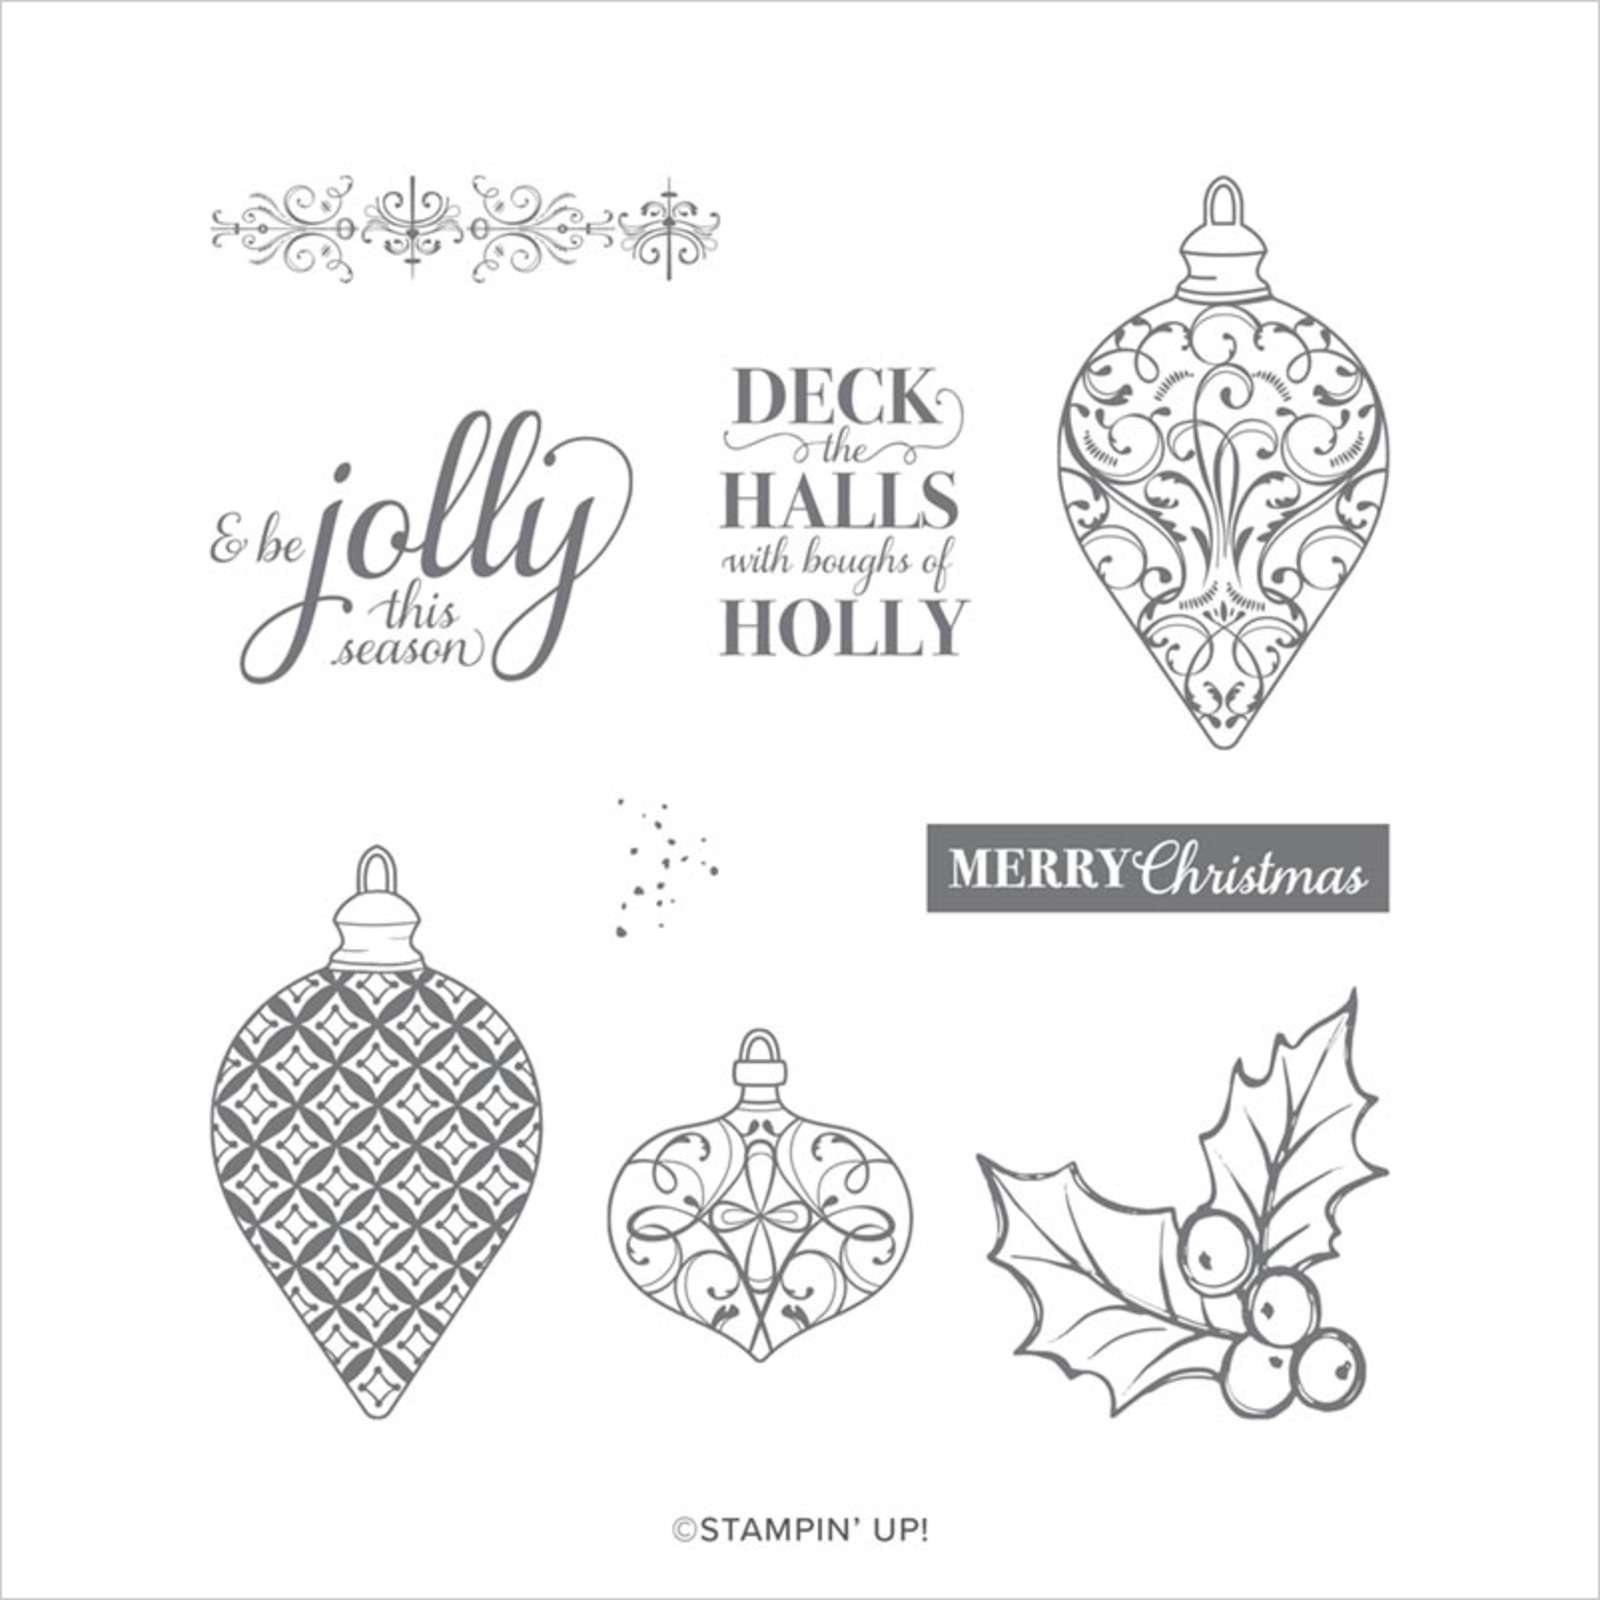
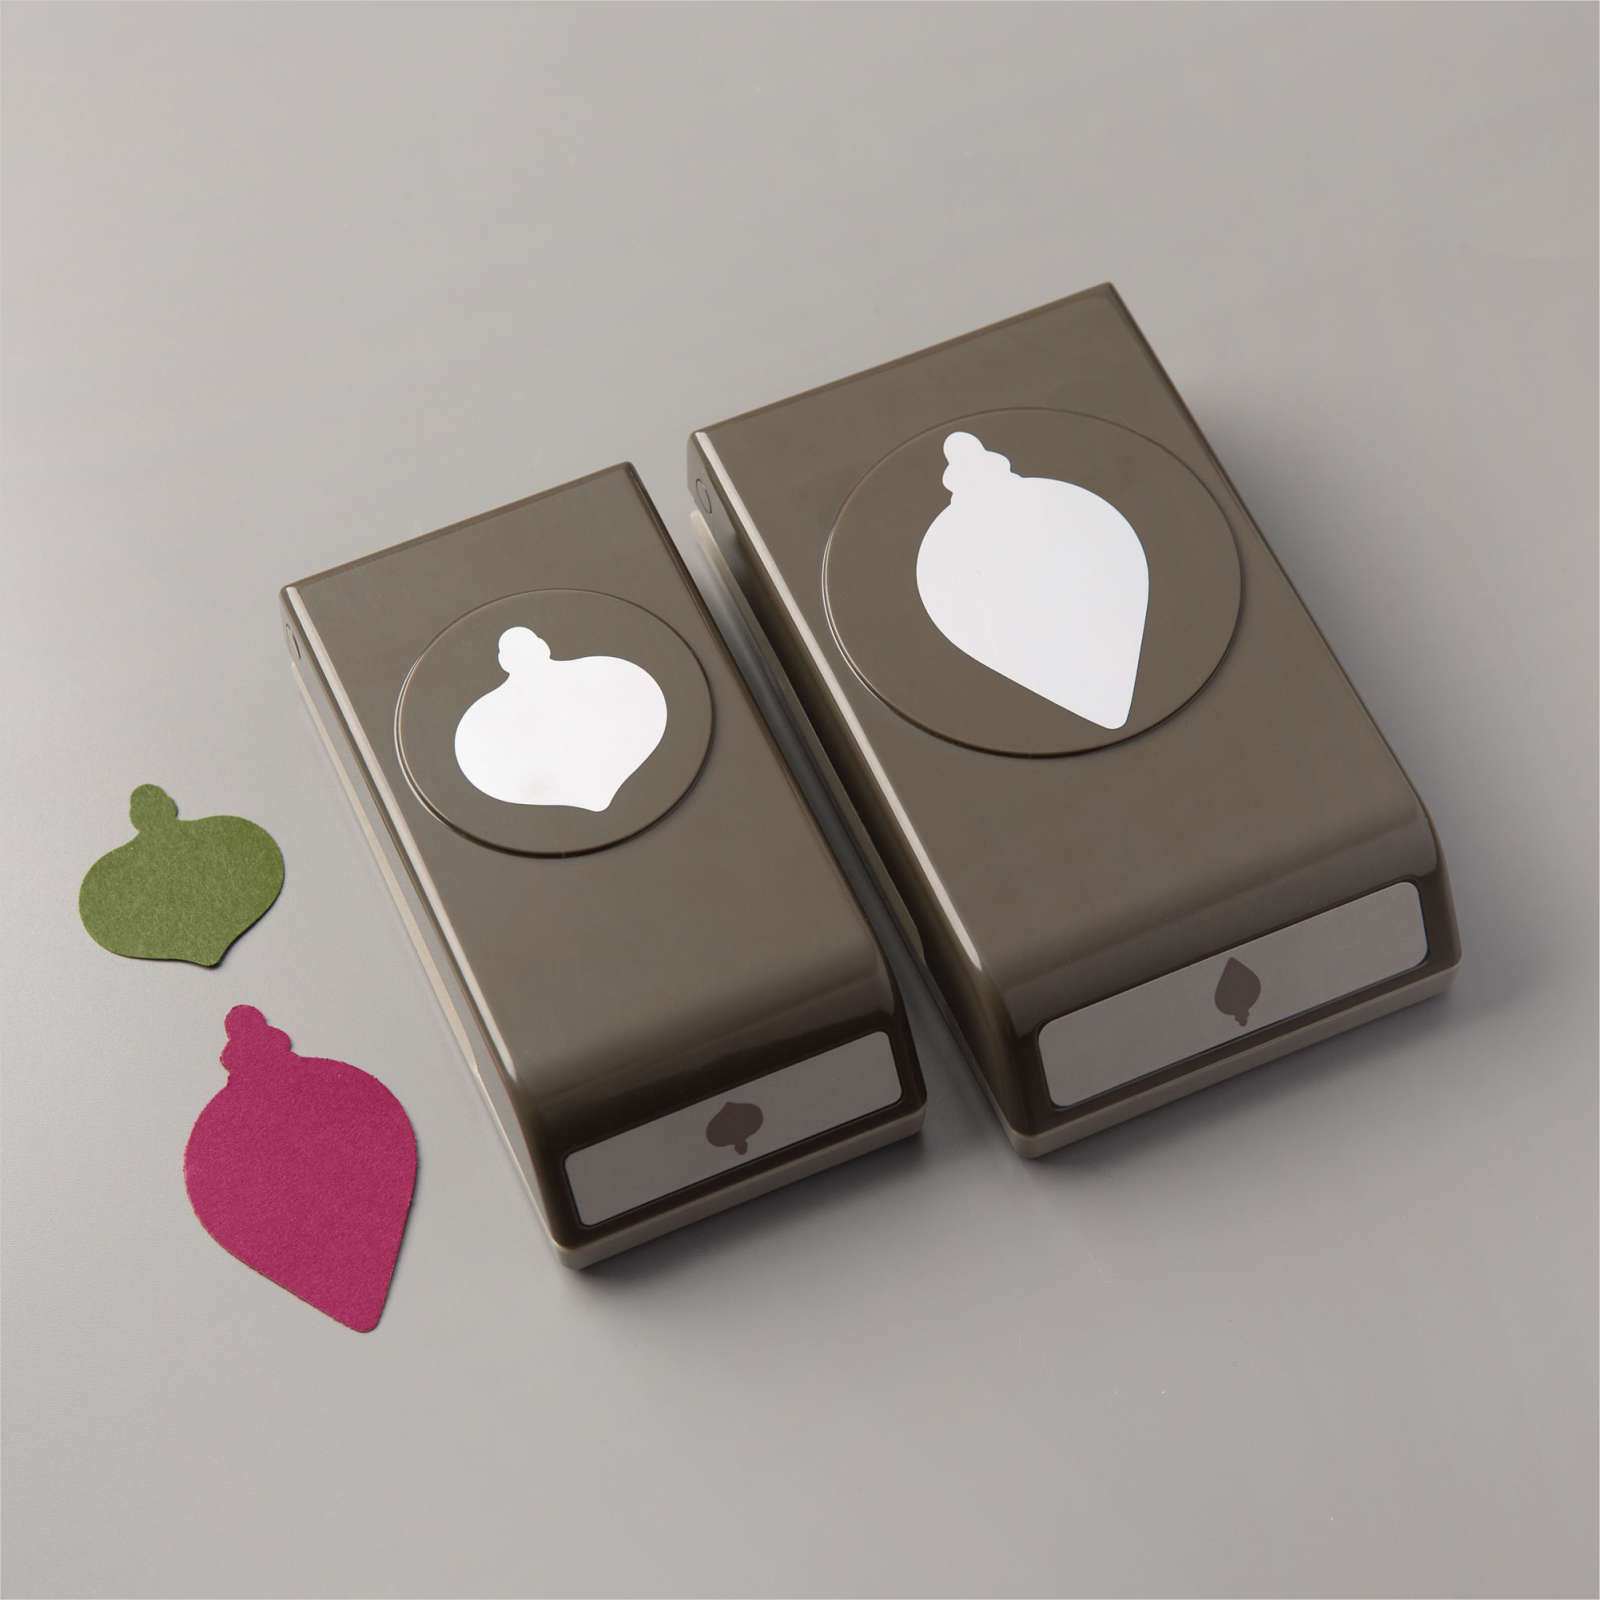
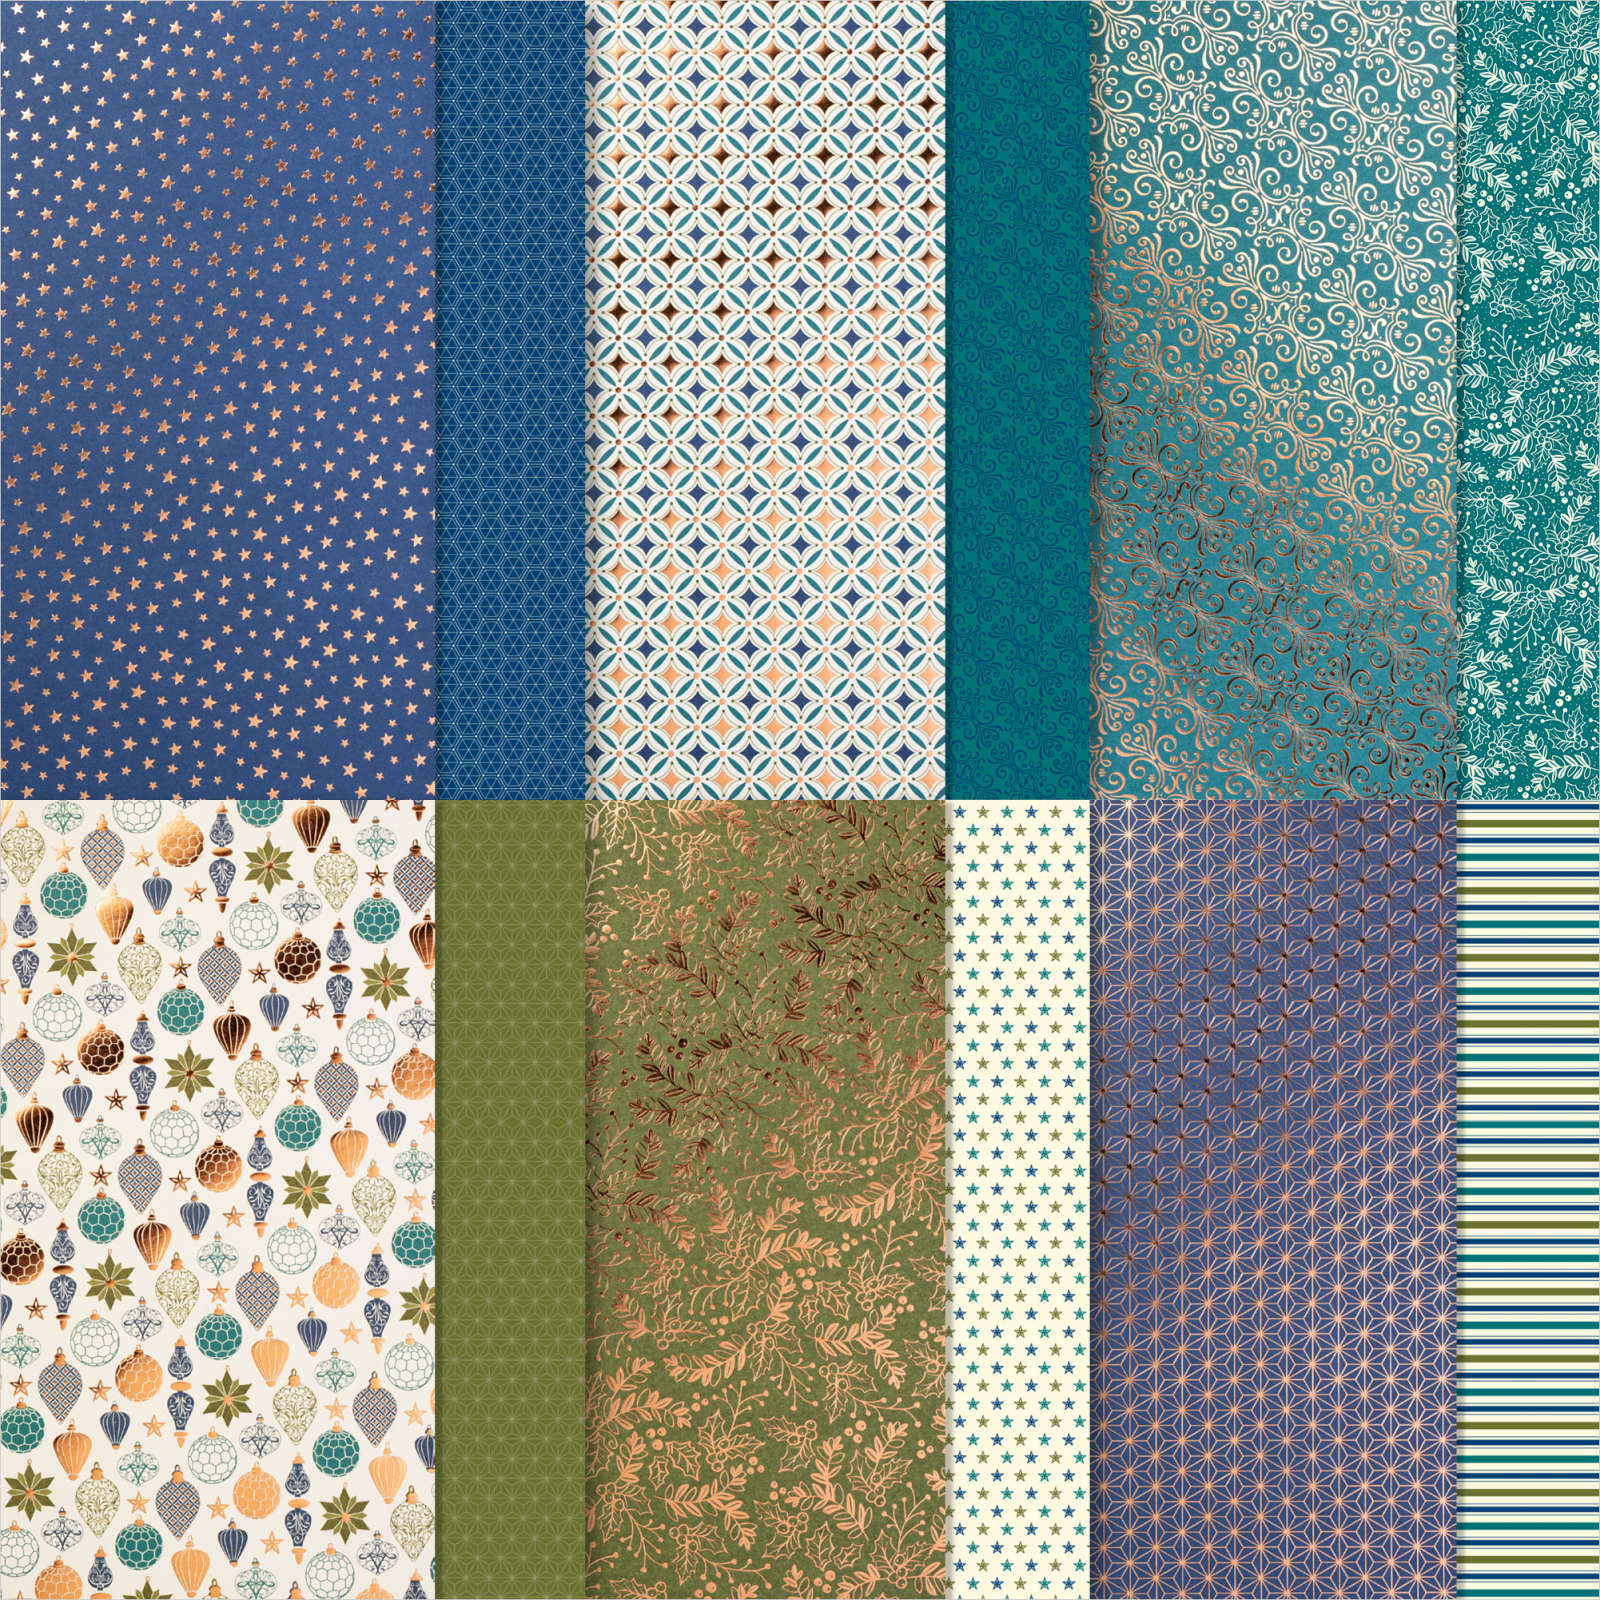
Things are back to normal after all the excitement of participating in OnStage Live last weekend. I am continuing projects which can be used for Christmas cards. This week I am using the Christmas Gleaming Variety Bundle found on page 19 of the August-December 2020 Mini Catalog. This bundle contains a stamp set, a punch pack and a pack of designer series paper! It's a wonderful bundle!!! Here are the projects I demonstrated on my Facebook Live this past Sunday (11/15/20)
Stamps: Christmas Gleaming
Copper Foil Sheets – One scrap large enough to accommodate a 2 ¼” circle punch
Designer Series Paper (DSP): Brightly Gleaming (see photo for patterns used) – Pattern One - two pieces; one piece cut to 3” x 4”, one piece cut to ½” x 5 ¼”, Pattern Two – one piece cut to 2 ½” x 5 ¼”
Directions:
Use the Curvy die dotted border die to cut the 3” x 4” Pattern One piece of DSP in half. Adhere the 2 ½” x 5 ¼” Pattern Two piece of DSP to the center of one of the Very Vanilla 4” x 5 ¼” pieces of cardstock. Adhere the two cut Pattern One pieces to this piece, you should have about a 1” gap between the pieces which allows the Pattern Two piece to show through. Use Memento ink to stamp the holly image of the stamp set onto one of the scraps of Very Vanilla. Use the Light and Dark Mellow Moss and Light and Dark Cherry Cobbler Stampin’ Blends to color the image. “Fussy cut” the image. Use Night of Navy ink to stamp the “Deck the Halls” sentiment onto the scrap which is large enough to accommodate the 2” punch. Punch the sentiment out with the 2” punch aligning the sentiment slightly to the right (so the Holly will fit onto the same circle). Punch a circle from the Copper Foil Sheet scrap with the 2 ¼” punch. Use Stampin’ Dimensionals to adhere the 2” circle piece to the 2 ¼” circle piece. Adhere the cut out holly image to the left side of the 2” circle piece (see photo for placement) and then adhere the whole piece to the right front of the panel with the patterned DSP. Adhere this whole piece to the card front. Use Night of Navy ink to stamp the “& be Jolly” sentiment in the top left corner of the remaining 4” x 5 ¼” piece of Very Vanilla cardstock. Adhere the ½” x 5 ¼” piece of Pattern One DSP to the bottom of the Very Vanilla piece. Use Night of Navy ink to stamp the small ornament image onto the remaining scrap of Very Vanilla. Use the coordinating punch from the Gleaming Ornaments punch pack to punch out the ornament. Color the ornament “hanger” with the Cinnamon Cider Stampin’ Write marker and then adhere it to the bottom right of the Very Vanilla piece, centering it on the right hand side of the DSP piece. Adhere this piece to the inside of the card. Enjoy!
Ornament Card
Copper Foil Sheets – two pieces; one piece cut to 1” x 6” and one piece cut to ¾” x 6”
Designer Series Paper: Brightly Gleaming (see photo for patterns used) – four pieces: Pattern One - one piece of cut to 4" x”5 ¼” (be mindful that the stripes of this DSP are running horizontally) and one piece cut to ¾” x 4”, Pattern Two – one piece cut to 4” x 5 ¼”, Pattern Three – one piece cut to 1 ½” x 4”
Directions:
Adhere
the ¾” x 4” piece of Pattern One DSP to the 4” x 5 ¼” piece of Very Vanilla
cardstock and then adhere this piece to the inside of the card. Cut the 4” x 5 ¼” piece of Pattern One DSP in
half (you will now have two pieces, each 2” x 5 ¼”). Flip one of the DSP pieces over so the
striped image is showing. Adhere both
pieces to the card front with the striped piece being on the right hand side
(see photo). Adhere the 1” x 6” piece of
the Copper Foil sheet to the top of the 3” x 6” piece of Very Vanilla cardstock.
Use the large ornament punch from the Gleaming Ornaments punch pack to punch
three ornaments (the copper will be at the top of the punched pieces) and then
also punch three of these ornaments from the Pattern Two DSP. Adhere the ¾” x 6” piece of the Copper Foil
sheet to the top of the 1 ½” x 6” piece of Very Vanilla. Use the small ornament punch from the Gleaming
Ornaments punch pack to punch three ornaments (the copper will be at the top of
the punched pieces) and then also punch three of these ornaments from the
Pattern Three DSP. Cut the ornament tops
from the six punched DSP pieces, rounding as you cut to mimic the curve of the
top of an ornament). Adhere these to the
corresponding punched pieces of the Very Vanilla with the copper at the
top. Adhere the completed ornaments to
the card front using the photo for placement.
Use Night of Navy ink to stamp the “Merry Christmas” sentiment onto the
remaining 1” x 2 ½” piece of Very Vanilla.
“Fussy cut” the image and then adhere it to the card front. Enjoy!
These are just two of the many ideas for this set. It is so versatile! – you can even use the punches to create 3D ornaments! You can see a video of the creation of these cards on the Facebook Live recording from November 15th on my Facebook Page HERE
If you would like to purchase these products just click "Add All to Cart" and you'll be taken directly to my Online store. Be sure to use the November Host Code 9GCRE3GH if your order is under $150 (if it's over $150 be sure to take advantage of the Host Benefits offered by Stampin' Up!


No comments:
Post a Comment
Thank you for leaving comments, they are greatly appreciated!