CARD
1
Supplies:
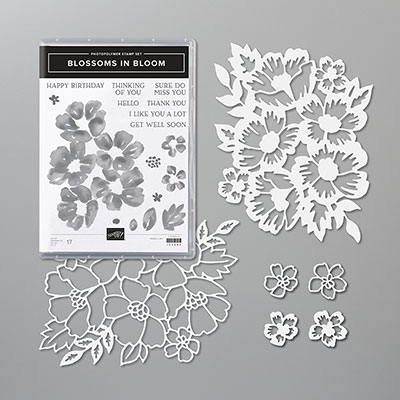
Stamps: Blossoms In Bloom
Cardstock: Misty Moonlight – four pieces – two cut
to 8 ½” x 5 ½” (cardbases) and scored at 4 ¼”, two cut to ¾” x 4”; Whisper
White – five pieces – one cut to 8” x 4 ¼”, two cut to 4” x 5 ¼” and two cut to
½” x 4”
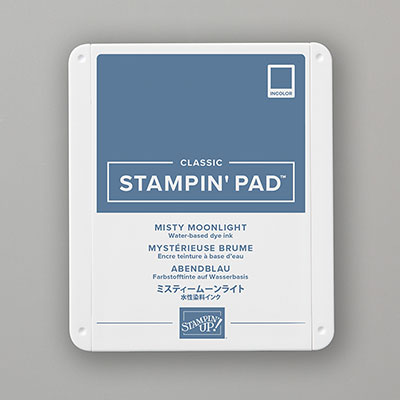
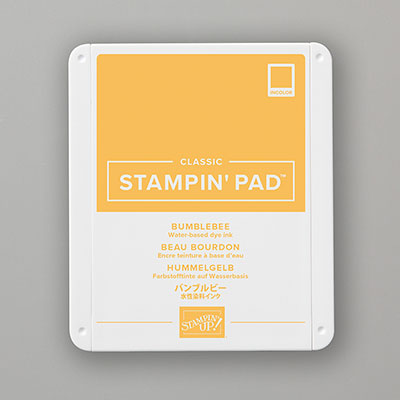
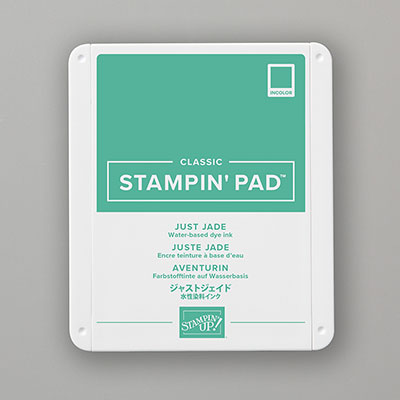
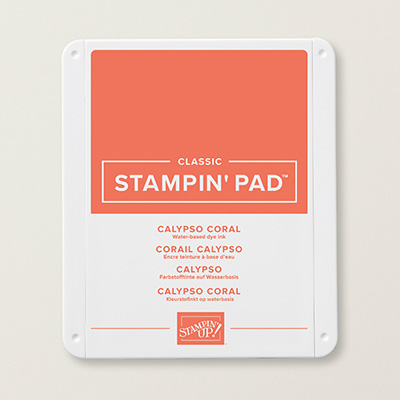
Ink: Misty Moonlight, Calypso Coral, Bumblebee,
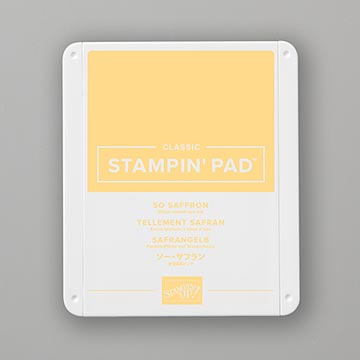
Cinnamon Cider, So Saffron, Just Jade
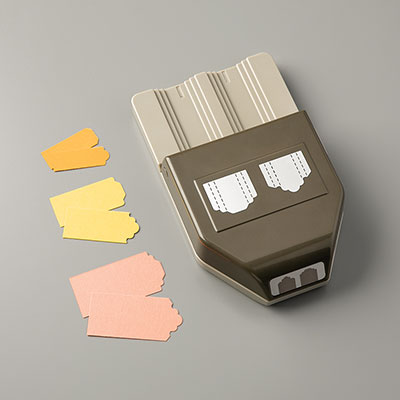
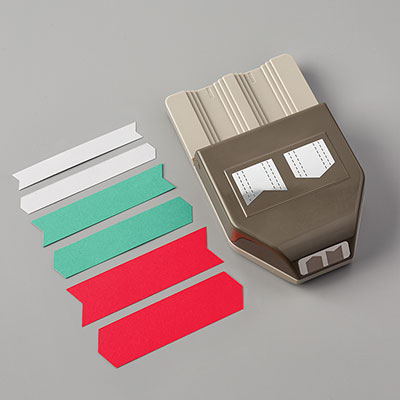
Accessories: Lovely Labels Pick a Punch, Clear and Frosted
Epoxy Droplets, Stamparatus, Stampin’ Seal adhesive
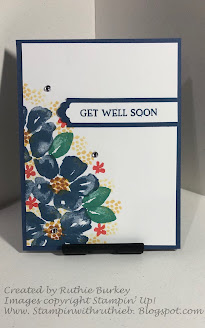
Place 8” x 4 ¼” piece of Whisper White Cardstock into the
Stamparatus (left edge of cardstock will hang out of the Stamparatus and that
is fine). Place the largest image in the
Blossoms in Bloom stamp set in the center of your Whisper White Cardstock so
that it is in the center of the cardstock and down about 1” from the top. The bottom of the stamp will not be on the
cardstock. Close the Stamparatus so the
top plate will pick up the stamp. Open
the Stamparatus and ink the stamp with Misty Moonlight ink. Close the Stamparatus again to stamp the image
onto the cardstock. Open the Stamparatus
and remove the stamped cardstock.
(Use the photo below for placement of the
following). Ink the flower center image
with Bumblebee ink to stamp the center of the flowers. Next use Cinnamon Cider ink to stamp the
center of the flowers, offsetting from the previously stamped Bumblebee images. Ink the smallest flower image with Calypso
Coral ink and randomly stamp around the large floral image). Ink the leaf stamp with Just Jade Ink to add
a few leaves to the flowers. Ink flower
center image with So Saffron ink and stamp around the whole image.
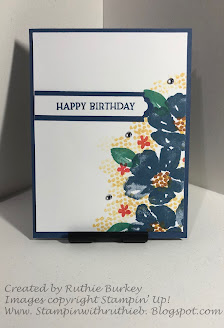
Next cut the image into two 4” pieces. You will now have two pieces of cardstock
with mirror images. Mount these to the
Misty Moonlight card bases. Stamp
desired sentiments onto each of the ½” strips of
Whisper White Cardstock keeping in mind that one
sentiment will be on the left side of the card and one on the right. Use the Lovely Labels Pick a Punch to punch
the ends of both ½” Whisper White Pieces and also to punch the ¾” Misty
Moonlight pieces. Adhere the sentiments
to the the ¾” Misty Moonlight pieces and adhere one sentiment to each
card. Embellish with the Clear and
Frosted Epoxy Droplets.
Stamp any image desired to accent the two 4” x 5 ¼” pieces of Whisper White Cardstock and adhere to the inside off each card. Voila! Two cards done!
Card 2
Stamps: Blossoms in Bloom
Cardstock: Old Olive cut to 8 ½” x 5 ½” and scored
at 4 ¼” (cardbase), Whisper White cut to 4” x 5 ¼” for inside of card, Calypso
Coral cut to 4 ¼” x 5 ½” and Petal Pink – two pieces; one cut to 4 ¼” x 5 ½”
and one cut to ½” x 4 ¼”.
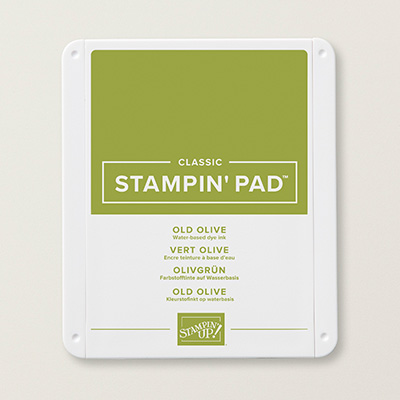
Inks: Old Olive, Calypso Coral
Accessories: Many Layered Blossoms Cut and Emboss dies,
Adhesive sheet cut to 4 ¼” x 5 ½”, Mono Adhesive and Stampin’ Dimensionals,
Banners Pick a Punch
Ink the flower center image with Old Olive and stamp
randomly around the outside edges of the card front covering about 1 ½” from
all edges of the card front. Adhere the
Adhesive sheet to the Calypso Coral cardstock and use the thinner flower
cluster of the two large floral dies from the Many Layered Blossoms dies. Use the thicker floral floral cluster of the
two large floral dies from the large Petal Pink piece of cardstock. Remove the backing from the adhesive on the back
of the Calypso Coral diecut and adhere it to the Petal Pink diecut. Adhere all to the card front. Stamp the sentiment using Calypso Coral ink
onto the ½” x 4 ¼” piece of Petal Pink Cardstock. Create banner ends on the stamped sentiment
using the Banners Pick a Punch. Adhere
to the card front using Stampin’ Dimensional.
Card 3
Stamps: Blossoms In Bloom
Cardstock: Just Jade – two pieces; one cut to 8 ½” x 5
½” and scored at 4 ¼” and one cut to ¾” x 2 ¾”.
Whisper White – Two pieces cut to 4” x 5 ¼”, one for the card front and
one for the inside of the card.
One scrap of whisper white to die cut the small flowers
and onescrap of Calypso Coral to die cut the small flowers.
Ink: Calypso
Coral, Bumblebee, Just Jade
Accessories: Many Layered Blossoms Cut and Emboss dies,
Adhesive sheet cut to 2” x 5 ½”, Mono Adhesive, Clear and Frosted Epoxy
Droplets and Stampin’ Dimensionals.
Ink the largest floral with Bumblebee ink and stamp onto one
of the 4” x 5 ¼” pieces of Whisper White Cardstock. Stamp the flower center image using Calypso
Coral. Stamp the leaves where desired
using Just Jade ink. Adhere the finished
image to the card front.
Apply Adhesive sheet piece to the Calypso Coral scrap and
cut three of the thinner small flower images using the Many Layered Blossoms
dies. Cut three of the thicker flower
images from the scrap of Whisper White.
(NOTE: There are two sizes of the
small flowers, make sure you match the dies when cutting). Adhere the Calypso Coral die cuts to the
Whisper White die cuts. Stamp the
sentiment using Just Jade ink onto the ¾” x 2 ¾” piece of Just Jade
Cardstock. Adhere the die cuts and the
sentiment to the card front using the photo for placement.
Here is the link to the video:
Blossoms in Bloom Facebook Live
Have a wonderful week!!!!!!
Listed below are the products I used for these projects:






No comments:
Post a Comment
Thank you for leaving comments, they are greatly appreciated!