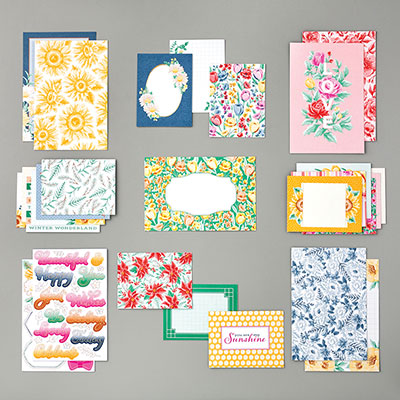
I can't quit playing with this Suite! Here are the projects I demonstrated on my Facebook Live on Sunday, July 12th. (A link to the video is at the bottom of the post)
Card #1

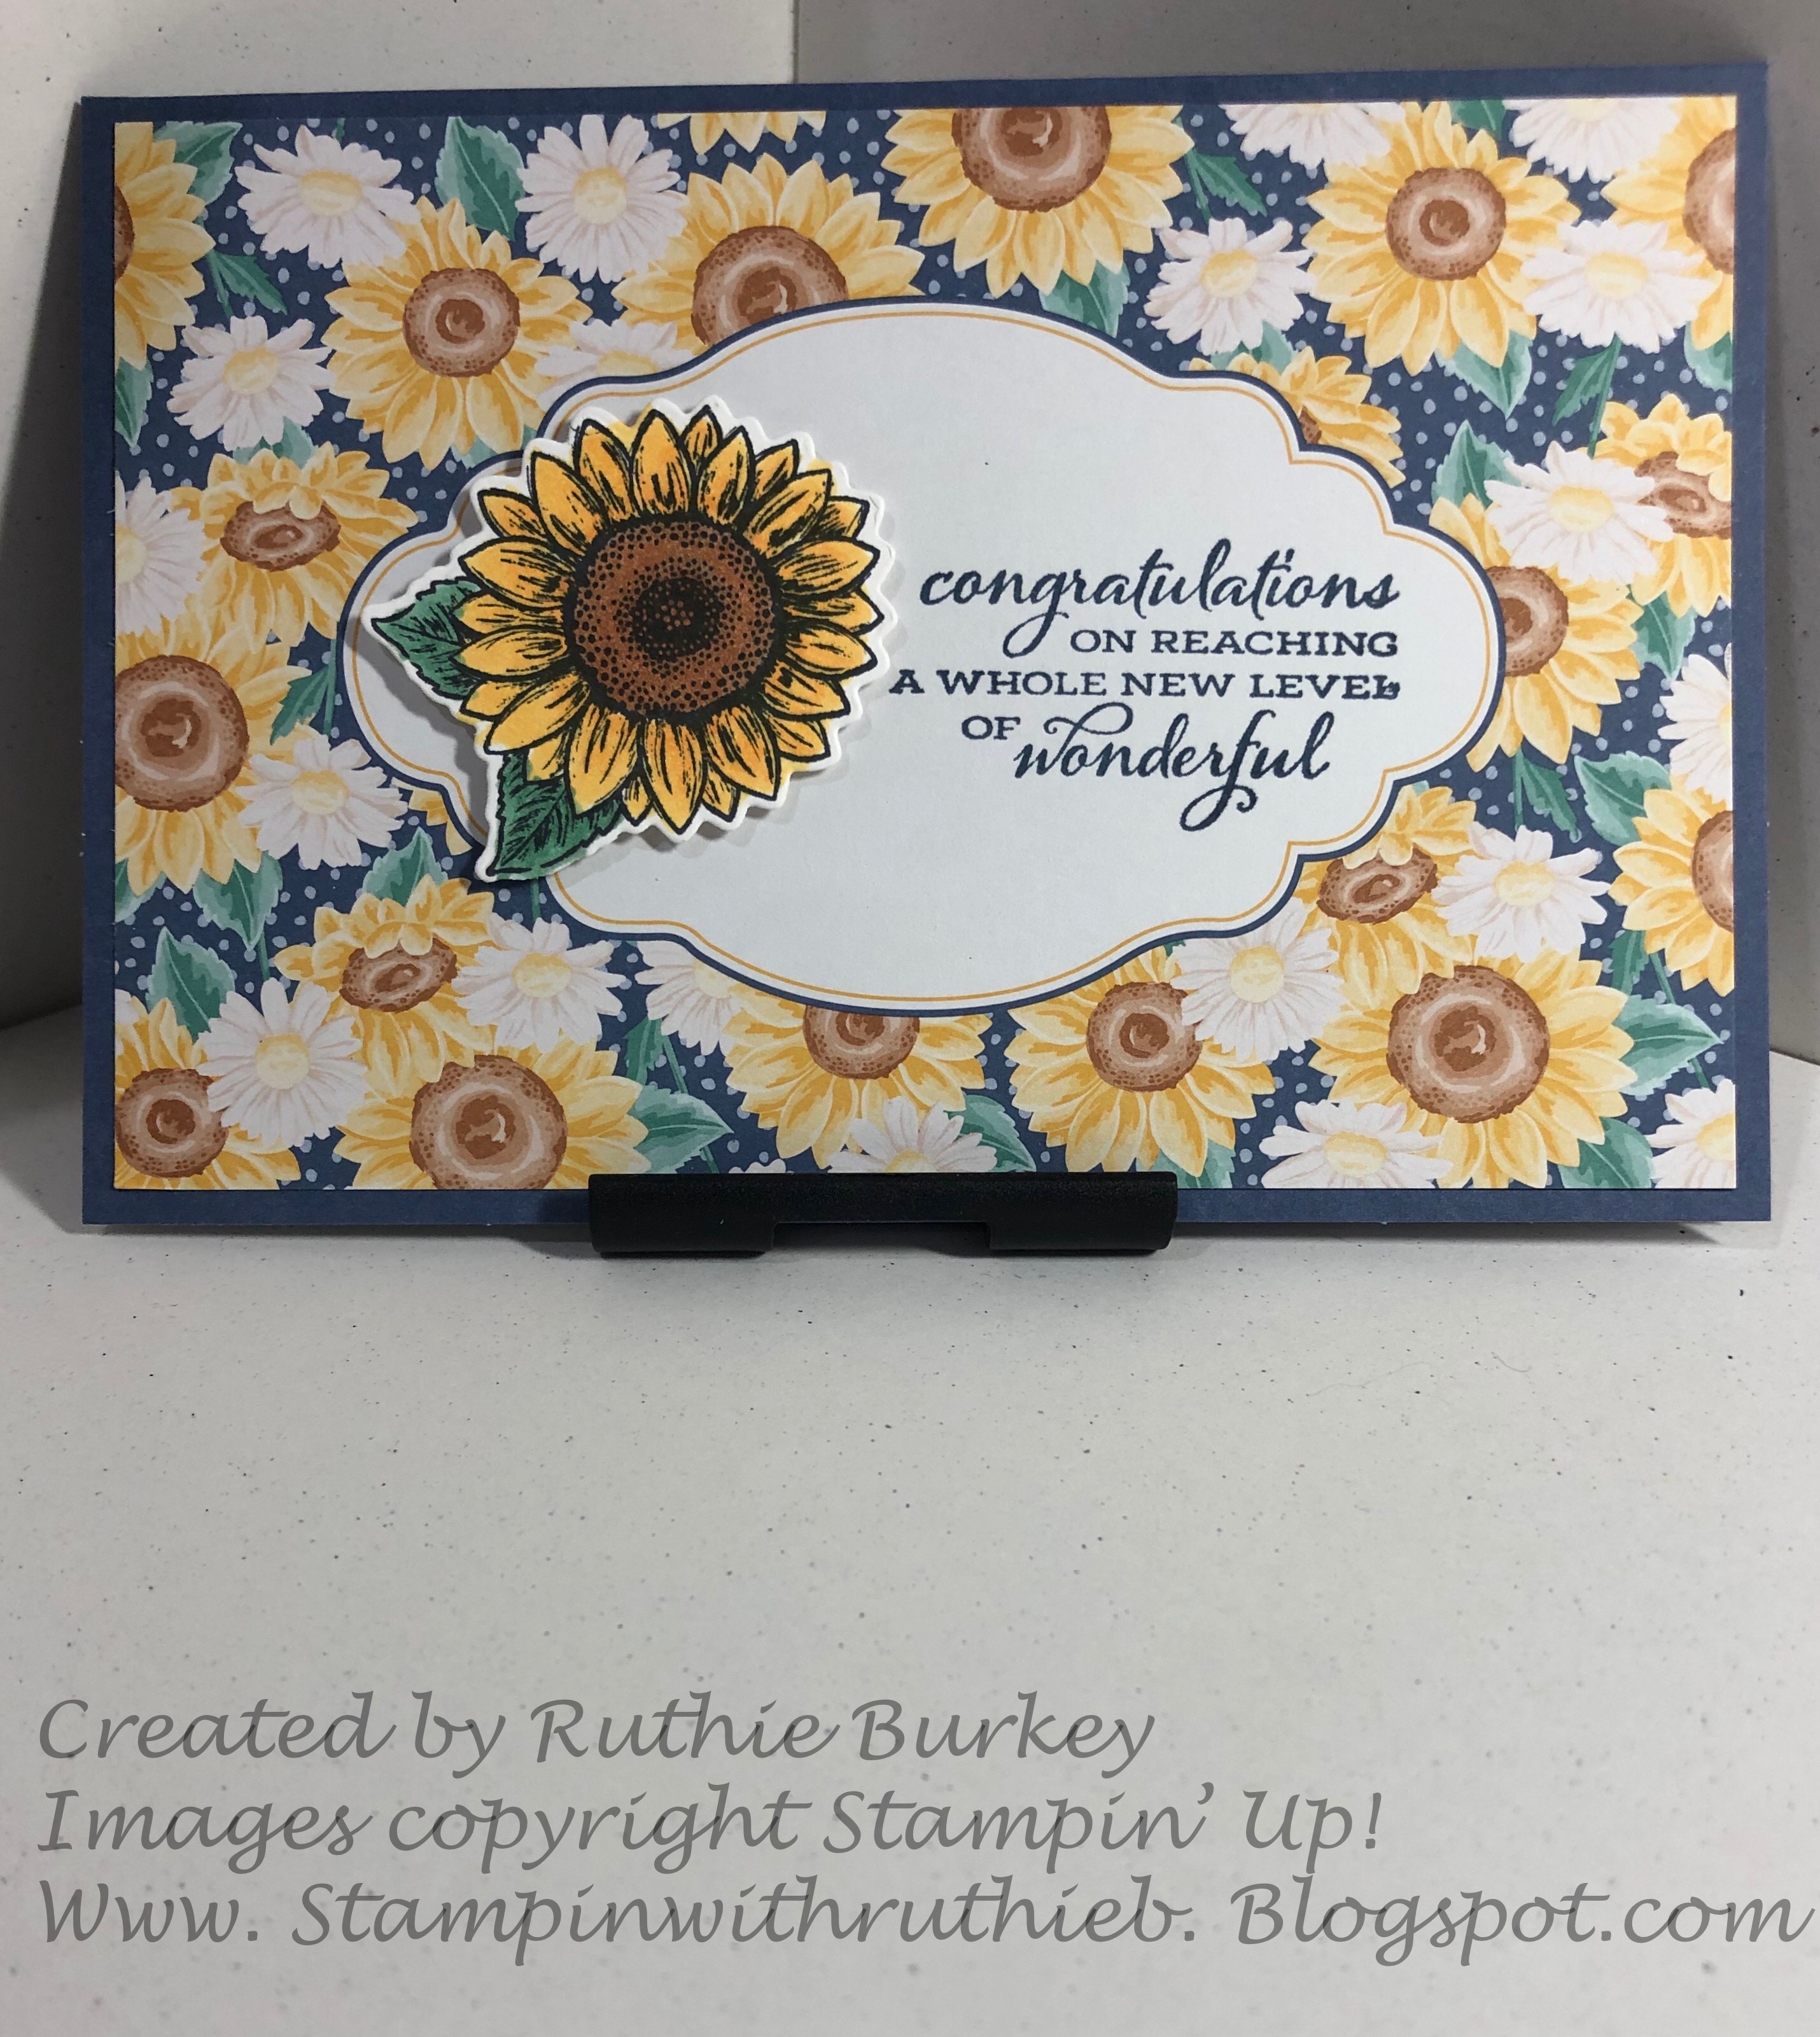
This project uses the Stamparatus, masking and a template to make a wreath. Very simple!
Supplies:
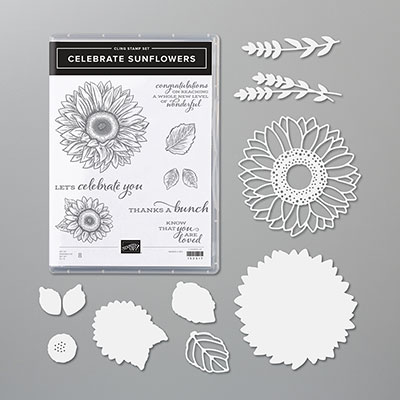
Stamps: Celebrate Sunflowers
Ink: Old Olive, Memento Tuxedo Black
Stampin' Blends: Light and Dark Mango Melody, Light and Dark Old Olive and Light and Dark Cinnamon Cider
Cardstock: Old Olive - One Piece 5" x 10" scored at 5", Whisper White - 2 pieces, One piece cut 4 1/2" x 4 1/2" for stamping the wreath and one cut 4" x 4" for the inside of the card, Bumblebee - one scrap cut large enough to accommodate the sentiment. FOR TEMPLATE: Whisper White - 2 pieces. One piece cut at 4 1/2" x 4 1/2" and one piece cut to 3 3/4" x 3 3/4" and a piece of Vellum Cardstock cut to 7" x 7"
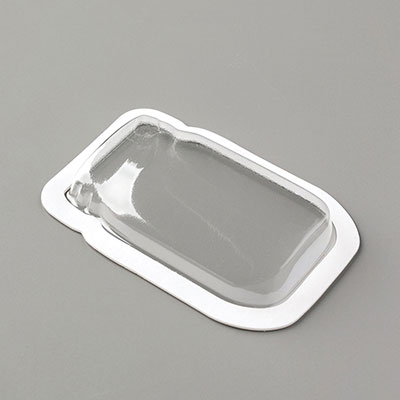
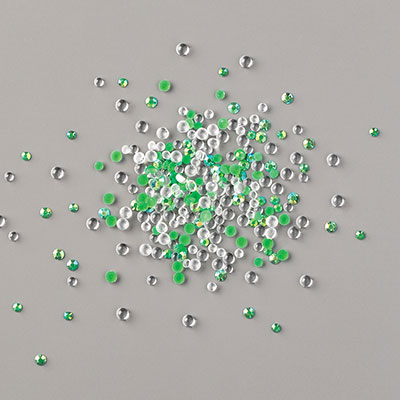
Accessories: Frosted and Clear Epoxy Droplets, sponge, adhesive backed notes to use as a mask for the small sunflower image.
Directions:
Randomly stamp the smaller sunflower image using Old Olive ink onto the card front. On the inside of the card, adhere the 4" x 4" piece of Whisper White cardstock and then stamp the smaller sunflower image into the bottom left corner using Old Olive ink.
To create a template to use in the Stamparatus for the circle stamping you'll need a piece of cardstock cut to 4 1/2" x 4 1/2", a piece of cardstock cut to 3 3/4' x 3 3/4 and a piece of Vellum Cardstock cut to 7" x 7". Secure the 4 1/2" x 4 1/2" piece of cardstock to the center of the Vellum Cardstock. Use a permanent marker to trace around the outside edges of the cardstock. Lift the cardstock and rotate 90 degrees and trace around the cardstock again. Repeat this process with the 3 3/4' x 3 3/4" piece of cardstock. See Photo for how this will look when finished.

Place this template into the Stamparatus. Create two masks from the small Sunflower design by stamping the design onto two separate sticky notes and then cutting the images out. Place the small sunflower image stamp onto the template as shown and then close the hinged plate to "pick up" the stamp. See photo for placement.

Secure the 4 1/2" x 4 1/2" piece of Whisper White to the template using just a small area of adhesive (you will be moving this around on the template so don't use anything permanent). Stamp the image using Memento Tuxedo Black ink. Lift the Plate, place the mask over the stamped image and rotate the piece of cardstock 90'. It will now be in a diamond shape. Ink and stamp the image. Move the mask to the newly stamped image and rotate 90' again, the piece of cardstock will now be in a square shape. Repeat this procedure until you have created almost the whole circle. For the last image, you will need to place masks over both stamped images before you stamp the very last one. This way you won't have any stamping overlap as your wreath is completed.
Fussy cut around the image, color with Blends using the photo as a guide and mount to the front of the card with Stampin' Dimensionals. Stamp the sentiment in Memento Tuxedo Black ink onto the scrap piece of Bumblebee cardstock. Cut around the edges of the sentiment as shown in the photo. Adhere the sentiment to the front of the card. Randomly place clear epoxy dots on the front of the card. Sit back and admire your new creation!!!
Card #2


Outside of card: Inside of card


Inspired by Leslie Percival and Kelly Atcheson
Supplies:
Stamps: Celebrate Sunflowers
Inks: Memento Tuxedo Black
Stampin' Blends: Light and Dark Mango Melody and Light and Dark Cinnamon Cider.
Stampin' Blends: Light and Dark Mango Melody and Light and Dark Cinnamon Cider.
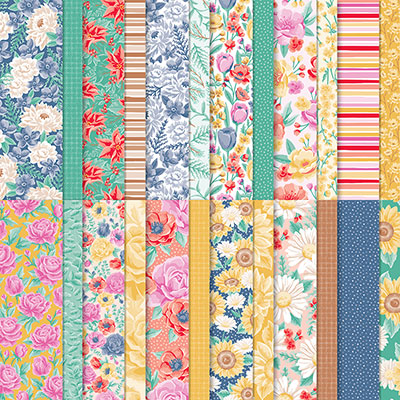
Cardstock: Just Jade - 2 pieces, one cut to 11 x 4 1/4" scored at 6 3/4" and 2 1/2" and one cut 1" x 11" (for the Belly Band), Whisper White cut to 4" x 4". Scraps of Whisper White to stamp the image and to die cut the circle on which the image is mounted and a scrap of Bumblebee to cut the layer behind the sunflower image. Flowers for Every Season Designer Series Paper - 2 pieces, one cut to 4" x 4" and one cut to 2 1/4" x 4"
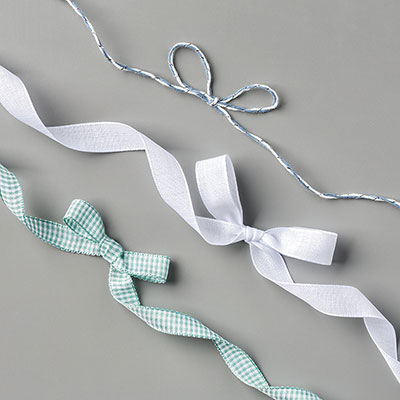
Accessories: Layering Circles Framelits - plain circle die which is 2 5/8" across measuring from the outside edge, scalloped circle die which is 2 1/2" across measuring from the outer edge. Stitched Circle Framelits - the circle die which is 2 1/8". Stampin' Dimensionals, Frosted and Clear Epoxy Droplets and the Flowers for Every Season Ribbon combo pack.
Adhere the 2 1/4" x 4" piece of Designer Series paper to the Just Jade cardstock on the portion that was scored at 2 1/2". Use the plain circle die to cut a circle along the 2 1/2" score line. Be sure to center the score line in the die before cutting. After the circle is cut, adhere the 4" x "4 sheet of Designer Series Paper to the bottom panel. See the photo for placement. Place the 4" x 4" piece of Whisper White on the inside of the card being careful not to place any adhesive where it covers the lower half of the circle cut. Use the Stitched Circle die to cut a piece of Whisper White. Stamp the small sunflower image on to a Whisper White scrap using Memento Tuxedo Black ink, color it using the Light and Dark Mango Melody Blends as well as the Light and Dark Cinnamon Cider blends. Fussy cut out only the flower (not the leaves). Use Stampin' Dimensionals to adhere this image to the Whisper White Stitched Circle. Cut two of the Scalloped Circle dies from the Layering Circles Framelits from the scrap of Bumblebee cardstock. Adhere the sunflower image to one of the Bumblebee scalloped circles. Adhere this to the card base using the photo for placement. Be sure the circle cut out clears the image as it is closing.
Adhere the 2 1/4" x 4" piece of Designer Series paper to the Just Jade cardstock on the portion that was scored at 2 1/2". Use the plain circle die to cut a circle along the 2 1/2" score line. Be sure to center the score line in the die before cutting. After the circle is cut, adhere the 4" x "4 sheet of Designer Series Paper to the bottom panel. See the photo for placement. Place the 4" x 4" piece of Whisper White on the inside of the card being careful not to place any adhesive where it covers the lower half of the circle cut. Use the Stitched Circle die to cut a piece of Whisper White. Stamp the small sunflower image on to a Whisper White scrap using Memento Tuxedo Black ink, color it using the Light and Dark Mango Melody Blends as well as the Light and Dark Cinnamon Cider blends. Fussy cut out only the flower (not the leaves). Use Stampin' Dimensionals to adhere this image to the Whisper White Stitched Circle. Cut two of the Scalloped Circle dies from the Layering Circles Framelits from the scrap of Bumblebee cardstock. Adhere the sunflower image to one of the Bumblebee scalloped circles. Adhere this to the card base using the photo for placement. Be sure the circle cut out clears the image as it is closing.
Fold the 1" x 11" piece of cardstock around the card with the ends overlapping on the back. This will help you to determine where to stamp the sentiment. Stamp the sentiment on the center section of the belly band using the Memento Tuxedo Black ink. Tie a piece of the green gingham ribbon from the Ribbon Combo pack around the belly band and then secure the ends together. Be sure not to make it too tight or it will not slide on and off of the card easily. Adhere some the of Epoxy droplets to the card front to complete.
Card #3

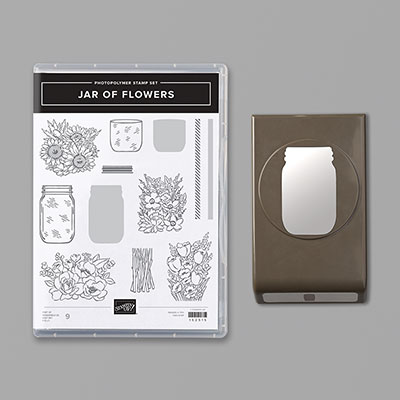
Stamps: Jar of Flowers, Celebrate Sunflowers
Inks: Memento Tuxedo Black, Just Jade, Misty Moonlight, Balmy Blue
Stampin' Blends: Dark So Saffron, Dark Mango Melody, Light Just Jade, Dark Calypso Coral, Light and Dark Flirty Flamingo, Dark Purple Posy
Cardstock: Misty Moonlight cut to 7" x 8 1/2" and scored at 3 1/2". Whisper White - 3 pieces, one ct to 3 1/4" x 8 1/4" (for the inside of the card), one cut to 2 1/2" x 5 1/4" and a scrap large enough to accommodate the sentiment. Flowers for Every Season Designer Series Paper - 3 pieces, one cut to 3" x 6" and two cut to 1" x 3".
Accessories: Stampin' Dimensionals and Frosted and Clear Epoxy Droplets.
Stamp the large jar image and the floral image using Memento Tuxedo Black Ink onto the 2 1/2" x 5 1/4" piece of Whisper White. Stamp the stems using the Just Jade Ink. Using the back of the smaller jar image (these are reversible stamps) stamp the image onto the jar using Balm Blue to create the water for the flowers. Color the stems using the Light Just Jade Blend. Use the Stampin' Blends to color in the floral image using the photo as a guide. Adhere the 3 1/4" x 8 1/4" piece of Whisper White to the inside of the card. Stamp the sentiment onto a scrap of Whisper White cardstock using Misty Moonlight Ink and fussy cut around the sentiment. Adhere the sentiment to the jar and flowers image covering the middle where the stems and the jar meet. Adhere the pieces of Designer Series Paper to the card front using the photo for placement. Adhere the image to the card front using Stampin' Dimensionals. Adhere the epoxy droplets as desired to the card front.
You can see the Facebook Live Post HERE
Here are the links to the supplies used for these cards. If you currently have a Stampin' Up! Demonstrator please purchase through them but if not I'd love to be your Demonstrator. If you order through me, don't forget to use the July 2020 Host Code (good until July 31st). The Code is MB7VCPWN. If your order is over $150 do not use the code so that you can take advantage of Host Credits.