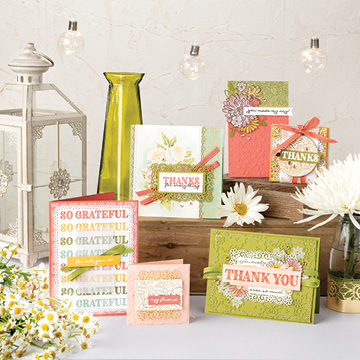
The first project is this sweet little Daisy Card (you know Daisies are one of my favorite flowers!)

Supplies:
Cardstock: Bumblebee (COMING June 3rd!) cut to 5/1/2" x 7 1/4" and scored at 4 1/4"
Whisper White - 2 pieces, 1 cut to 4" x 5 1/4" and one piece used to cut the die.
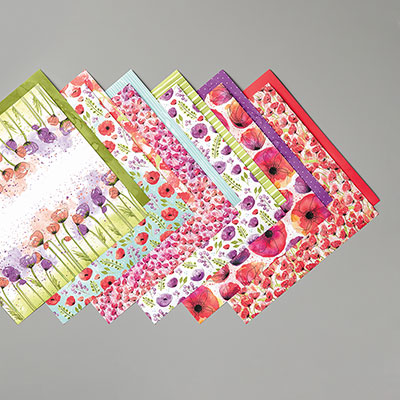
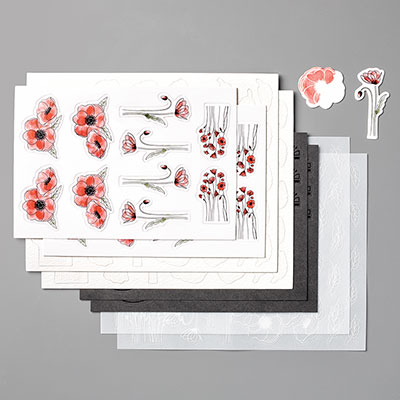
Designers Series Paper: Ornate Garden - 1 piece cut to 4" x 5 1'4"
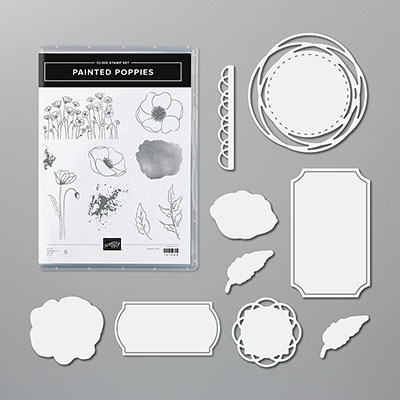
Stamps: Ornate Style
Ink: Memento
Blends: Dark Mango Melody and Dark Old Olive
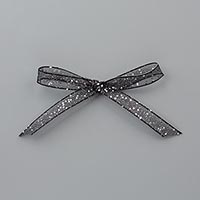
Accessories: Bumblebee Ribbon (COMING June 3rd!) and Gilded Gems
Cut the Designer Series Paper at 2 3/4". This will leave you with a 1 1/4" scrap. Place this scrap on the left side of what will be the inside of the card being sure to leave even borders all around. Use the floral border die from Ornate Borders to cut the right hand edge of the 4" x 5 1/4" piece of Whisper White. Place this on what will be the inside of the card making sure to line it up with the piece of Designer Series Paper. Tie a piece of ribbon around the remaining piece of Designer Series Paper using the photo for position and then mount to the front of the card. Cut the rectangle piece from Whisper White using the smallest rectangle frame in the Ornate Layers Die. Using Memento Ink, stamp the Daisy from Ornate Style onto the die cut piece and color with Mango Melody and Old Olive Blends. Mount this to the card front using the picture for placement. Now send it off to brighten someone's day!!!!
The next card is a shaker card that was inspired by a card I saw on Sandi McIver's blog. It was made with stamps from another company (horrors LOL!) and I knew I could recreate it with Stampin' Up! products.

Supplies:
Cardstock: Old Olive - 1 piece cut to 5 1/2" x 8 1/2" and scored at 4 1/4" for card base, 1 piece of Whisper White cut to 3 1/4" x 4 3/4", 1 piece of Whisper White cut to 4" x 5 1/4". Small piece of Window Sheet for window.
Designer Series Paper: 1 piece cut to 4" x 5 1/4", 1 piece cut to 3 1/4" x 4 3/4", and 1 piece cut to 3/4" x 5 1/4"
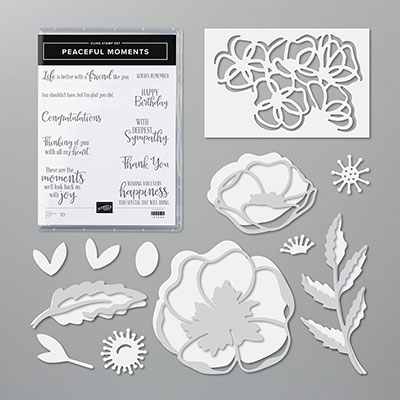
Stamps: Ornate Style and Ornate thanks.
Ink: Memento, Old Olive
Blends: Light and Dark So Saffron, Light and Dark Calypso Coral, Light and Dark Old Olive, Dark Petal Pink and Dark Mango Melody
Accessories: Sequins, Foam Adhesive Strips, Tailored Tag punch
Stamp the large floral image from Ornate Style on the the piece of Whisper White using Memento Ink. Be sure to center it on the cardstock. Punch the stamped cardstock with the Tailored Tag punch, again being sure to center the punch on the image. Keep the punched piece, we will use the non-stamped side for the sentiment. Your piece should look like this:

Next, use the blends to color the image and then "fussy cut" the image out.
Layer the largest piece of Designer Series Paper onto the card base and then layer the smaller piece of Designers Series Paper onto that. Stamp the Thanks sentiment from Ornate Thanks onto non-stamped side of the piece that was punched from the floral image using Old Olive ink. Place adhesive on the back of the Thanks sentiment. Without using any adhesive, position the stamped and cut floral image on the front of the card to use as placement for the stamped Thanks piece. Adhere the Thanks piece. Use adhesive to adhere a piece of Window Sheet to the back of the stamped image. On the back of the image, line the opening with Foam Adhesive Strips being sure there are no gaps. Place a small amount of sequins on top of the Thanks sentiment then remove the backing from the foam strips and adhere the floral piece to the card front being sure to center the opening over the Thanks image and sequins. Adhere the 3/4" x 5 1/4" piece of Designer Series Paper to the remaining 4" x 5 1/4" and stamp any desired sentiment. Adhere to the inside of the card. Mail this to someone who needs a special word of thanks!!!!
Enjoy