Saturday, May 2, 2020

One Sheet Wonder Flip Flop

I had so much fun Sunday doing my first Facebook Live!!!!  I still have some things to learn (it was all mirror imaged LOL!) but I look forward to doing them in place of my regular classes while we are all in "Stay at Home" mode due to Covid-19.  I wanted to share my class with all of you!  So here it is!

One Sheet Wonder Flip Flop


This project will create nine cards from ONE 12"x12" Sheet of Designers Series Paper and just a few other products.    I used the Peaceful Poppies Suite from the January-June 2020 Mini Catalog for the images.  (All products will be listed below the instructions with links to my Online Store)  Here are the directions:

Supplies:
One piece of 12"x12" double sided Designer Series Paper
Nine card bases (cut 5 1/2" x 8 1/2", scored at 4 1/4"
Six pieces of coordinating cardstock cut to 4 1/8" x 5 3/8"
Three layers of coordinating cardstock cut to 4 x 5 1/4
Stamps and embellishments as desired

Cut a 12"x12" piece of Designer Series Paper using the following cutting guide:


Use the following directions to create three of each design, making a total of nine cards.

Card #1

Cut three of the 4" x 5 1/4" pieces using the following cut guide.


Card #2


The next three cards use the three 4" x 1 3/4" pieces of Designers Series Paper to make three cards using the Card #2 Sketch


Use this the following instructions for all thee pieces of Designers Series Paper to make three cards using the Card #2 Sketch:

Adhere the 4" x 1 3/4" piece of Designers Series Paper to a cardstock layer cut at 4" x 5 1/4" I embossed my cardstock layer using an Embossing Folder for more interest).  Use ribbon or cardstock to cover the seam.  Adhere this to a card base.  Embellish as desired!

Card #3


Cut the remaining three 4" x 5 1/4" pieces using the following cut guide.


Use this the following instructions for all thee pieces of Designers Series Paper to make three cards using the Card #2 Sketch:

 "Flip" the left hand piece.  On this paper I liked having the solid on the side but you could flip the larger piece instead . Again it all depends on the Designers Series Paper you are using..  Adhere these layers to one of the 4 1/8" x 5 3/8" piece of cardstock.  To cover the seam use a piece of cardstock that matches the card base and is cut to 1/2" x 5 3/8"  (You may use ribbon instead if desired).  Now adhere this to the card base. Embellish as desired!

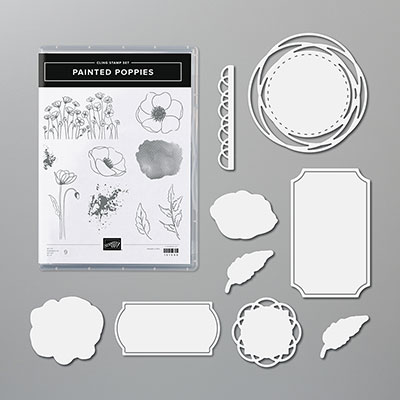
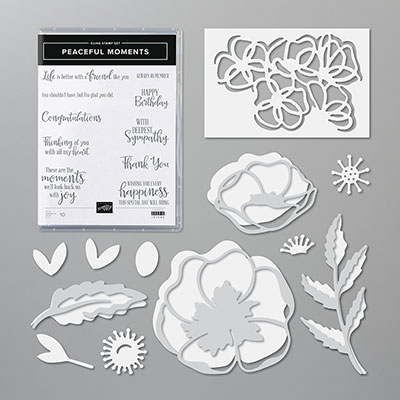
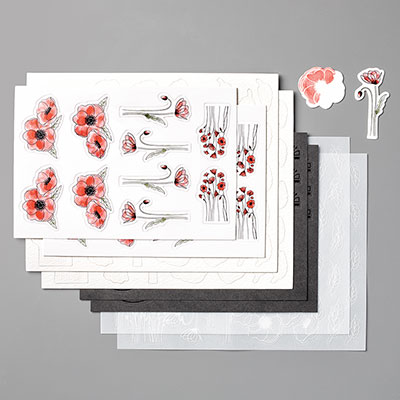
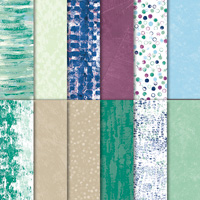
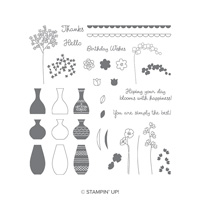
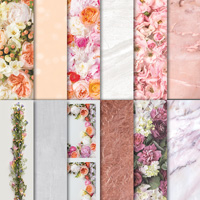
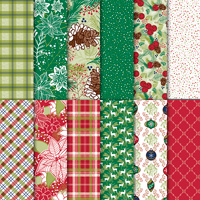
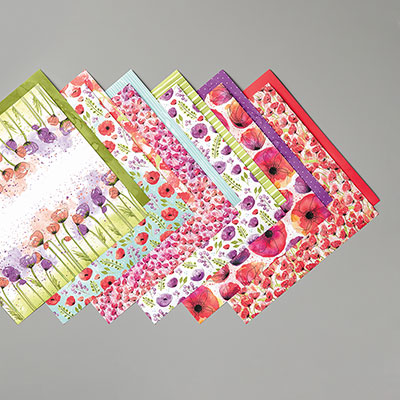
If you wish to create these exact cards, all products I used are from the Peaceful Poppies Suite (shown below).  You can purchase the whole suite or purchase individual items.  All can be ordered through my online store by clicking the "Shop Now" button in the upper left corner of my Blog  (If you are already a customer of another Demonstrator please be sure to order through them).



Sunday, March 29, 2020

Boy has is been a long time since I updated this blog!  For those of you who follow me, my apologies.  I am now working full time and my poor blog has been sorely neglected!!!!
We are currently "Sheltering in Place" due to the Covid-19 virus.  I miss my face-to-face friends and customers greatly!  I've been playing with the Botanical Prints Product Medley.  It's on page 61 of the Spring Catalog.  Take a look at everything you get for $70!!!!! 


Generated by SUDSOL, Free Trial at www.sudsol.org

The Designer papers included have the background color but the images are in black and white.  You can leave them as is OR you can color them in!  Here are couple of examples of how I colored them with sponge daubers:


And here are two cards I made with the Lemon one.  These were both made from the same sheet of Designer Series Paper!


 These next two were created with a smaller lemon print that I did no coloring to.  I love the combination of yellow, black and white and these cards came together very quickly!!!!

Monday, October 22, 2018


It's a 24Hr Sale!!!!  Be sure to hop onto my site www.stampinwithruthieb,stampinup.net and shop away starting after Midnight tonight!!!!!!!  Use Host Code SNNHKGAD when shopping!  Shoot me an email for a PDF of what's on sale.


Tuesday, July 24, 2018

 Hi there!  I tried to have this post up yesterday but it just wasn't to be!  Life happens!  I have a Stamp Camp the fourth Sunday of the month and  I wanted to share the cards we did at my Stamp Camp on Sunday as so many of my customers are out of town and cannot attend.  Stampin' Up! currently has selected Designer Series Papers on SALE - Buy 3 get 1 FREE!!!
Time to stock up but hurry and order as the offer is only good until July 31st.  Just click on my Shop Now button and you will be taken right to my store.

JULY'S HOST CODE IS PE9FZ2UR 
(be sure to use this code if your order is under $150)
If you do not already have a Demonstrator, I would love to have your business!

So without further ado, here are the projects we made and the supplies for each card.

CARD #1 

The following supplies were used to create this card:

Generated by SUDSOL, Free Trial at www.sudsol.org


CARD #2

The following supplies were used to create this card:


CARD #3

The following supplies were used to create this card:


CARD #4


The following supplies were used to create this card:


CARD #5


The following supplies were used to create this card:

But wait!!!!!  What Stamp Set and Thinlits did you use?????????  This is a sneak peek of a bundle that will be available August 1st.  Check back here on that day to learn all about it!!!


I hope you made it through this post!  If you have any questions at all, please let me know!!!

Thursday, June 21, 2018


The new catalog is out and there is much to see!!!!!!  The Stamparatus is available for order, we have the blends available (new colors coming) and we have had a total color Revamp!!!!!  Take a look inside by clicking the Catalog Icon on the Left or, better yet, if you don't have a catalog, I'll be glad to mail you one!!!!  Just drop me an email and I'll get it right out to you!