The
following cards were featured on my Facebook Live on August 1, 2021 and feature
the Harvest Meadow Suite featured on pages 54 - 56 of the July – December 2021
Mini Catalog.
Sending Healing Thoughts Card
Supplies:
Stamps: Nature’s Harvest
Ink: Early Espresso, Crumb Cake, Soft Succulent
Cardstock: Soft Succulent – one piece cut to 4 ¼” x 11”
and scored at 5 ½” for the card base (this is a top fold card)
Basic
White – one piece cut to 4” x 5 ¼”
Very
Vanilla –one piece cut to 4” x 5 ¼”
Crumb
Cake – two pieces; one piece cut to 4” x 5 ¼” and one piece cut to 1” x 4 ¼”
Designer
Series Paper (DSP): Harvest Meadow – two pieces; one piece cut to
3 ¾” x 5” and one piece cut to ¾” x 4” (see photo for pattern used
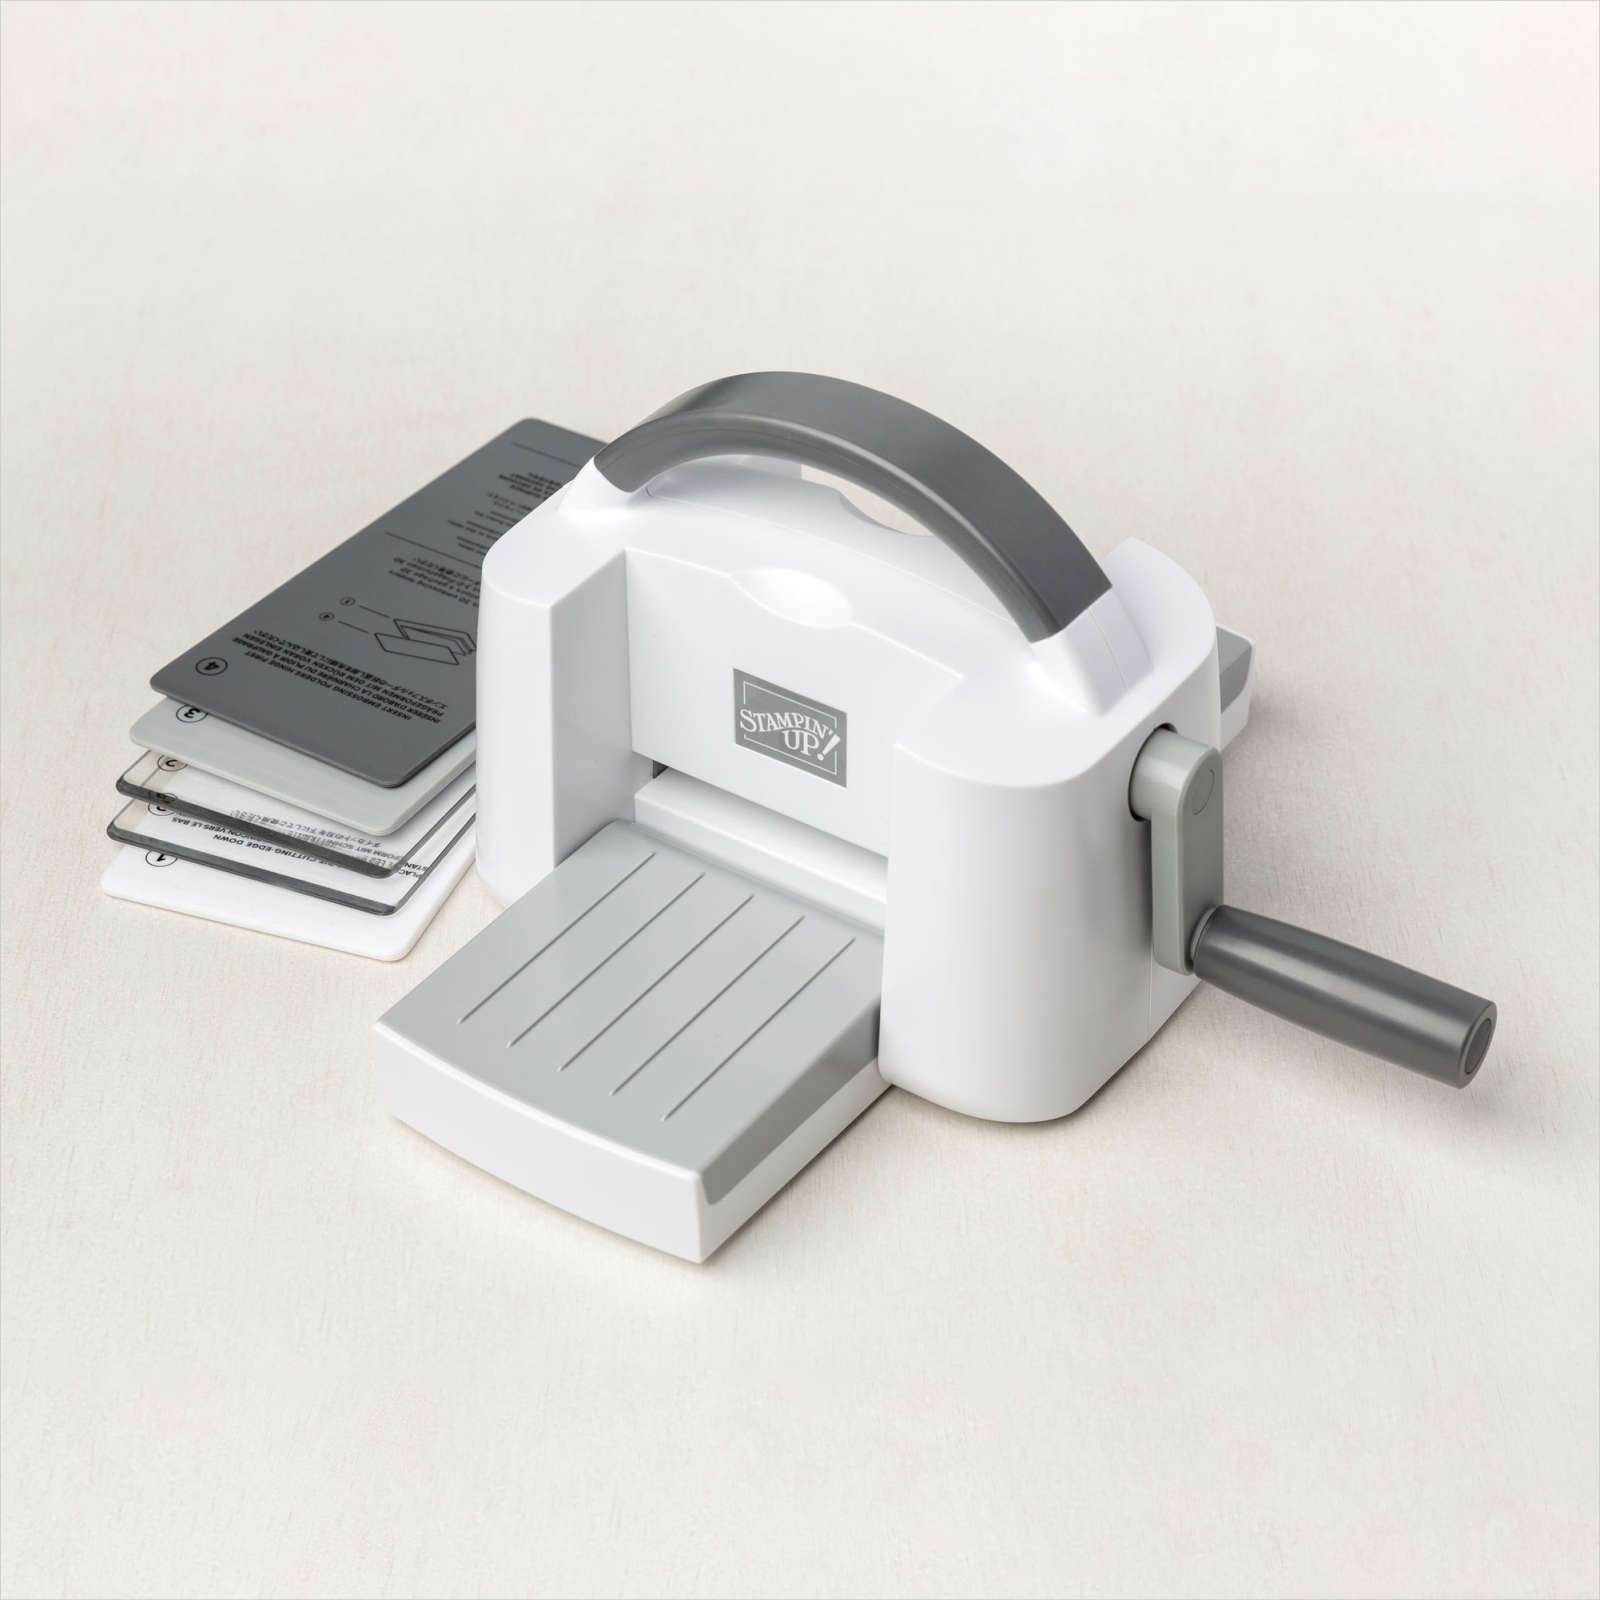
Accessories: Adhesive of choice, Stampin’ Cut & Emboss Machine,
Harvest Dies, Timeworn Type 3D Embossing Folder, Brushed Metallic Adhesive
Backed Dots, regular sized Stampin’ Dimensionals, Mini Stampin’ Dimensionals, Diamond
Weave Ribbon, paper towels, Stampin’ Spritzer filled with water, Clear Block (I
use the “I” size)
Directions:
1.
Adhere
the 3 ¾” x 5” piece of DSP to the 4” x 5 ¼” piece of Crumb Cake cardstock. Use the Stampin, Cut & Emboss machine to
emboss this piece with the Timeworn Type 3D Embossing Folder then adhere the
embossed piece to the card front.
2.
Use
the Stampin’ Cut & Emboss Machine to cut two of the multi-flower dies and
one of the willowy looking dies from the 4” x 5 ¼” piece of Basic White (see
photo for the correct images to cut)
3.
Place
folded paper towels on your work surface.
Place one of the multi-flower dies face down on the paper towel. Ink the Clear Block with Soft Succulent ink
and lightly spritz with water. Place the
inked, spritzed block down onto the die cut.
This will create a beautiful mottled color on the die cut. Repeat with the second multi-flower die cut.
4.
Clean
the Clear Block and repeat Step 3 using Crumb Cake ink and the remaining
willowy looking die.
5.
Place
all three dies into the Timeworn Type 3D Embossing Folder and us the Stampin’
Cut & Emboss machine to emboss them.
6.
After
embossing the die cuts, adhere the willowy looking die into the middle of the
card front. Use a mixture of regular and
mini size Stampin’ Dimensionals to adhere the two multi-flower dies on either
side of the willowy looking die (see photo for placement.
7.
Use
Early Expresso Ink to stamp the “Sending healing thoughts…” sentiment onto the
1” X 4 ¼” piece of Crumb Cake cardstock.
Use the Stampin’ Cut & Emboss machine and the largest rectangular
die from the Harvest dies to cut out the sentiment.
8.
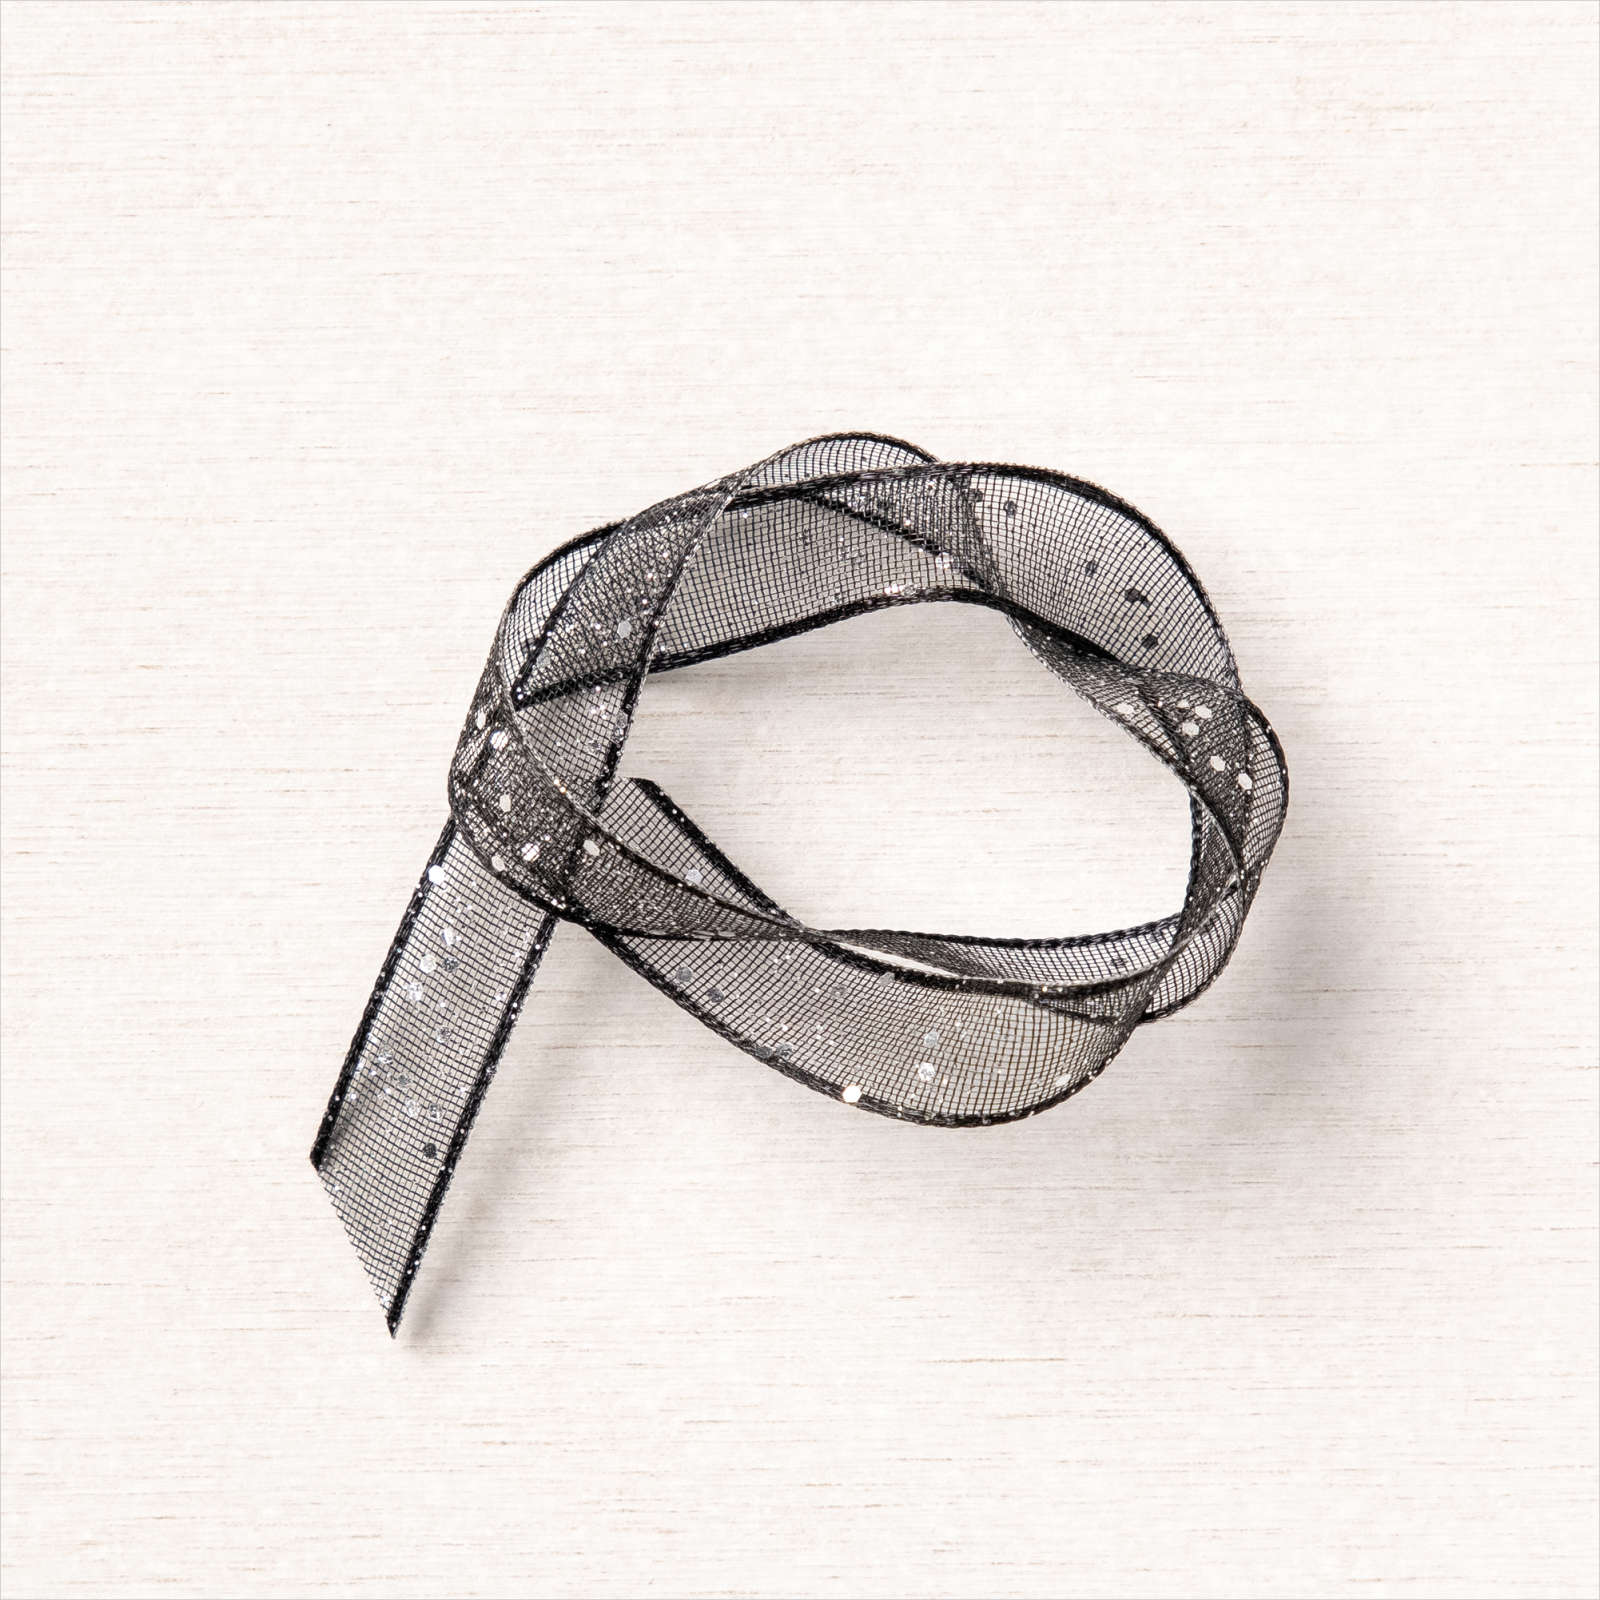
Cut
a 5” length of Diamond Weave Ribbon. Cut
this piece in half lengthwise.
9.
Cover
the back of the sentiment die cut with adhesive and adhere the two halves of
ribbon to the top and the bottom of the die cut. Trim the ribbon to match the ends of the die
cut. Adhere the die cut to the card
front using Stampin’ Dimensionals. Place
one of the smallest Brushed Metallic Adhesive Backed Dots on each side of the
sentiment (see photo for placement).
10.
If
a sentiment is desired for the inside of the card, use Early Espresso ink to
stamp it onto the 4” x 5 ¼” piece of Very Vanilla Cardstock. Adhere the ¾” x 4” piece of DSP to the bottom
of the Very Vanilla cardstock and then adhere this piece to the inside of the
card.
11. Send to someone who is
in need of comfort.
Thank You Card
Supplies:
Stamps: Nature’s Harvest
Ink: Misty Moonlight, Memento Tuxedo Black
Stampin’ Write Marker: Bumblebee
Stampin’ Blends: Light and Dark Soft
Suede and Light and Dark Just Jade
Cardstock: Misty Moonlight – one piece cut to 8 ½” x 5
½” and scored at 4 ¼” for the card base
Basic
White – three pieces; one piece cut to 4” x 5 ¼”, one piece cut to 3 ½” x 4”
and one piece cut to 1 ½” x 3”
Cork
Specialty Paper – one piece cut to 4” x 5 ¼”
Designer
Series Paper (DSP): Harvest Meadow – two pieces; one piece cut to
4” x 5 ¼” and one piece cut to ¾” x 4”: (see photo for pattern used –
NOTE: This is a one way pattern so be
sure to cut in a Portrait orientation)
Accessories: Adhesive of choice, Stampin’ Cut & Emboss
Machine, Harvest Dies, Rectangle Stitched Framelits, Regular Stampin’
Dimensionals, Mini Stampin’ Dimensionals, Tombow Multipurpose Adhesive
Directions:
1. Adhere the 4” x 5 ¼”
piece of DSP to the card front.
2. Use the Stampin’ Cut
& Emboss Machine and the second and fourth largest dies from the Rectangle
Stitched Framelits to cut a rectangular frame from the Cork Specialty
Paper (see photo below for dies used). Use Tombow Multipurpose Adhesive
to attach the frame to the card front.
3. Use Memento ink to stamp
the large “coneflower” image onto the 3 ½” x 4” piece of Basic White. Use the Stampin’ Cut & Emboss Machine and
the matching die from the Harvest Dies to cut out the image.
4. Color the Image using
the Bumblebee Stampin’ Write Marker tor the petals, the Light and Dark Soft
Suede for the flower centers and Light and Dark Just Jade for the stems and
leaves. Use a combination of Regular Stampin
Dimensionals and Mini Stampin’ Dimensionals to adhere the floral image to the
card front, centering it inside the cork frame.
5. Use Misty Moonlight ink
to stamp the “Thank You” sentiment onto the 1 ½” x 3” piece of Basic
White. Use the Stampin’ Cut & Emboss
Machine and the small label die from the Harvest Dies to cut out the
sentiment. Adhere to the card front
using Stampin’ Dimensionals. (Be sure to place the Dimensionals so they don’t
overlap with the Dimensionals on the floral image.
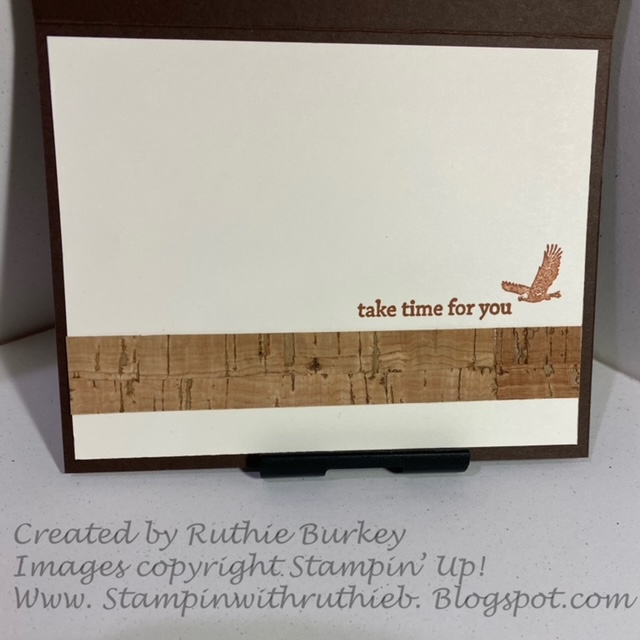
6. If a sentiment is
desired for the inside of the card, use Misty Moonlight ink to stamp it onto
the 4” x 5 ¼” piece of Basic White.
Adhere the ¾” x 4” piece of DSP to the bottom of the Basic White piece
and then adhere this whole piece to the inside of the card.
7. Send this card to
someone who has done something thoughtful for you!
If
you are having problems visualizing these directions, remember you can see them
created step-by-step on my Facebook Live from August 1st HERE. Enjoy these projects and please share them
with a special friend!
Remember,
if you would like to purchase any of the supplies to make these cards, just
click the “Shop Now” button above to be taken to my Online Store. Be sure to use the Host Code (also listed
above) if your order is under $150 (if your order is over $150 be sure to take
advantage of the Host Rewards offered by Stampin’ Up!)
See
you on Sunday, August 8th at 2pm on my next Facebook Live!