Thursday, July 2, 2020

Flowers for Every Season Suite


Flowers for Every Season Suite
(Pages 10-13 in the Annual Catalog)
Projects from Facebook Live on June 28th 2020

Project 1

Supplies:

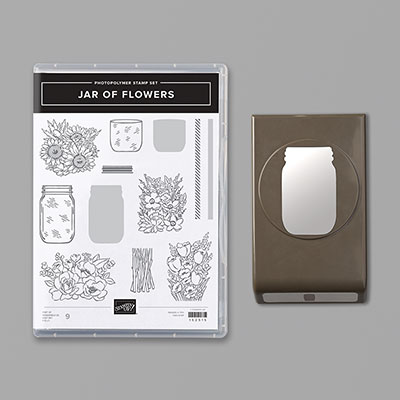
Stamps: Jar of Flowers
Ink: Just Jade, Memento Tuxedo Black
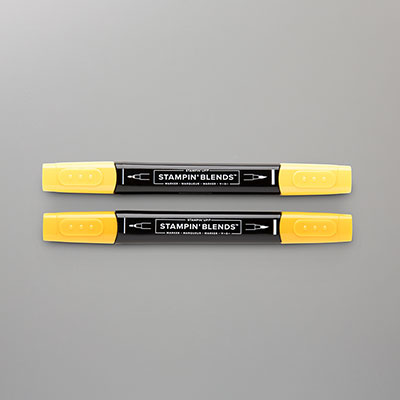
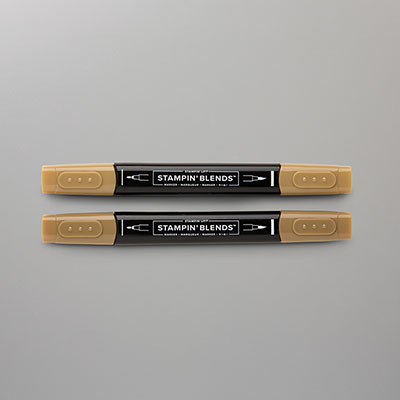
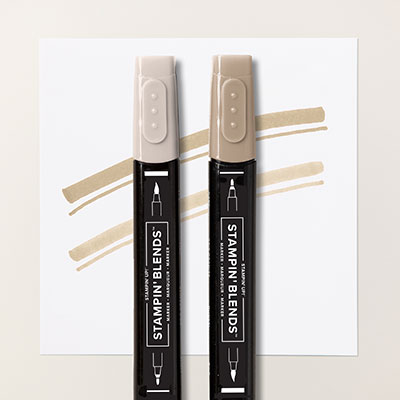
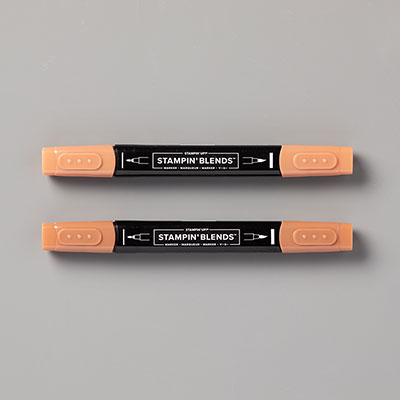
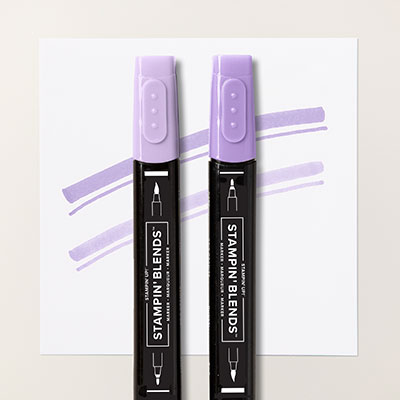
Stampin' Blends:  Light and Dark Mango Melody, Light and Dark Just Jade, Light Soft Sea Foam, Light and Dark Pink Flamingo, Dark Crumb Cake, Light Soft Suede, Dark Highland Heather
Cardstock:  Misty Moonlight cut 8 1/2" x 5" and scored at 4 1/4", Whisper White - three pieces, one cut to 3 1/2" x 4 3/4",  one cut to 4" x 5 1/4"(for the inside of card) and a scrap piece big enough to accommodate the Daisy flower arrangement stamp.
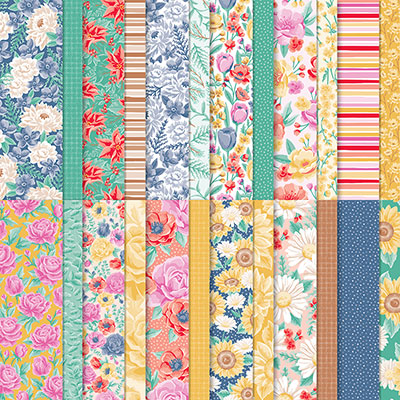
Designer Series Paper:  Flowers for Every Season Designer Series Paper - One piece cut to 4" x 5 1/4" and one piece cut to 4" x 3/4"(for the inside of the card).
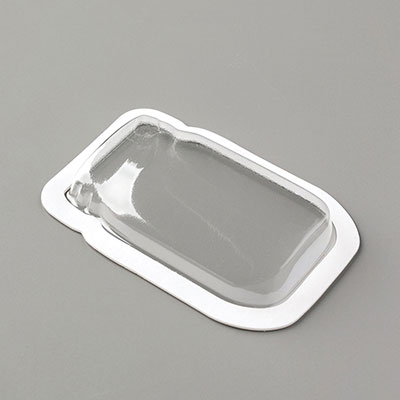
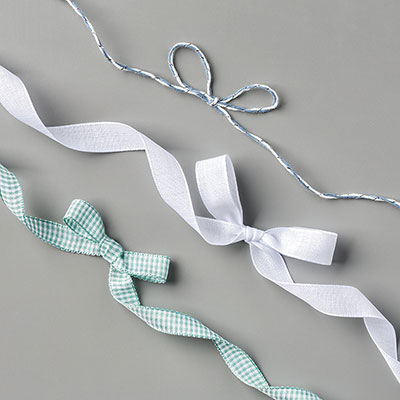
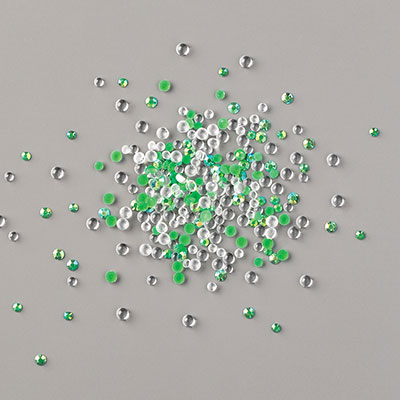
Accessories:  Jar Punch, Rectangle Stitched Framelits, Mason Jar Shaker Domes, Flowers for Every Season Ribbon Combo Pack, Glue Dots, Stampin' Dimensionals and Flowers for Every Season Gems.

Directions: 

Using the the third largest die from the Rectangle Stitched Framelits cut a rectangle in  the very center of the 4" x 5 1/4" piece of Designer Series Paper to create a frame.  Insert  the  short side of the 3 1/2" x 4 3/4" piece of Whisper White all the way into the Jar Punch (being careful to center the punch from side to side as well) and punch out the Jar.  On the Jar piece that was punched out, stamp the stem image from the Jar of Flowers set with Just Jade ink (stamp off on a scratch sheet of paper before stamping on the Jar so the ink will not be as bright).  Color the stems with the Light Just Jade Stampin' Blend.  Stamp the small jar line image from Jar of Flowers using Just Jade (again stamp off to lighten the ink).  Line the stamp up towards the bottom of the punched jar and center from side to side.  Color in the "water" with the Soft Sea Foam Stampin' Blends.  Set aside.  Remove the adhesive liner from the front of the Mason Jar Shaker Dome.  Place it on your worksurface and place the 3 1/2" x 4 3/4" piece of Whisper White you punched the jar from carefully over the Mason Jar Shaker Dome.  With the Shaker Dome mounted to the Whisper White paper, turn it over to the back side.  Place a couple of "pinches" of the Flowers for Every Season Gems into the Shaker Dome.  Remove the adhesive liner from the back of the Mason Jar Shaker Dome.  Gently place the punched jar piece into the back of the Shaker Dome.  (I used a piece of regular tape to secure it so it would not fall off when I turned it over to adhere the piece of Whisper White to the card base).  Adhere the piece of Whisper White with the Shaker Dome to the front of the Misty Moonlight Card base being sure to center it.  Next, adhere the frame you cut from the Designer Series Paper onto the card.  Stamp the Daisy floral arrangement image from Jar of Flowers onto a scrap piece of Whisper White using Memento Tuxedo Black ink.  Use the photo above as a guide to color the flowers with the blends.  "Fussy cut" the image out and adhere to the card front using a double layer of dimensionals.  Tie a bow (I did a triple bow) from the baker's twine in the Flowers for Every Season Ribbon Combo pack and use a glue dot to adhere it to the jar.
Adhere the 4" x 5 1/4" piece of Whisper White to the inside of the card and adhere the 4" x 3/4" piece of Designer Series Paper along the bottom.  

Note:  This card is best given in person but if you mail it, be sure to use a padded envelope as it will require extra postage.

Project 2


Supplies:

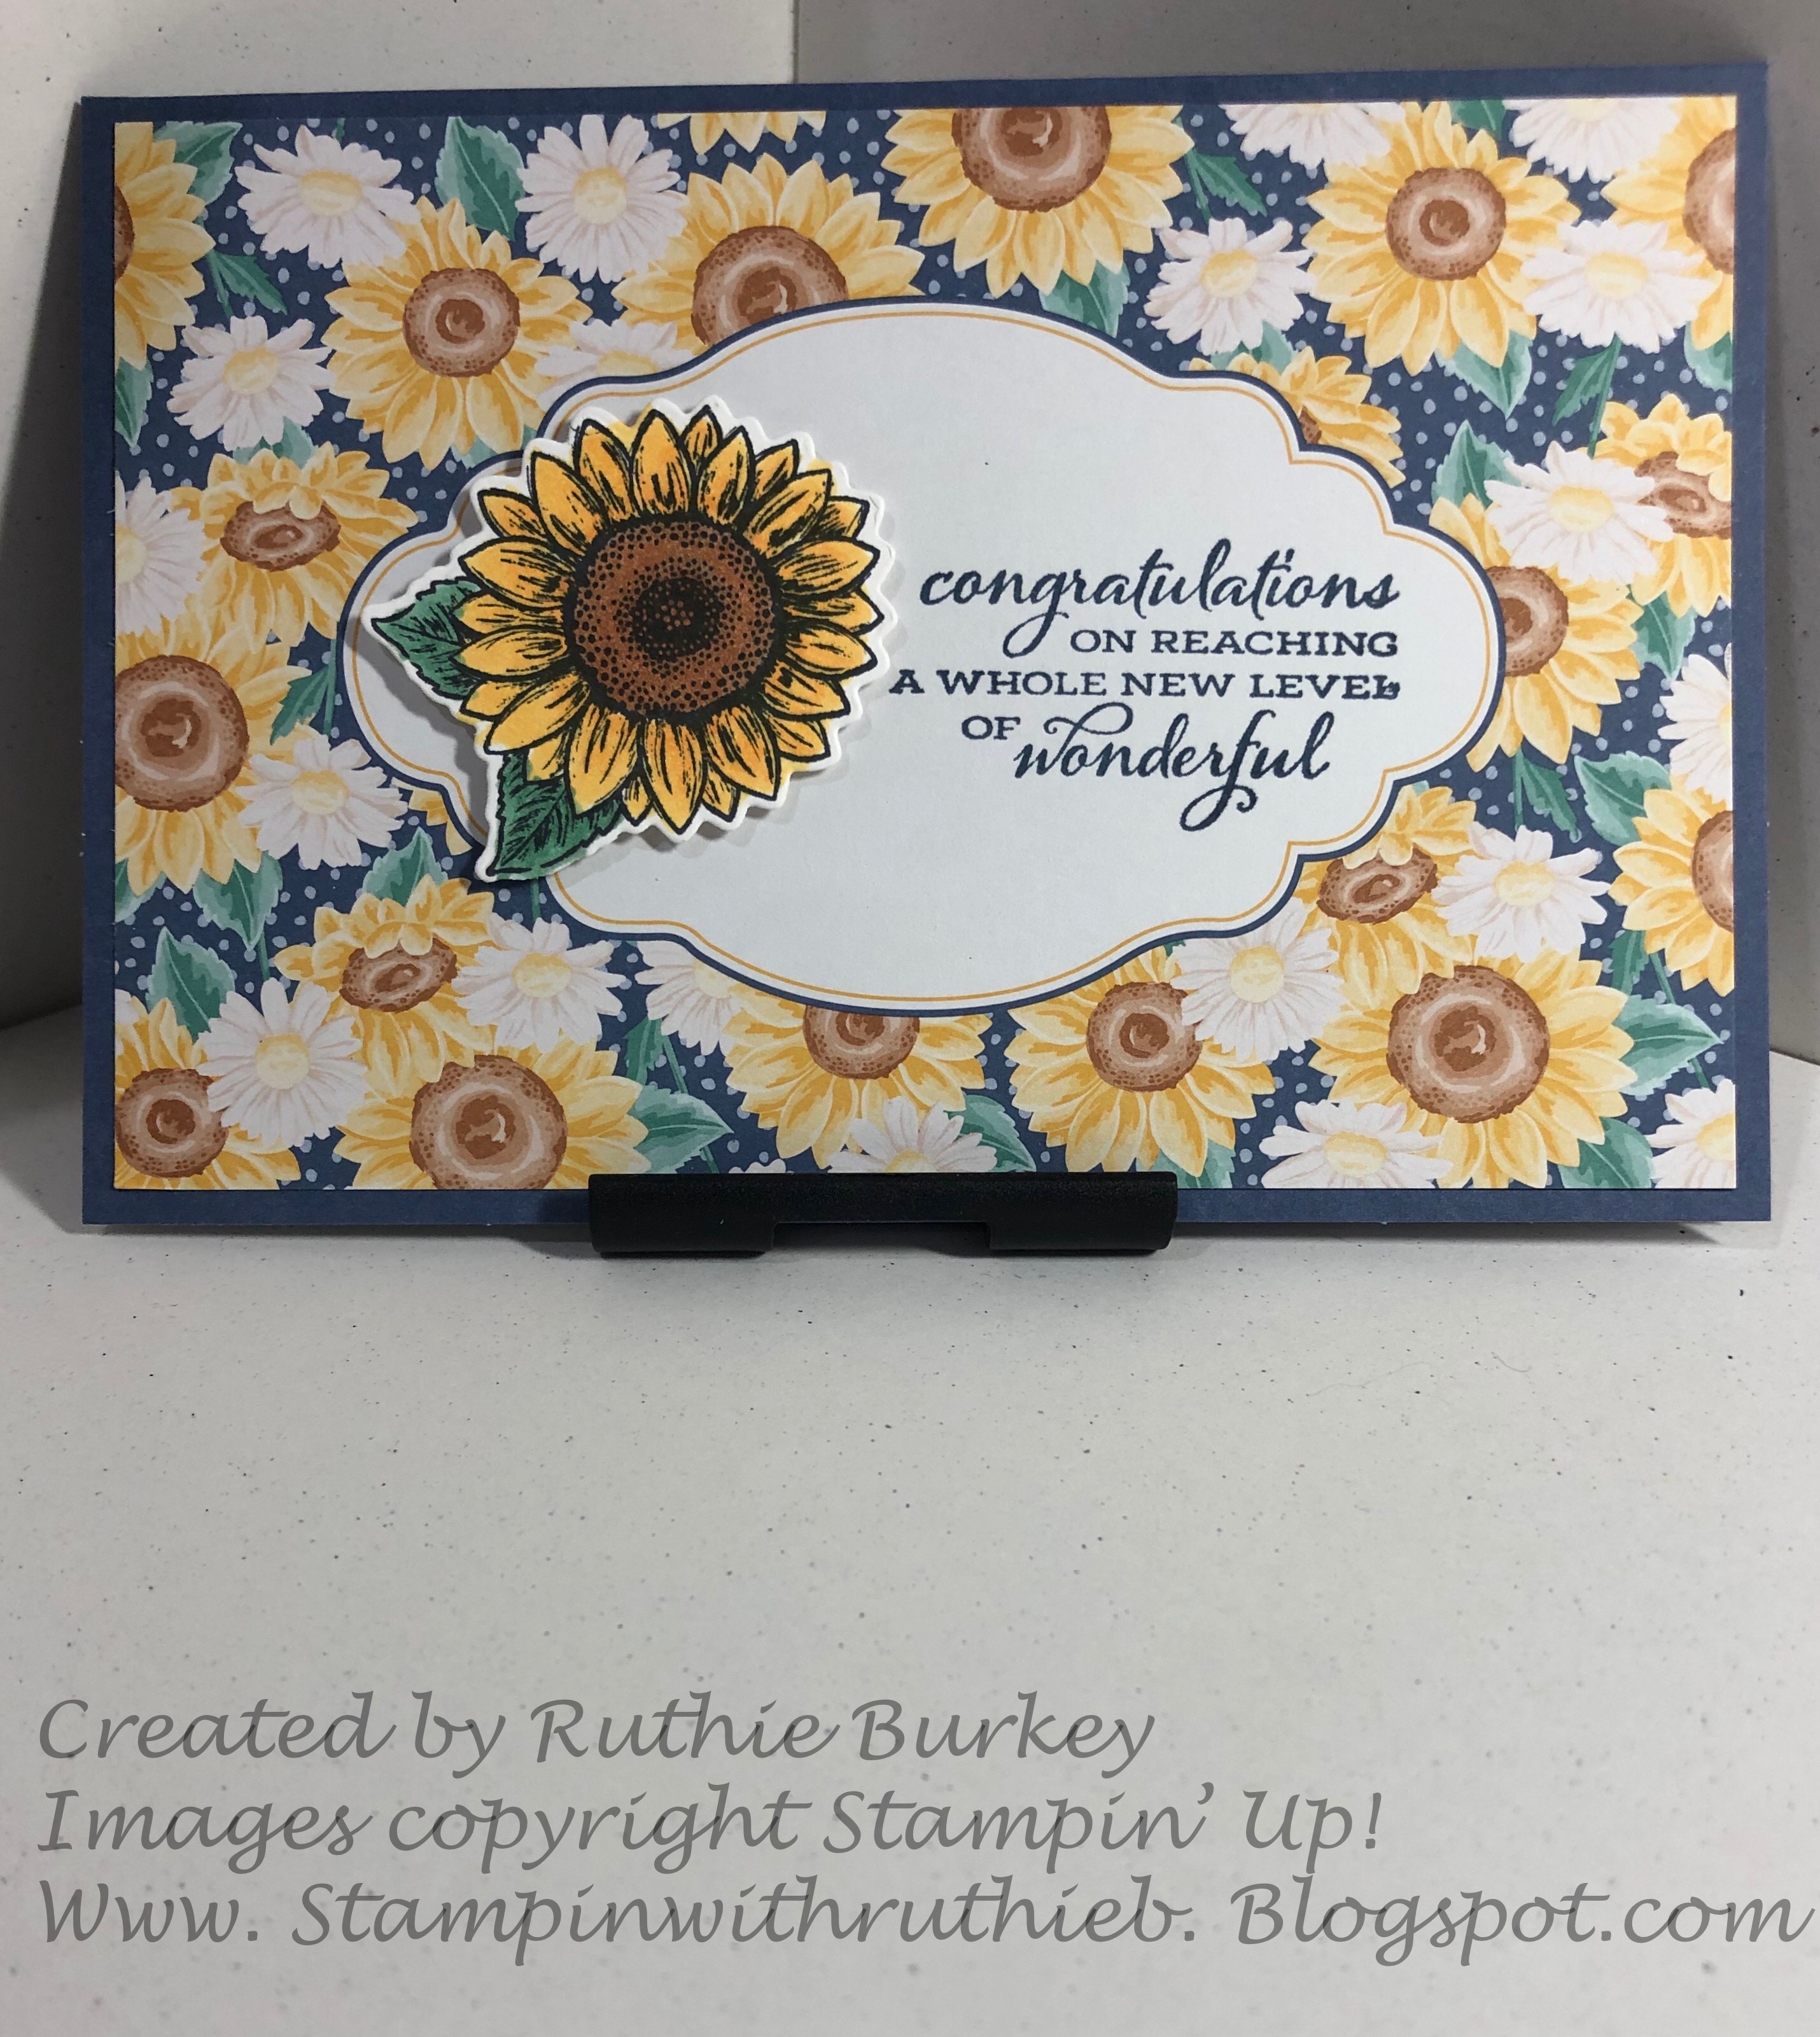
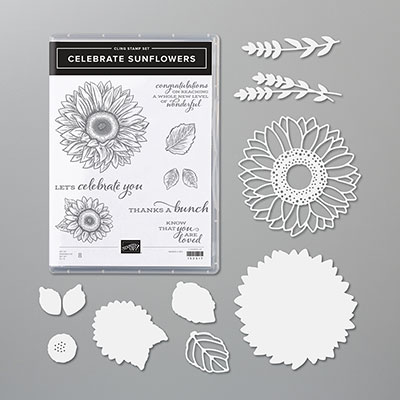
Stamps: Celebrate Sunflowers
Ink:  Night of Navy and Versamark
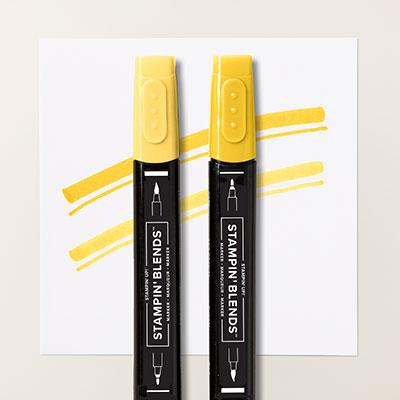
Stampin' Blends:  Dark Daffodil Delight
Cardstock:  Night of Navy two pieces - one cut to 10" x 5" and scored at 5" and a scrap large enough to accommodate the sentiment, Daffodil Delight cut to 4 1/4" x 4 1/4", Whisper White two pieces - one cut to 4" x 4" (for the inside of the card) and a scrap large enough to accommodate the largest Daisy stamp
Designer Series Paper:  In Good Taste (refer to photo for design) one piece cut to 4" x 4" and one piece cut to 4" x 3/4" (for the inside of the card).
Accessories: Mini Stampin' Dimensionals, White embossing powder, Heat embossing tool

Directions:

Stamp large Sunflower image from Celebrate Sunflowers onto a scrap piece of Whisper White cardstock using Night of Navy ink.  Die cut the image using the matching outline die from the Sunflower dies.  Use the Dark Daffodil Delight Stampin' Blend marker to color in just the very center of the sunflower image.  Stamp the desired sentiment onto a scrap piece of Night of Navy using versamark.  Apply white embossing powder to the stamped image and heat emboss.  "Fussy cut" around the sentiment.  Adhere the 4 1/4" x 4 1/4" piece of Daffodil Delight cardstock to the front of the card then layer the 4" x 4" piece of Designer Series Paper onto the Daffodil Delight cardstock, then adhere the Sunflower to the Designer Series Paper.  Use Mini Dimensionals to adhere the sentiment over the Daisy image using the photo for placement.  Adhere the 4" x 3/4" piece of Designer Series Paper to the 4" x 4" piece of Whisper White cardstock and then adhere to the inside of the card.  

Projects 3 and 4


Supplies:

Stamps:  Celebrate Sunflowers
Ink: Misty Moonlight and Memento Tuxedo Black
Stampin' Blends: Light and Dark Mango Melody, Light and Dark Cinnamon Cider, Light and Dark Just Jade
Cardstock:  Scrap piece of Whisper White large enough to accommodate the small Daisy and Leaf Image from Celebrate Sunflowers.
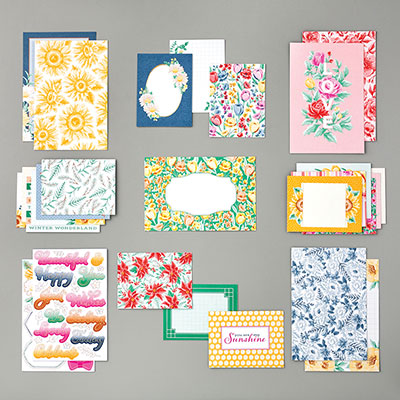
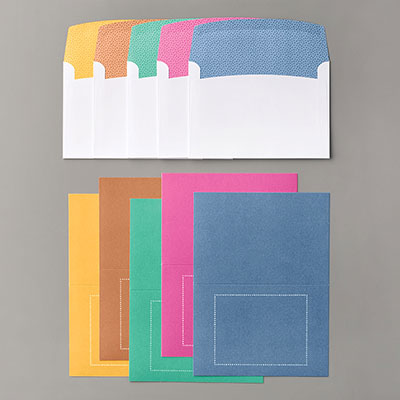
Accessories:  Sunflower Stampin' Cut & Emboss dies, Flowers for Every Season Memories & More Card Pack, Flowers for Every Season Memories & More Cards & Envelopes and  Stampin' Dimensionals

Project 3 Directions:

Select one of the small cards from the Flowers for Every Season Memories & More Card Pack and use Stampin' Dimensionals to adhere it to a coordinating Flowers for Every Season Memories & More card base.  Adhere a sticker from the Flowers for Every Season Memories & More Card Pack to embellish if desired.

Project 4 Directions:

Stamp the small Sunflower image from Celebrate Sunflowers onto the scrap piece of Whisper White cardstock using Memento Tuxedo Black Ink.  Color the image with Stampin' Blends using the Photo as a guide. Die cut the small Sunflower image using the coordinating die from the Sunflower dies.  Select a large card from the Flowers for Every Season Memories & More Card Pack which has a sentiment area large enough to accommodate the Sunflower image as well as a sentiment and adhere it to a coordinating Flowers for Every Season Memories & More card base.  Stamp the desired sentiment using Misty Moonlight ink.  Adhere the small Sunflower to the card front using Stampin' Dimensionals.

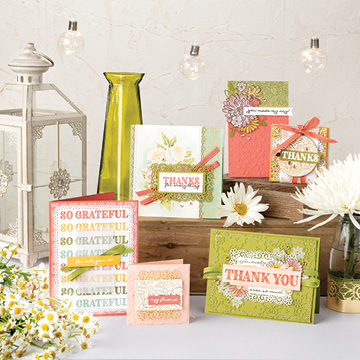
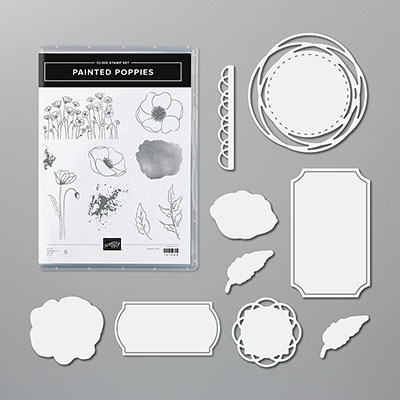
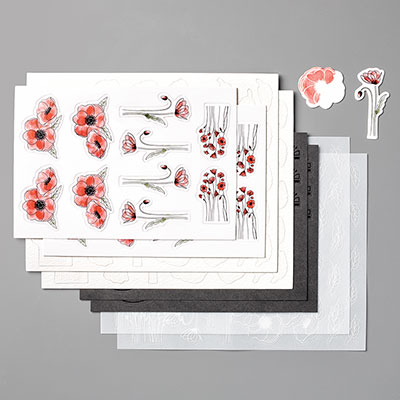
You can order all these products from my Online Store HERE.  If your order is under $150 please use the June Host Code of VQAJWH6B, if your order is over $150 be sure to take advantage of the Host Rewards Stampin' Up! offers.  Products can be seen below.  
Thursday, May 28, 2020

Ornate Garden Suite Daisy Card and fun Shaker Card

Hello, everyone!  I hope this finds you safe and well!  Today's projects are the projects I showed in my Facebook Live last Sunday (5-24).  You can find the Video on my Facebook page HERE

The first project is this sweet little Daisy Card (you know Daisies are one of my favorite flowers!)


Supplies:

Cardstock: Bumblebee (COMING June 3rd!) cut to 5/1/2" x  7 1/4" and scored at 4 1/4"
Whisper White - 2 pieces, 1 cut to 4" x 5 1/4" and one piece used to cut the die.
Designers Series Paper:  Ornate Garden - 1 piece cut to 4" x 5 1'4"
Stamps: Ornate Style
Ink:  Memento
Blends:  Dark Mango Melody and Dark Old Olive
Accessories:  Bumblebee Ribbon (COMING June 3rd!) and Gilded Gems

Cut the Designer Series Paper at 2 3/4".  This will leave you with a 1 1/4" scrap.  Place this scrap on the left side of what will be the inside of the card being sure to leave even borders all around.  Use the floral border die from Ornate Borders to cut the right hand edge of the 4" x 5 1/4" piece of Whisper White.  Place this on what will be the inside of the card making sure to line it up with the piece of Designer Series Paper.  Tie a piece of ribbon around the remaining piece of Designer Series Paper using the photo for position and then mount to the front of the card.  Cut the rectangle piece from Whisper White using the smallest rectangle frame in the Ornate Layers Die.  Using Memento Ink, stamp the Daisy from Ornate Style onto the die cut piece and color with Mango Melody and Old Olive Blends.  Mount this to the card front using the picture for placement.  Now send it off to brighten someone's day!!!!

The next card is a shaker card that was inspired by a card I saw on Sandi McIver's blog.  It was made with stamps from another company (horrors LOL!) and I knew I could recreate it with Stampin' Up! products.


Supplies:

Cardstock:  Old Olive - 1 piece cut to 5 1/2" x 8 1/2" and scored at 4 1/4" for card base, 1 piece of Whisper White cut to 3 1/4" x 4 3/4", 1 piece of Whisper White cut to 4" x 5 1/4".  Small piece of Window Sheet for window.
Designer Series Paper: 1 piece cut to 4" x 5 1/4", 1 piece cut to 3 1/4"  x 4 3/4", and 1 piece cut to 3/4" x 5 1/4"
Stamps:  Ornate Style and Ornate thanks.
Ink:  Memento, Old Olive
Blends:  Light and Dark So Saffron, Light and Dark Calypso Coral, Light and Dark Old Olive, Dark Petal Pink and Dark Mango Melody
Accessories:  Sequins, Foam Adhesive Strips, Tailored Tag punch

Stamp the large floral image from Ornate Style on the the piece of Whisper White using Memento Ink.  Be sure to center it on the cardstock.  Punch the stamped cardstock with the Tailored Tag punch, again being sure to center the punch on the image.  Keep the punched piece, we will use the non-stamped side for the sentiment. Your piece should look like this:


Next, use the blends to color the image and then "fussy cut" the image out.  

Layer the largest piece of Designer Series Paper onto the card base and then layer the smaller piece of Designers Series Paper onto that.  Stamp the Thanks sentiment from Ornate Thanks onto non-stamped side of the piece that was punched from the floral image using Old Olive ink.  Place adhesive on the back of the Thanks sentiment.  Without using any adhesive, position the stamped and cut floral image on the front of the card to use as placement for the stamped Thanks piece.  Adhere the Thanks piece.  Use adhesive to adhere a piece of Window Sheet to the back of the stamped image.  On the back of the image, line the opening with Foam Adhesive Strips being sure there are no gaps.  Place a small amount of sequins on top of the Thanks sentiment then remove the backing from the foam strips and adhere the floral piece to the card front being sure to center the opening over the Thanks image and sequins.  Adhere the 3/4" x 5 1/4" piece of Designer Series Paper to the remaining 4" x 5 1/4" and stamp any desired sentiment.  Adhere to the inside of the card.  Mail this to someone who needs a special word of thanks!!!!

Enjoy


Tuesday, May 12, 2020

Easy Fun Fold Card


I have seen this card all over the internet but most of the directions were in centimeters.  Thanks to the AHHMAZING Patty Bennett, I found the measurements in inches!  Thank you Patty, you are the best!

This is the second card I demonstrated during my Facebook Live on May 10th.  You can see the video HERE

Here's my card!

and here's the inside:


Supplies needed:

1 piece of Designer Series Paper cut to 5 1/4" x 11 3/4"
Card base cut to 4 1/4" x 5 1/2"
Embellishments and die cuts as desired.

This is so easy!!!!  Just score the Designer Series Paper at 1 3/4", 4 3/4" and 7 3/4" then just accordian fold it, embellish it and attach it to the card base!!!  How fast and easy is that! 

I used items from the Ornate Garden Suite which will be available in the new catalog BUT you can purchase this whole suite or individual items from it in my Online Store.  Just click the shop now button on the top left of my blog and look for the item number below.

Happy Stamping!!!!!

3D Pinwheel Card


Hi all!  I had so much fun creating this 3D Pinwheel Card!    I was browsing on Pinterest and came across a quilt pattern for this 3D pinwheel and knew I had to make it into a card!!!!  (By the way, if you want  to make this into a quilt, you can use the resize the squares an sew them together!)


Here's my card:


Supples needed:  
Paper:  Two pieces of Designers Series paper cut to 4"x4" and one piece of Designer Series paper cut 1 1/2" x 4"
Cardstock:  One layer cut to 4 1/8" x 5 3/8" and one Card Base (5 1/2" x 8 1/2" scored at 4 1/4"
Embellishments and ribbon

Start with the two 4" x 4" pieces of Designer Series Paper.  (You may use cardstock for the base layer if you wish but the pinwheels should be made from Designer Series Paper so they will fold easily)

Cut both pieces into 2"x2" squares.  Fold the squares you wish to use for the pinwheel into a triangle.  Glue or tape each triangle shut.  You'll end up with four triangles looking like this:


Place a triangle on each of your four base pieces by placing glue on the bottom half of the triangle and then folding the point down to the bottom as shown below:


Next, layer these four squares and the 1 1/2" x 4" piece of Designer Series Paper onto the 4 1/8" x 5 3/8" layer of cardstock using the placement shown below.


Mount and embellish as desired!  

 Here's a sample I made using cardstock that I ran through an embossing folder as the base squares:


You can also see the Facebook Live where I demonstrated this HERE  (Look for the recording posted on May 10th :)

For this project I used items from the Ornate Garden Suite.  This Suite will be in the upcoming catalog but you can buy it NOW through May31st in my Online Store!!!!!  Just click the Shop Now button on the top left of my blog to be taken to my store!  I've shown the item number for the entire suite but you can purchase items separately.
Happy Stamping!!!!


Saturday, May 9, 2020

Facebook Live!!! May 10th at 2pm

Facebook live tomorrow at 2pm!!!!!!  Please join me as I make two fun fold cards and give a sneak peek at my preorder from the new catalog!!!  You can find my page HERE. Hope to see you there!!!

Saturday, May 2, 2020

Stampin' Up! Gives Back!

 One of the things I especially love about Stampin' Up! is that they are always ready to give back to the community!!!!  Of course they wanted to respond to the Covid-19 Quarantine situation, and respond they did!   They have come up with a Share Sunshine PDF that contains LOADS of images for you to use in making special cards for others as we are separated during this time.  


Here's a quick look at some of the images included in the FIFTEEN pages of the PDF.


You can purchase the PDF HERE


One Sheet Wonder Flip Flop

I had so much fun Sunday doing my first Facebook Live!!!!  I still have some things to learn (it was all mirror imaged LOL!) but I look forward to doing them in place of my regular classes while we are all in "Stay at Home" mode due to Covid-19.  I wanted to share my class with all of you!  So here it is!

One Sheet Wonder Flip Flop


This project will create nine cards from ONE 12"x12" Sheet of Designers Series Paper and just a few other products.    I used the Peaceful Poppies Suite from the January-June 2020 Mini Catalog for the images.  (All products will be listed below the instructions with links to my Online Store)  Here are the directions:

Supplies:
One piece of 12"x12" double sided Designer Series Paper
Nine card bases (cut 5 1/2" x 8 1/2", scored at 4 1/4"
Six pieces of coordinating cardstock cut to 4 1/8" x 5 3/8"
Three layers of coordinating cardstock cut to 4 x 5 1/4
Stamps and embellishments as desired

Cut a 12"x12" piece of Designer Series Paper using the following cutting guide:


Use the following directions to create three of each design, making a total of nine cards.

Card #1

Cut three of the 4" x 5 1/4" pieces using the following cut guide.


Card #2


The next three cards use the three 4" x 1 3/4" pieces of Designers Series Paper to make three cards using the Card #2 Sketch


Use this the following instructions for all thee pieces of Designers Series Paper to make three cards using the Card #2 Sketch:

Adhere the 4" x 1 3/4" piece of Designers Series Paper to a cardstock layer cut at 4" x 5 1/4" I embossed my cardstock layer using an Embossing Folder for more interest).  Use ribbon or cardstock to cover the seam.  Adhere this to a card base.  Embellish as desired!

Card #3


Cut the remaining three 4" x 5 1/4" pieces using the following cut guide.


Use this the following instructions for all thee pieces of Designers Series Paper to make three cards using the Card #2 Sketch:

 "Flip" the left hand piece.  On this paper I liked having the solid on the side but you could flip the larger piece instead . Again it all depends on the Designers Series Paper you are using..  Adhere these layers to one of the 4 1/8" x 5 3/8" piece of cardstock.  To cover the seam use a piece of cardstock that matches the card base and is cut to 1/2" x 5 3/8"  (You may use ribbon instead if desired).  Now adhere this to the card base. Embellish as desired!

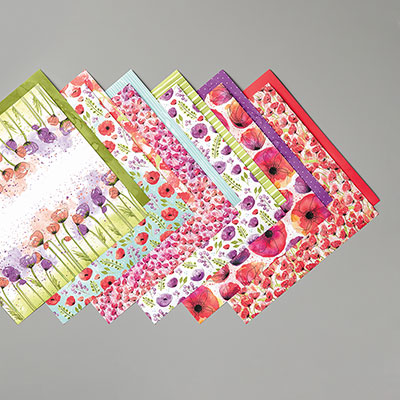
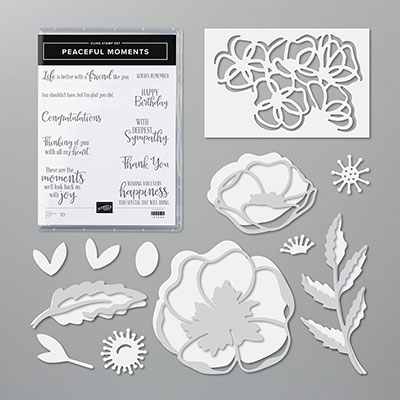
If you wish to create these exact cards, all products I used are from the Peaceful Poppies Suite (shown below).  You can purchase the whole suite or purchase individual items.  All can be ordered through my online store by clicking the "Shop Now" button in the upper left corner of my Blog  (If you are already a customer of another Demonstrator please be sure to order through them).